7 Smart Ways How to Prep a Herb Spiral
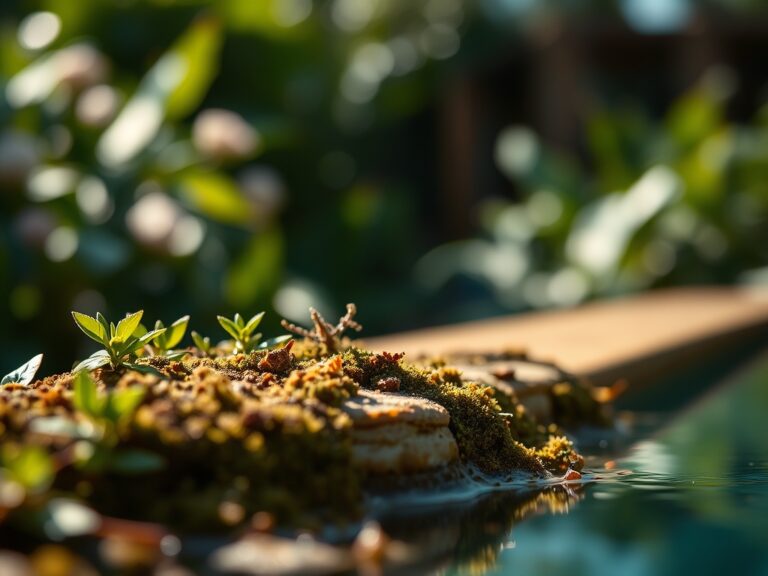
Damp earth smells of geosmin and active microbial life when you break ground for a permanent garden feature. A successful herb spiral relies on the physics of drainage and the biological requirements of diverse species. You must understand how to prep a herb spiral by calculating the vertical gradient and the resulting microclimates. A standard spiral rises to a height of three feet at its center; this elevation creates a rapid drainage zone for Mediterranean species while the base remains cool and hydrated for moisture-loving plants. Proper preparation ensures high turgor pressure in every leaf. You are not merely stacking stones; you are engineering a thermodynamic engine that captures solar radiation and manages hydraulic conductivity. Without a foundation of structural integrity and nutrient density, the spiral will succumb to soil compaction or nutrient leaching within two seasons. Precision starts with the first layer of substrate and the selection of materials that support a robust rhizosphere.
Materials:
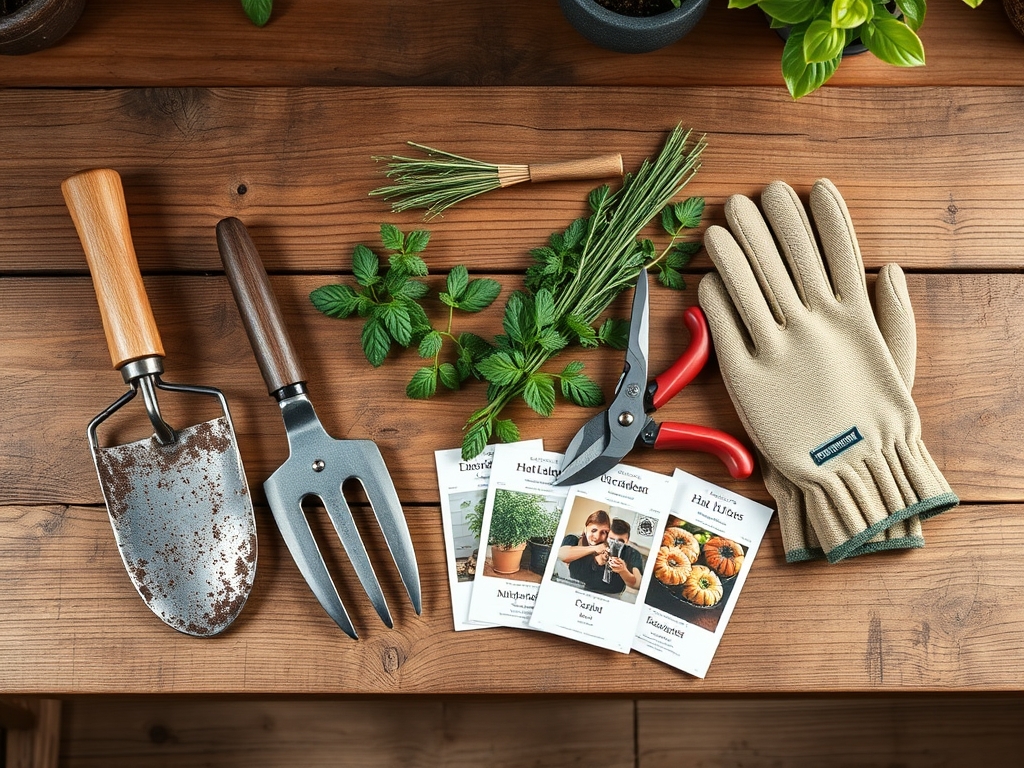
The foundation of a herb spiral requires a **friable loam** with a Cation Exchange Capacity (CEC) above **15 milliequivalents per 100 grams**. This ensures the soil can hold onto essential cations like calcium and magnesium. You must source materials that allow for three distinct soil profiles within the same structure.
For the top tier, use a mix with a 7.0 pH and an NPK ratio of 5-10-10. This low nitrogen environment prevents excessive vegetative growth in herbs like Rosemary and Thyme, which can dilute essential oil concentration. The middle tier requires a 6.5 pH and a balanced 10-10-10 NPK ratio for generalist species. The bottom tier, intended for lush leafy greens like Parsley or Chives, requires a 6.0 to 6.5 pH and a higher nitrogen NPK of 10-5-5.
The physical texture must be gritty at the apex. Incorporate 20 percent coarse horticultural sand or perlite in the top eighteen inches of the spiral to maximize oxygen diffusion to the roots. The base should contain 30 percent high-quality compost to increase water holding capacity. Use local stone or brick for the retaining walls; these materials act as thermal masses that absorb heat during the day and release it at night to stabilize soil temperatures.
Timing:
Execution depends on your USDA Hardiness Zone. In Zones 5 through 7, the ideal window for construction is six weeks before the last predicted frost. This allows the soil to settle and the microbial community to stabilize before active planting. In Zones 8 through 10, autumn installation is preferable to allow root systems to establish before the stress of summer transpiration.
The biological clock of your herbs is governed by the photoperiod. Most culinary herbs transition from vegetative to reproductive stages (bolting) when daylight exceeds 14 hours. Prepping the spiral in early spring ensures that plants like Cilantro can complete their vegetative cycle before the summer solstice triggers senescence. Monitor soil temperatures with a probe; do not transplant until the internal temperature of the spiral reaches a consistent 55 degrees Fahrenheit.
Phases:
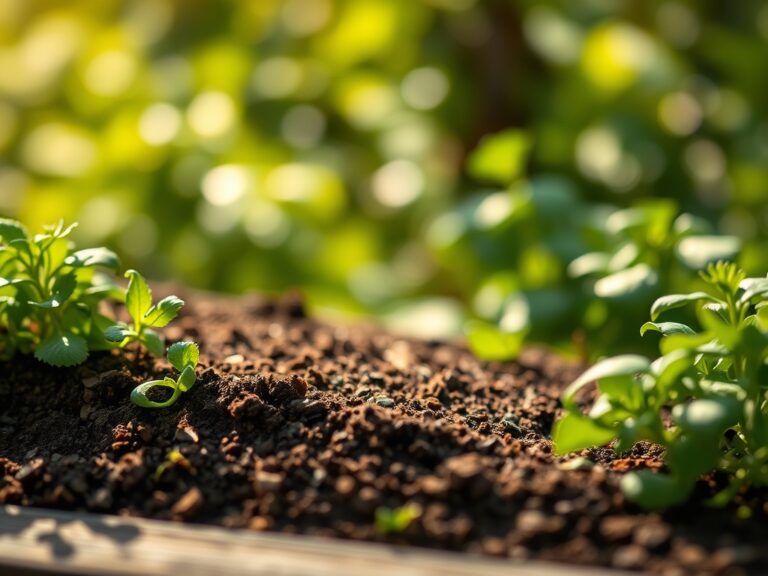
Sowing
Direct sow hardy annuals like Borage or Calendula into the lower quadrants once the soil is workable. Ensure a sowing depth of one-eighth inch for light-dependent germinators. Maintain a consistent moisture level of 70 percent field capacity during the germination phase.
Pro-Tip: Utilize the principle of phototropism by placing taller, light-hungry species on the north side of the spiral. This prevents them from shading out smaller, prostrate herbs as the sun moves across its southern arc.
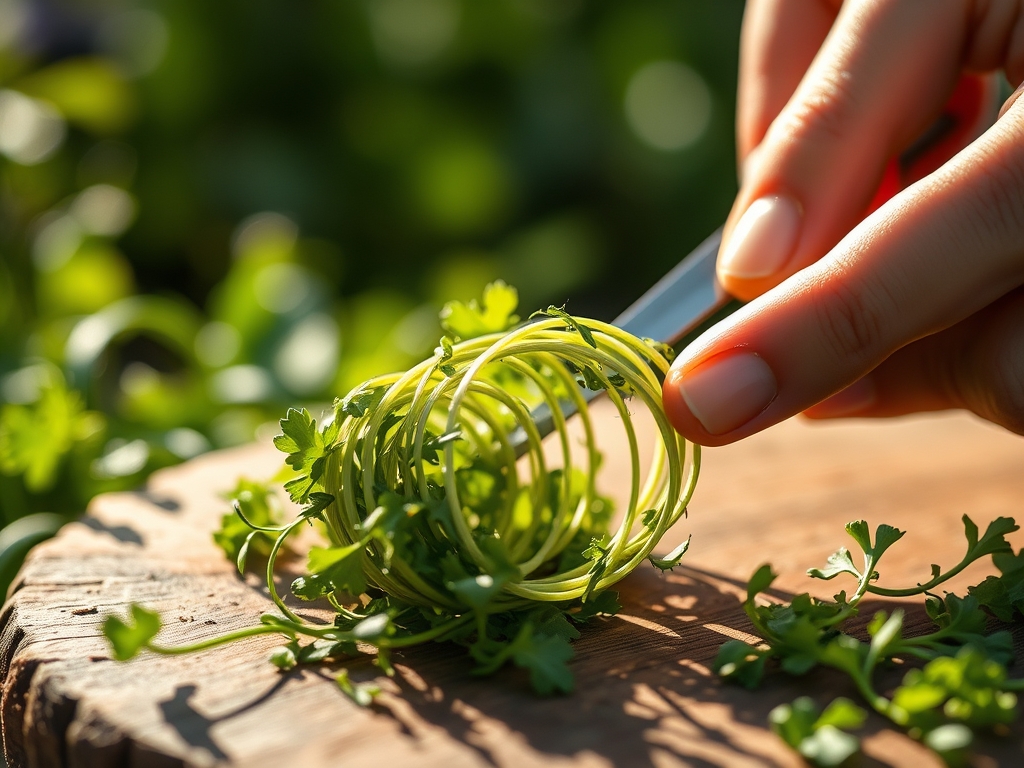
Transplanting
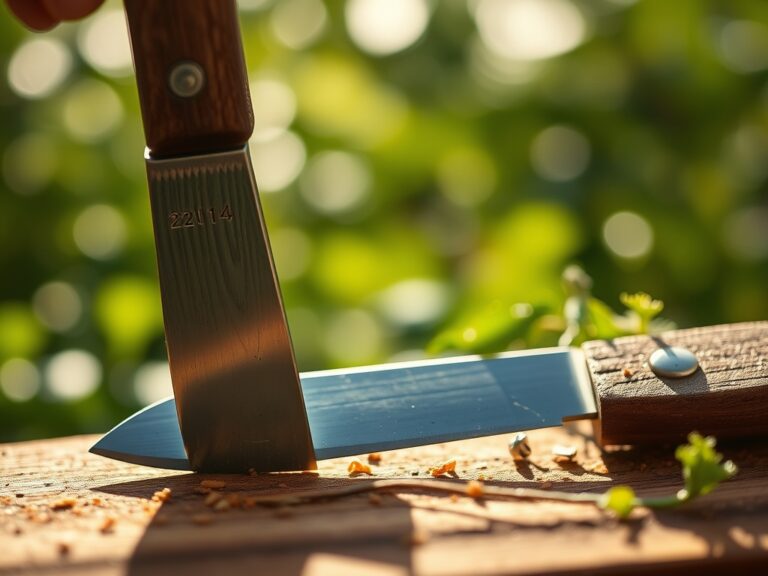
When moving nursery starts into the spiral, use a hori-hori knife to slice any circling roots. This mechanical disruption encourages lateral root branching into the new substrate. Set the plant at the same depth it occupied in its container to prevent stem rot.
Pro-Tip: Inoculate the planting hole with endomycorrhizal fungi. This biological symbiosis expands the root surface area by up to 100 times, significantly increasing the uptake of phosphorus and micronutrients.
Establishing
The first 21 days are critical for vascular integration. Irrigate the spiral daily during this window to prevent the root ball from desiccating while it seeks the surrounding soil. Monitor for wilting, which indicates a loss of turgor pressure.
Pro-Tip: Practice apical dominance suppression by pinching off the terminal buds of Basil and Mint. This redirects auxins to the lateral buds, resulting in a bushier, more productive plant architecture.
The Clinic:
Physiological disorders often mimic disease but are usually rooted in environmental stress or nutrient imbalances.
Symptom: Interveinal chlorosis (yellowing between leaf veins) on new growth.
Solution: This indicates Iron deficiency, often caused by a pH above 7.5. Lower the pH using elemental sulfur or chelated iron drench.
Symptom: Purpling of older leaves and stunted growth.
Solution: This is a classic sign of Phosphorus deficiency. Check soil temperature; if it is below 55 degrees, the plant cannot uptake phosphorus. If temperatures are adequate, apply bone meal.
Symptom: Tip burn on young leaves of Oregano or Marjoram.
Solution: This suggests Calcium localized deficiency due to erratic watering. Maintain consistent moisture to ensure calcium moves through the xylem via transpiration.
Fix-It: For general Nitrogen chlorosis (uniform yellowing of older leaves), apply a liquid seaweed or fish emulsion at a rate of one tablespoon per gallon of water. This provides a rapid dose of bioavailable nitrogen to restore chlorophyll production.
Maintenance:
Precision irrigation is the backbone of spiral health. Use a soil moisture meter to verify that the top tier is dry to a depth of two inches before watering, while the base remains damp. On average, the spiral requires 1.5 inches of water per week delivered at the drip line. Avoid overhead watering to prevent fungal pathogens from colonizing the foliage.
Use bypass pruners for clean cuts that heal quickly; ragged tears invite opportunistic pathogens. Every spring, top-dress the spiral with one inch of aged compost to replenish the organic matter consumed by the soil food web. Check the structural integrity of the stones annually; frost heaving can displace the wall and lead to soil erosion.
The Yield:
Harvesting is a physiological intervention. For the highest concentration of essential oils, harvest herbs in the morning after the dew has evaporated but before the sun reaches its zenith. This is when the plant's volatile oil content is at its peak. Never remove more than one-third of the plant's biomass at a single time to avoid stalling the photosynthetic capacity.
Post-harvest handling is vital for "day-one" freshness. For soft-stemmed herbs like Cilantro or Parsley, treat them like cut flowers by placing the stems in 40-degree Fahrenheit water. For woody herbs like Rosemary, wrap them in a damp paper towel and store them in a sealed container at 35 to 38 degrees Fahrenheit. This slows the respiration rate and preserves the cellular structure.
FAQ:
What is the best diameter for a herb spiral?
A diameter of five to six feet is optimal. This size allows you to reach the center from any side without stepping on the soil, which prevents compaction and protects the delicate rhizosphere.
Can I build a spiral in the shade?
Most culinary herbs require at least six hours of direct sunlight. If your site is shaded, focus on shade-tolerant species like Mint, Chervil, and Lemon Balm, and use light-colored stones to reflect available photons.
Why are the rocks in my spiral shifting?
Shifting usually occurs due to poor base compaction or lack of a "batter" (a slight inward lean). Ensure the first course of stones is buried three inches deep in a leveled trench of crushed gravel.
How often should I test the soil pH?
Perform a soil test once every two years. The intense irrigation and high planting density of a spiral can cause pH shifts and nutrient depletion faster than in a traditional flat garden bed.