8 Simple Steps to Sharpen a Sod Blade
The scent of damp earth and the crisp turgor of a healthy leaf define the success of a horticultural project. When cutting turf, a dull edge tears through the vascular bundles of the grass; this results in jagged wounds that increase the rate of transpiration and pathogen entry. Mastering the steps to sharpen a sod blade ensures a clean severance of the rhizosphere, preserving the integrity of the root system for immediate transplanting. A sharp blade reduces mechanical stress on the plant and the operator alike.
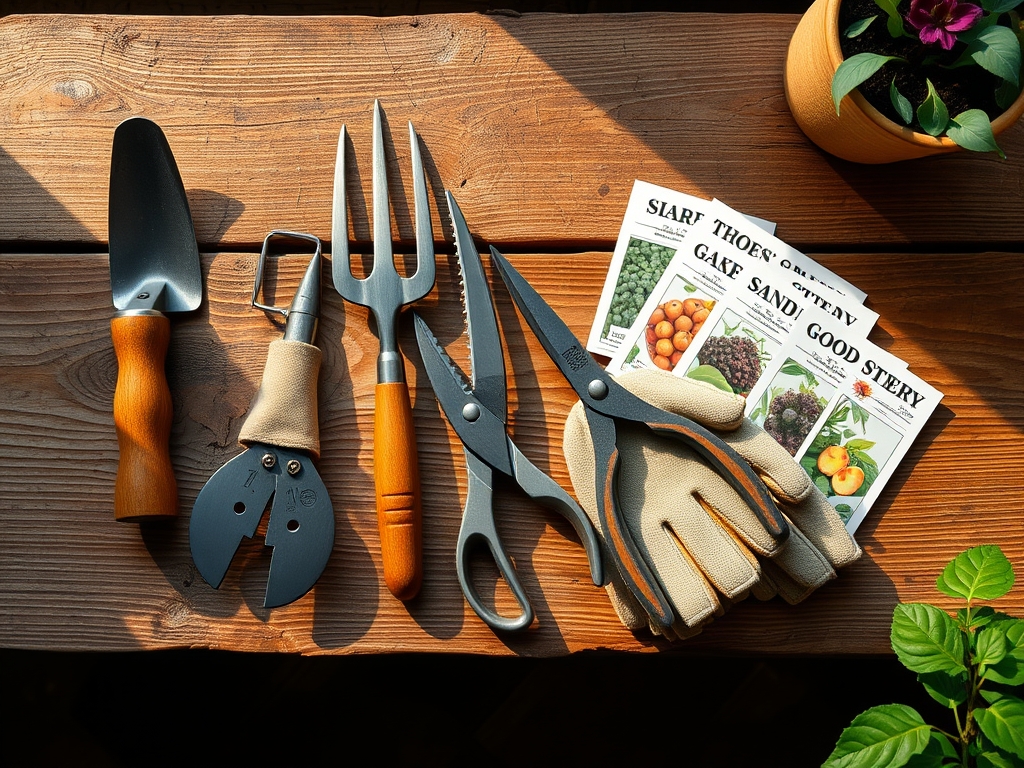
Materials:
The performance of a sod cutter is inextricably linked to the soil substrate it penetrates. Ideal cutting occurs in **friable loam** with a **pH range of 6.0 to 7.0**. High clay content increases friction and heat; this dulls the blade faster due to abrasive mineral particles. To maintain the health of the turf after cutting, the soil should have a **Cation Exchange Capacity (CEC) of 15 to 25 meq/100g**, ensuring nutrient availability during the recovery phase.
Before sharpening, ensure you have a 10-inch mill bastard file, an angle grinder with a 60-grit flap disc, and safety goggles. If the soil is deficient in nutrients, consider a pre-cut application of 10-10-10 NPK fertilizer to boost carbohydrate reserves in the stolons. Nitrogen at a ratio of 1 pound per 1,000 square feet provides the necessary protein synthesis for rapid tissue repair post-cut.
Timing:
Sharpening and sod cutting must align with the biological clock of the specific grass species. In Hardiness Zones 4 through 7, cool-season grasses like Kentucky Bluegrass should be harvested when the soil temperature is between 50 and 65 degrees Fahrenheit. This period precedes the reproductive stage; it ensures the plant remains in a vegetative state with high auxin levels for root initiation.
For warm-season grasses in Zones 8 through 11, the window opens when nighttime temperatures consistently exceed 60 degrees Fahrenheit. Avoid cutting during the onset of senescence in late autumn. The plant must have at least four weeks of active growth remaining before the first frost date to establish its root system in the new location.
Phases:

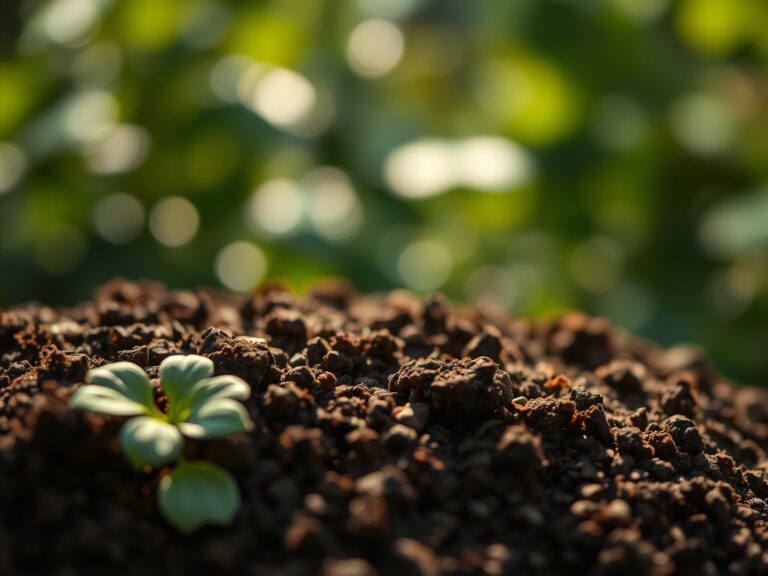
Sowing and Preparation
Preparation begins by ensuring the parent turf is hydrated. Maintain a soil moisture level of 75 percent field capacity for 48 hours prior to cutting. This increases the turgor pressure within the grass blades; it makes them easier to slice cleanly.
Pro-Tip: High turgor pressure prevents the collapse of xylem vessels during the mechanical shear of the blade. This maintains hydraulic conductivity within the plant tissue even after the roots are severed.
Transplanting and Blade Action
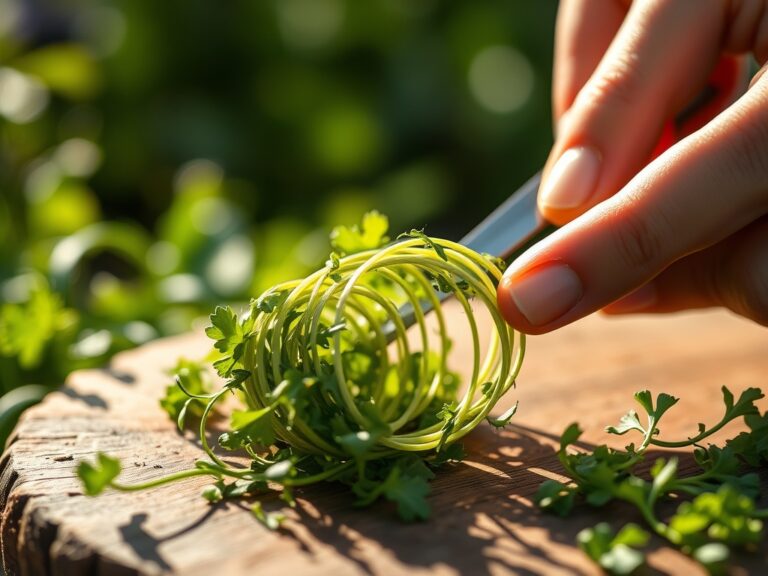
When executing the steps to sharpen a sod blade, focus on the 30-degree bevel. Use the mill file in a single-direction stroke, moving from the heel of the blade to the tip. Avoid a back-and-forth sawing motion; this creates microscopic burrs that snag on fibrous roots. A clean edge allows the blade to glide through the rhizosphere without compressing the soil pores.
Pro-Tip: Maintaining a precise 30-degree angle minimizes the surface area of the wound on the grass rhizomes. This limits the "bleeding" of intracellular fluids and reduces the risk of opportunistic fungal infections.
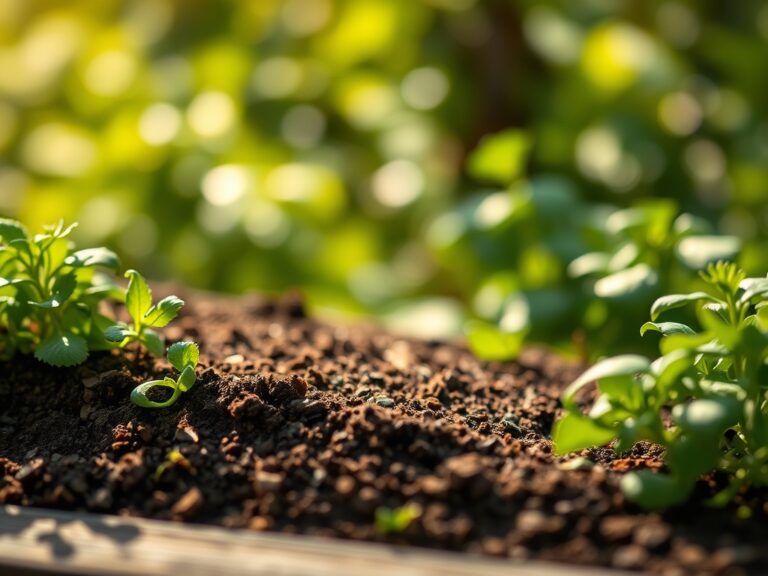
Establishing the New Stand
Once the sod is laid, immediate contact between the root zone and the new substrate is vital. Use a weighted roller to eliminate air pockets. The goal is to facilitate mycorrhizal symbiosis between the existing roots and the fungi in the new soil.
Pro-Tip: Eliminating air pockets prevents root desiccation. It also allows for the immediate re-establishment of the Cation Exchange process between the root hairs and the soil particles.
The Clinic:
Physiological disorders often arise from poor blade maintenance or improper soil chemistry.
- Symptom: White, frayed leaf tips.
Solution: This indicates a dull blade that is "shredding" rather than cutting. Sharpen the blade immediately to prevent excessive moisture loss.
2. Symptom: Yellowing of the center of the sod roll (Chlorosis).
Solution: This is often Nitrogen deficiency. Apply a quick-release 21-0-0 Ammonium Sulfate at a rate of 0.5 pounds of N per 1,000 square feet to restore chlorophyll production.
3. Symptom: Localized wilting despite irrigation.
Solution: Check for "localized dry spot" caused by hydrophobic soil. Use a soil moisture meter to verify penetration and apply a surfactant to break surface tension.
4. Symptom: Purple tint on lower leaf sheaths.
Solution: This is Phosphorus deficiency, common in cold soils. Ensure the new site has a starter fertilizer with a 1-2-1 NPK ratio to support ATP production and root growth.
Maintenance:
Post-transplant care requires precision. Provide 1.5 inches of water per week, delivered in three separate half-inch sessions to ensure deep penetration to the 6-inch depth mark. Use a soil moisture meter to verify that the interface between the new sod and the existing soil remains saturated but not anaerobic.
For manual edging and adjustment, use a hori-hori knife to slice through thick mats of stolons. If any woody stems or invasive roots are encountered, use bypass pruners to make clean cuts. Avoid using "anvil" style pruners; they crush the vascular tissue. Every 500 square feet of cutting, stop to inspect the blade for nicks caused by stones. Use a handheld whetstone for field touch-ups to maintain the edge.
The Yield:
Harvesting sod is a race against desiccation. Once the blade has passed through the soil, the sod should be rolled and moved to a shaded area within 30 minutes. The internal temperature of a sod stack can rise rapidly due to microbial respiration.
To maintain "day-one" freshness, the sod must be installed within 24 hours of harvest. If delays occur, unroll the sod on a flat surface and keep it moist. This prevents the "fermentation" of the grass blades in the center of the roll; it also keeps the photoperiod response active, preventing the grass from entering a stressed, yellowed state.
FAQ:
How often should I sharpen a sod blade?
Sharpen the blade every 2,000 square feet of cutting in sandy soil. In rocky or heavy clay soils, inspect the edge every 500 square feet. A sharp edge prevents tearing of the grass rhizomes and stolons.
What is the best angle for a sod blade?
Maintain a 30-degree bevel on the cutting edge. This angle provides the optimal balance between sharpness and durability. An angle too steep will dull quickly; an angle too shallow will not penetrate the thatch layer effectively.
Can I use a bench grinder for sharpening?
Yes, but use caution to avoid overheating the steel. If the metal turns blue, the temper is lost and the blade will become brittle. Use light passes and frequently dip the blade in water to dissipate heat.
Why is my sod turning brown after a clean cut?
This is likely transpiration stress. Even with a sharp blade, the root system is reduced by 90 percent. Apply water immediately after installation to restore turgor pressure and prevent the grass from entering permanent wilting point.
What NPK ratio is best for new sod?
Use a 10-20-10 or similar high-phosphorus starter fertilizer. Phosphorus is critical for root development and energy transfer during the establishment phase. Avoid high nitrogen immediately, as it may force top growth before the roots can support it.