9 Best Lubricants for Post Rams
The smell of damp earth after a heavy rainfall indicates a shift in soil porosity and gas exchange. When the turgor pressure of a healthy leaf is at its peak, the cellular walls are rigid and the plant is actively transpiring. This peak physiological state is the ideal time to install fencing or support structures. Using the best lubricants for post rams ensures that mechanical equipment slides through the soil profile without compacting the rhizosphere or damaging the delicate root architecture of nearby specimens. A post rammer operates under high friction; without proper lubrication, the metal components heat up, potentially scorching the surrounding soil and killing beneficial microorganisms.
Maintaining a post rammer requires understanding the friction points between the weighted head and the guide rails. When the metal-on-metal contact is not mitigated, the tool loses efficiency and the physical exertion required increases. This guide examines the technical specifications of lubricants that protect both your equipment and the integrity of the soil. We focus on non-toxic, high-viscosity options that prevent heavy metal leaching into the substrate.
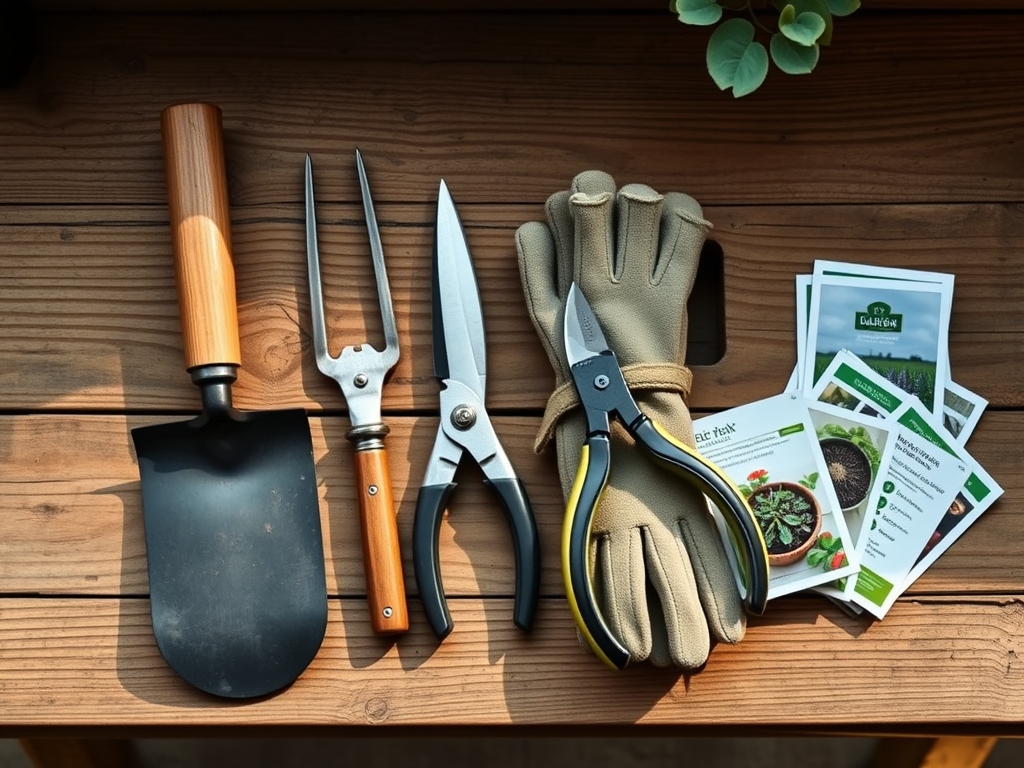
Materials:
Successful installation begins with the substrate. The ideal medium is a **friable loam** with a **Cation Exchange Capacity (CEC) between 15 and 25 meq/100g**. This soil texture allows for easy penetration while providing enough structural grip for the post. The soil pH should be maintained between **6.0 and 7.0** to prevent the corrosion of galvanized steel posts.
Before ramming, analyze your nutrient profile. A standard 10-10-10 NPK ratio is sufficient for general maintenance, but for establishing heavy woody perennials near your fence line, a 5-10-10 NPK ratio encourages root development over excessive vegetative growth. The lubricant you choose must be compatible with these chemical profiles. Lithium-based greases are standard for durability, but biodegradable vegetable-based oils are superior for the rhizosphere as they do not disrupt the mycorrhizal symbiosis necessary for nutrient uptake.
Timing:
In Hardiness Zones 5 through 8, the window for post installation is narrow. You must wait until the ground has thawed completely, typically two weeks after the last frost date. Attempting to use a post rammer in frozen soil (permafrost) will cause the lubricant to seize and the post to shatter.
The biological clock of your landscape dictates the schedule. Install posts during the dormant season or the early vegetative stage before the plant enters its reproductive phase. Once a plant shifts its energy toward flowering, its ability to recover from root zone disturbance decreases. Monitoring the photoperiod helps predict this transition; as days lengthen, the increase in auxin production signals the plant to begin rapid cell division.
Phases:

Sowing and Site Prep
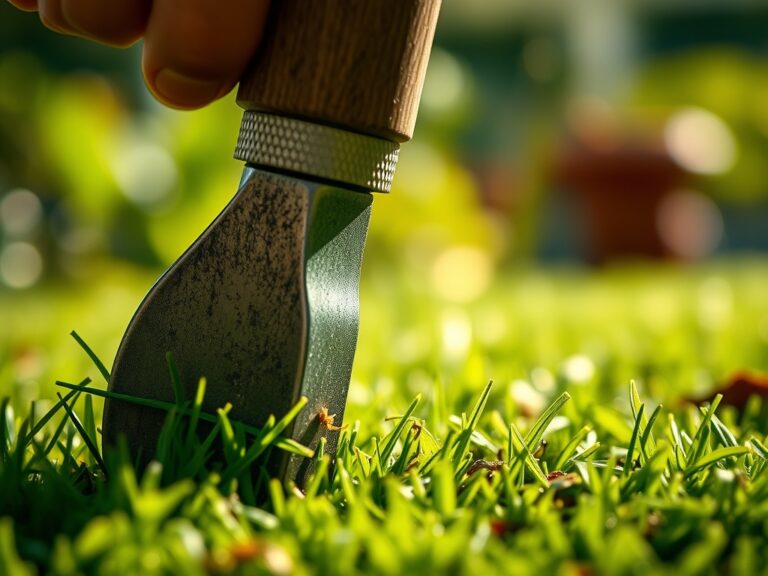
Clear the area of all competing vegetation within a 12-inch radius of the post site. Use a hori-hori knife to cut through stubborn taproots. Apply a thin layer of high-pressure grease to the rammer's internal sleeve. This reduces the heat generated during the first 50 strikes.
Pro-Tip: Proper lubrication prevents soil compaction. When a rammer moves smoothly, it delivers a clean vertical force that minimizes lateral vibration, which otherwise collapses the macro-pores in the soil and suffocates aerobic bacteria.
Transplanting and Placement
Position the post and ensure it is plumb. Apply a silicone-based spray to the exterior of the post if you are working in heavy clay. Clay has high stickiness (plasticity) and can create a vacuum effect that resists the rammer.
Pro-Tip: Maintaining a smooth glide via lubrication exploits phototropism later. If a post is rammed crookedly due to equipment sticking, the resulting shadow can cause nearby plants to grow at an angle as they seek the light source.
Establishing the Structure
Once the post reaches the desired depth (typically 24 to 36 inches for stability), clean the rammer immediately. Residual lubricant can attract dust and grit, which acts as an abrasive during the next use.
Pro-Tip: Minimizing equipment vibration through lubrication prevents auxin suppression. Excessive mechanical shock to the soil can trigger a stress response in nearby plants, causing them to halt vertical growth in favor of defensive root thickening.
The Clinic:
Physiological disorders in the landscape often stem from mechanical errors during installation.
Symptom: Interveinal chlorosis (yellowing between leaf veins).
Solution: This is often a sign of Nitrogen deficiency caused by soil compaction. If the post rammer was not lubricated, the extra force required likely crushed the soil structure. Use a broadfork to aerate the soil and apply a liquid 20-0-0 NPK fertilizer to jumpstart recovery.
Symptom: Leaf wilting despite adequate moisture.
Solution: Check for root shear. If the post was rammed too close to a specimen, the physical displacement may have severed the primary lateral roots. Apply a rooting hormone and increase irrigation to 2.0 inches per week to compensate for the lost root mass.
Symptom: Stunted growth and dark purple leaves.
Solution: This indicates Phosphorus deficiency, often caused by a pH imbalance. Lubricants containing heavy petroleum distillates can leach and lower the pH. Apply dolomitic lime to raise the pH back to the 6.5 range.
Maintenance:
Post-installation care is vital for the longevity of both the fence and the surrounding flora. Use a soil moisture meter to ensure the area receives exactly 1.5 inches of water per week at the drip line. Overwatering can lead to anaerobic conditions and root rot.
Clean your tools with a stiff brush and re-apply a protective coat of oil to your bypass pruners and hori-hori knife. Regular maintenance prevents the spread of pathogens between plants. If you notice rust on your post rammer, sand it down with 200-grit sandpaper before applying a fresh layer of molybdenum disulfide grease. This specific lubricant is rated for high-impact loads and will ensure the tool is ready for the next season.
The Yield:
If your posts are supporting fruiting vines or heavy flowers, harvest timing is critical. For grapes or berries, measure the Brix level (sugar content) using a refractometer. Harvest in the early morning when turgor pressure is highest. This ensures the fruit is firm and has a longer shelf life.
Handle the harvest with care to prevent bruising. Place the produce in a cool, shaded area immediately to slow down senescence, the natural aging process of plant tissues. Proper post-harvest handling can extend the "day-one" freshness by up to 72 hours for most soft fruits.
FAQ:
What is the best lubricant for a manual post rammer?
A high-viscosity lithium grease or a molybdenum disulfide spray is best. These products withstand high-impact friction and prevent metal-to-metal binding. For environmentally sensitive areas, use a biodegradable vegetable-based lubricant to protect the soil chemistry.
How does lubrication affect soil health?
Properly lubricated tools require fewer strikes to drive a post. This reduces lateral soil compaction and preserves the macropores needed for oxygen and water to reach the rhizosphere, ensuring the survival of beneficial soil microbes.
Can I use WD-40 on my post rammer?
WD-40 is a solvent and water displacer, not a heavy-duty lubricant. It is too thin for the high-impact forces of a post rammer. Use a dedicated gear grease or a heavy-duty silicone lubricant for better equipment protection.
When should I avoid installing posts?
Avoid installation when the soil is saturated or frozen. Saturated soil (above field capacity) leads to severe compaction, while frozen soil can damage the tool and the post. Wait for a dry window when the soil is friable.