10 Basic Steps to Layer soil for Herbs
Crushing a handful of damp earth reveals the metallic scent of geosmin; it is the olfactory signal of a healthy microbial population. When you snap a stem of rosemary or basil, the resistance you feel is the result of high turgor pressure within the xylem. Achieving this level of plant health requires more than surface-level care. You must master the specific steps to layer soil for herbs to ensure the rhizosphere receives optimal oxygen and nutrient flow. This structural approach prevents the anaerobic conditions that lead to root rot while maximizing the Cation Exchange Capacity (CEC) of the growing medium. A well-stratified container or bed mimics the natural horizons of virgin soil. It facilitates the movement of water through capillary action and provides a steady release of minerals. By focusing on the architecture of the soil, you provide a foundation for essential oil production and vigorous vegetative growth.
Materials:
The success of your herb garden depends on the chemical composition and physical texture of your substrate. Most culinary herbs require a pH range between 6.0 and 7.0. You must source materials that create a friable loam; this is a soil texture that crumbles easily and does not form a hard clod when squeezed.
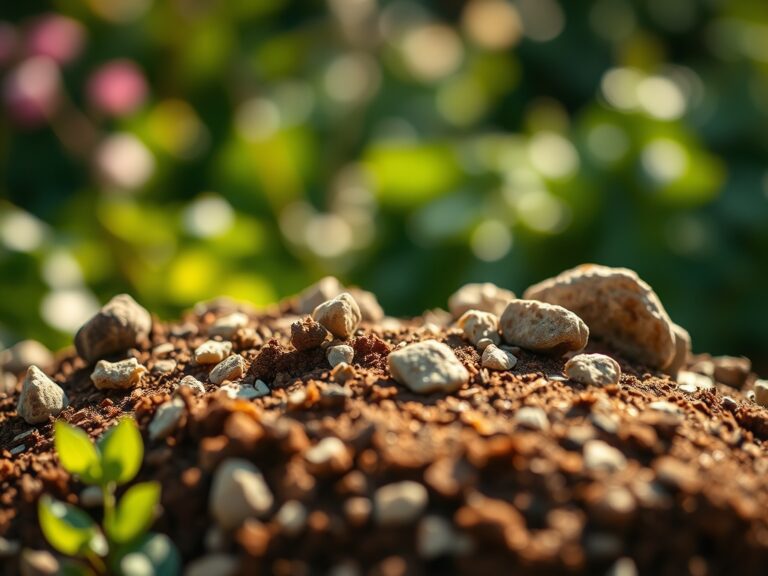
- Base Drainage Layer: Use coarse horticultural grit or perlite. These materials are chemically inert and provide the macro-pores necessary for gas exchange.
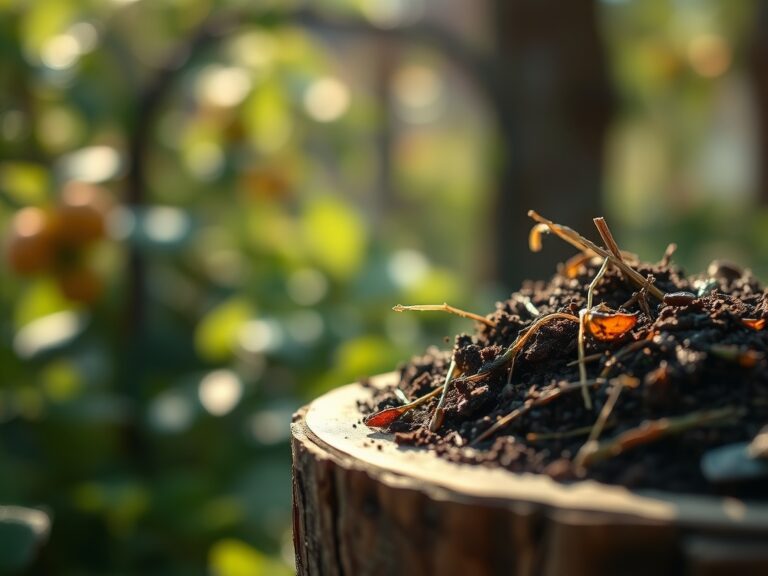
- Organic Foundation: Well-aged compost or leaf mold. This should have an NPK ratio of approximately 1-1-1 to provide a slow-release baseline of nutrients.
- Nutrient Core: A blend of blood meal (12-0-0), bone meal (3-15-0), and potassium sulfate (0-0-50). The goal is a balanced NPK of 5-5-5 for general growth.
- Top Dressing: Fine-textured vermiculite or screened peat moss. This layer manages moisture at the surface to prevent the crusting that inhibits seedling emergence.
Timing:
Timing is dictated by the USDA Hardiness Zones and the specific photoperiod requirements of the species. In Zones 5 through 7, the window for establishing perennial herbs like sage and thyme begins two weeks after the last predicted frost. For annuals like basil, wait until soil temperatures consistently reach 65 degrees Fahrenheit (18 degrees Celsius).
The biological clock of the plant moves from the vegetative stage to the reproductive stage as day length increases. Most herbs reach peak essential oil concentration just before the transition to the reproductive stage (flowering). If you plant too late in the season, high temperatures can trigger premature senescence, where the plant diverts energy from leaf production to seed development. Monitor the local frost-date windows and use a soil thermometer to ensure the rhizosphere is warm enough to support active metabolic processes.
Phases:
Sowing
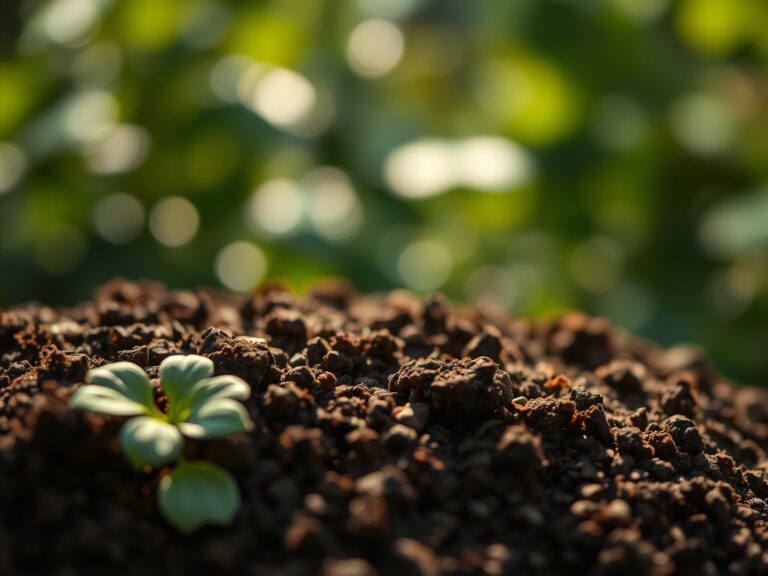
Begin by saturating the base layers of your soil. Place seeds at a depth of two times their diameter. For very fine seeds like oregano, surface sowing is required because they are photoblastic; they need light to trigger germination.
Pro-Tip: Maintain consistent surface humidity to support the emergence of the radicle. The biological why involves turgor pressure; if the seedling loses water faster than the undeveloped root system can replace it, the cellular walls collapse and the plant dies.
Transplanting
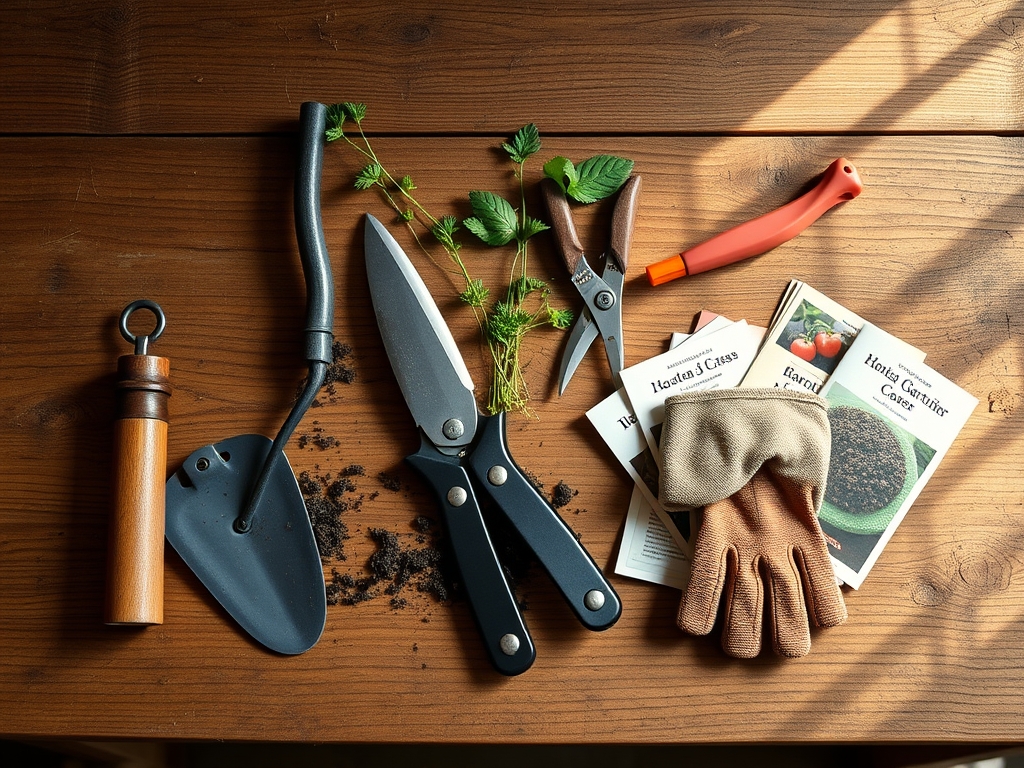
When moving a seedling from a starter tray to the layered bed, use a hori-hori knife to create a hole twice the size of the root ball. Ensure the transition zone between the stem and roots sits exactly at the soil surface.
Pro-Tip: Dust the root ball with endomycorrhizal fungi. The biological why is mycorrhizal symbiosis; these fungi extend the reach of the root system by hundreds of times, significantly increasing the uptake of phosphorus and water.
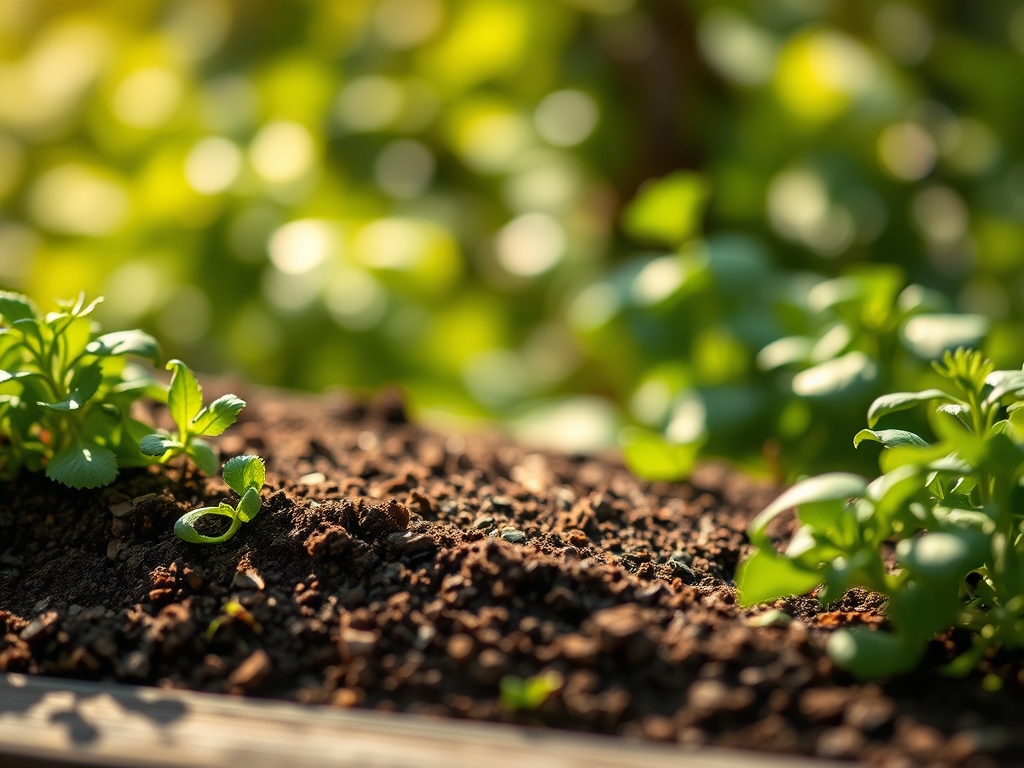
Establishing
During the first 14 to 21 days, the plant focuses on root expansion. Avoid heavy nitrogen fertilization during this window to prevent leggy growth that the root system cannot yet support.
Pro-Tip: Pinch off the terminal buds of upright herbs like basil. The biological why is auxin suppression; removing the dominant apical meristem stops the flow of the hormone auxin down the stem, which allows lateral buds to grow and creates a bushier plant.
The Clinic:
Physiological disorders often mimic disease but are usually the result of environmental stress or nutrient imbalances.
- Symptom: Interveinal chlorosis (yellowing between green leaf veins).
Solution: This indicates a Magnesium deficiency. Apply a solution of 1 tablespoon of Epsom salts per gallon of water. - Symptom: Tip burn on new growth.
Solution: This is often a Calcium transport issue caused by inconsistent watering. Maintain a steady moisture level to ensure calcium moves through the transpiration stream. - Symptom: Purpling of lower leaves.
Solution: This is a classic sign of Phosphorus deficiency, often occurring in cold soils where the nutrient becomes chemically unavailable. Increase soil temperature or apply a high-phosphorus liquid feed. - Fix-It (Nitrogen Chlorosis): If the entire plant turns pale green or yellow, it lacks Nitrogen. Top-dress with blood meal or a fish emulsion to provide an immediate nitrogen boost.
Maintenance:
Precision is required for long-term herb health. Most Mediterranean herbs (rosemary, lavender) require only 1 inch of water per week, while leafy herbs (mint, cilantro) need 1.5 to 2 inches. Always apply water at the drip line rather than the foliage to prevent fungal pathogens.
Use a soil moisture meter to verify that the moisture has reached a depth of 6 inches. For pruning, use sharp bypass pruners to make clean cuts at a 45-degree angle just above a leaf node. This prevents water from pooling on the cut surface and reduces the risk of infection. Use your hori-hori knife to slice through the soil around the perimeter of the plant once a season to prune the roots; this encourages a denser, more efficient root system within the layered soil.
The Yield:
Harvesting should occur in the early morning after the dew has evaporated but before the sun reaches its zenith. This is when the concentration of volatile oils is at its peak. For leafy herbs, never remove more than one-third of the total biomass at a single time to avoid stalling the plant's growth.
Post-harvest handling is critical for "day-one" freshness. Immediately place the cut stems in a container of cool water or wrap them in a damp paper towel and refrigerate at 40 degrees Fahrenheit. For woody herbs like rosemary, avoid bruising the leaves during harvest, as this causes the rapid oxidation of essential oils and reduces the flavor profile.
FAQ:
How deep should the soil layers be for herbs?
A total depth of 12 to 18 inches is ideal. The drainage layer should be 2 inches; the nutrient-rich core 8 inches; and the top dressing 2 inches. This ensures sufficient space for the rhizosphere to expand.
What is the best NPK ratio for herbs?
A balanced 10-10-10 or 5-5-5 ratio is best for general growth. Avoid high-nitrogen fertilizers (like 30-0-0) because they produce rapid growth with very low essential oil concentration, resulting in less flavorful herbs.
Can I use tap water for my herbs?
Most herbs tolerate tap water, but chlorine can damage sensitive soil microbes. Let tap water sit for 24 hours to allow the chlorine to dissipate, or use a filter to ensure the microbial health of your layered soil.
How often should I check soil pH?
Test your soil once every six months. Herbs are sensitive to pH fluctuations which affect nutrient availability. Use a digital pH meter for accuracy and adjust with lime to raise pH or sulfur to lower it.