9 Simple Ways How to Maintain Garden Sieves
The sharp scent of damp humus and the high turgor pressure of a well hydrated seedling are the rewards of precise soil management. Achieving that ideal substrate requires mechanical consistency; specifically, the integrity of your screening equipment. If you want to master how to maintain garden sieves, you must treat them as precision laboratory instruments rather than crude construction tools. Proper maintenance ensures that your soil texture remains uniform, supporting the delicate rhizosphere of developing root systems.
A sieve with compromised mesh or accumulated oxidation will fail to produce the friable loam necessary for seed starting. Residual organic matter left on the wire can harbor pathogens or alter the mineral balance of the next batch of soil. By implementing a rigorous cleaning and storage protocol, you preserve the tool's structural integrity and ensure that your soil amendments are processed to the exact micron level required for optimal drainage and aeration.
Materials:

The ideal substrate for testing your sieve is a friable loam with a pH between 6.2 and 6.8. When preparing seed starting mixes, the NPK ratio should remain low; approximately 1-1-1 or 2-3-1; to prevent osmotic stress on emerging radicals. To maintain your equipment, you will need a stiff nylon brush, a specialized lubricant such as linseed oil, and a solution of 10 percent bleach or isopropyl alcohol for sterilization.
The physical texture of your soil significantly impacts sieve wear. High clay content increases the Cation Exchange Capacity (CEC) but also adds mechanical stress and moisture retention that leads to rapid oxidation of steel mesh. In contrast, sandy soils with high silica content act as an abrasive, wearing down the galvanized coating of the screen over time.
Timing:
In USDA Hardiness Zones 5 through 7, sieve maintenance should be performed during the dormant season, typically between the first hard frost and the late winter thaw. This window ensures your equipment is ready for the spring "Biological Clock" when the transition from vegetative to reproductive stages requires massive soil preparation.
For those in Zones 8 through 10, maintenance is a rolling requirement due to the lack of a true physiological dormancy period for many perennials. Perform a deep clean every 90 days. Always inspect the mesh integrity before the photoperiod reaches 12 hours, as this marks the surge in planting activity and the need for high-volume soil processing.
Phases:

Sowing
Before the first seed hits the tray, inspect the sieve for "blinded" holes where dried clay has occluded the mesh. Use a wire brush to clear these blockages. This ensures that the fine particles passing through provide maximum seed-to-soil contact.
Pro-Tip: Uniform particle size facilitates consistent moisture tension. This prevents localized hypoxia, which can trigger anaerobic pathogens that cause "damping off" in young seedlings.
Transplanting
During the transplant phase, use a larger 1/2-inch mesh to incorporate compost into the native soil. After use, rinse the sieve immediately to remove high-CEC organic matter that can trap moisture against the metal.
Pro-Tip: Maintaining a clean sieve prevents the transfer of soil-borne fungi that disrupt mycorrhizal symbiosis. Healthy fungal networks are essential for the uptake of phosphorus and micronutrients.
Establishing
As plants enter the rapid vegetative growth stage, sieves are often used for top-dressing with vermicast or aged manure. Clean the sieve with a 10 percent bleach solution after processing these high-nitrogen materials to prevent ammonia-induced corrosion.
Pro-Tip: Proper top-dressing prevents the formation of a soil crust. A crust-free surface allows for better gas exchange, ensuring that carbon dioxide can exit the rhizosphere while oxygen enters to support root respiration.
The Clinic:
Physiological disorders in the garden are often traced back to poor soil structure caused by faulty sieving.
- Symptom: Nitrogen Chlorosis. If the sieve mesh is too large, it may fail to filter out uncomposted wood chips. These chips rob nitrogen from the soil as they decompose. Solution: Switch to a 1/4-inch or 1/8-inch mesh to ensure only fully decomposed organic matter enters the bed.
- Symptom: Blossom End Rot. This is often caused by uneven moisture levels resulting from poorly graded soil. Solution: Use a sieve to create a uniform mix of peat and perlite, ensuring consistent calcium mobility through the xylem.
- Symptom: Stunted Root Growth. This occurs when large stones or clods create mechanical resistance. Solution: Sift all transplanting soil to a depth of 12 inches using a heavy-duty garden riddle.
Fix-It: If you notice iron chlorosis (yellowing between leaf veins), check your sieve for rust. While iron oxide is not directly toxic, a rusting sieve indicates poor tool hygiene that may be introducing pathogens into your high-value potting mixes.
Maintenance:
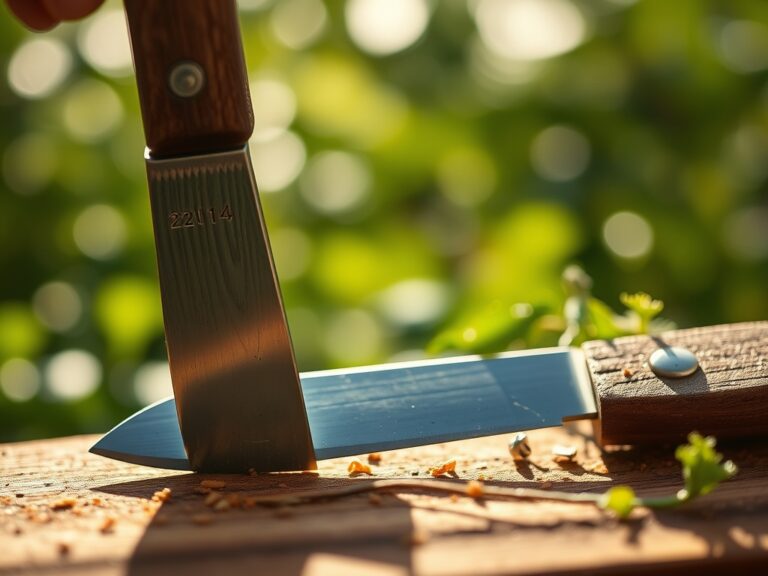
To maintain garden sieves properly, you must treat them with the same care as a hori-hori knife or professional bypass pruners. After every use, tap the frame firmly against a wooden surface to dislodge trapped particulates. Use a soil moisture meter to ensure your compost is below 20 percent moisture before sifting; sifting wet material is the primary cause of mesh warping.
Apply a light coat of food-grade mineral oil to the mesh every month. Store the sieves vertically in a low-humidity environment to prevent "sag" in the center of the screen. If the mesh becomes loose, use a hammer and galvanized staples to re-tension the screen against the wooden frame, ensuring a taut surface for efficient material processing.
The Yield:
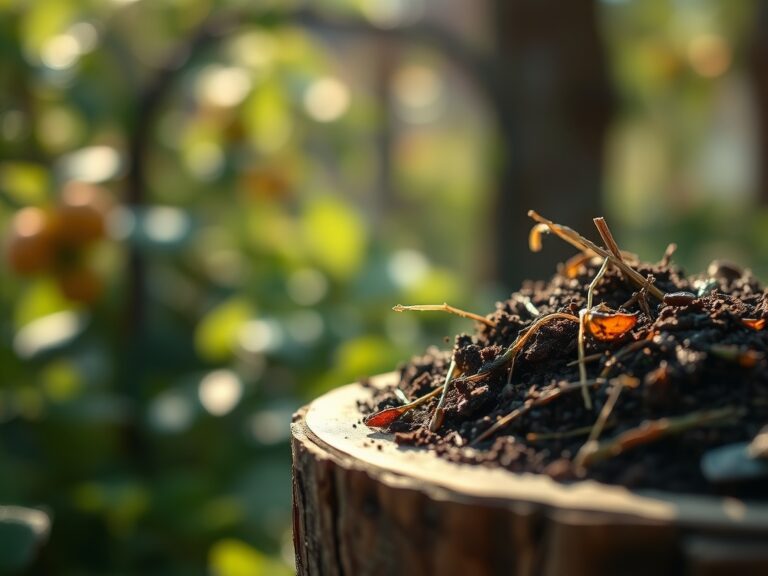
When harvesting root crops like carrots or parsnips, a clean sieve is an invaluable tool for field-cleaning. Sift the loosened soil away from the taproots immediately after extraction. This allows the epidermis of the root to dry slightly, which increases storage life.
For "day-one" freshness, handle the plants post-harvest by removing excess soil with a soft-mesh sieve. This prevents the abrasive action of sand particles from damaging the delicate skin of the produce. Store harvested goods in a cool, dark environment where humidity is maintained at 85 to 95 percent to preserve turgor.
FAQ:
How often should I sterilize my garden sieve?
Sterilize the mesh after processing any diseased plant material or raw manure. Use a 10 percent bleach solution or 70 percent isopropyl alcohol. This prevents the cross-contamination of pathogens like Fusarium or Pythium throughout your growing beds.
What is the best way to remove rust from an old sieve?
Use a wire brush or steel wool to remove loose flakes. Soak the mesh in white vinegar for 12 to 24 hours, then neutralize with a baking soda solution. Dry the metal immediately and apply a protective layer of linseed oil.
Can I use a garden sieve for wet compost?
Avoid sifting material with a moisture content above 30 percent. Wet compost clumps together, causing "blinding" of the mesh and putting excessive weight on the screen. This can lead to permanent sagging or tearing of the wire.
What mesh size is best for general gardening?
A 1/4-inch (6mm) mesh is the standard for general soil preparation. It effectively removes large stones and debris while allowing essential organic matter to pass through. For fine seed starting mixes, a 1/8-inch (3mm) mesh is required.
How do I prevent the wooden frame from rotting?
Treat the wood with a non-toxic sealant like tung oil or raw linseed oil. Ensure the sieve is stored in a well ventilated area off the ground. Never leave a sieve resting in damp soil or exposed to direct precipitation.