10 Expert Ways How to Prep for Orchard Planting
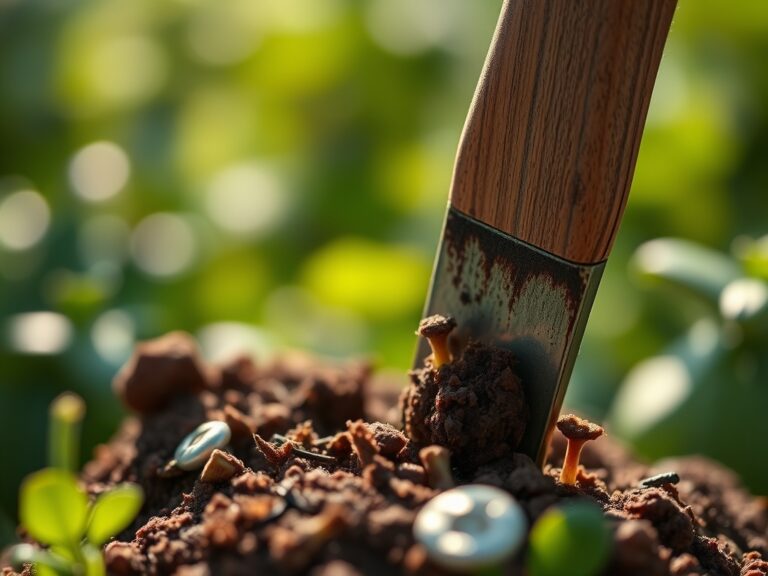
The smell of damp earth after a deep tilling reveals the true potential of a site. When you crush a handful of soil and it holds its shape before shattering under slight pressure, you have found the structural sweet spot for root expansion. Success is not found in the act of digging a hole but in the months of rigorous site modification. Mastering how to prep for orchard planting requires a clinical understanding of soil physics and tree physiology. You are building a permanent biological infrastructure that must sustain woody perennials for decades.
Materials:
The foundation of any successful orchard is a **friable loam** with a high **Cation Exchange Capacity (CEC)**. This measurement dictates the soil’s ability to hold and release essential nutrients like calcium, magnesium, and potassium. For most pome and stone fruits, aim for a **soil pH between 6.0 and 6.8**. If your test results show a pH below 5.5, incorporate pelletized lime at a rate of **50 pounds per 1,000 square feet** to neutralize acidity.
Nutrient preparation requires specific NPK ratios tailored to root development rather than leaf flush. Prior to planting, focus on a 10-20-10 NPK ratio. The higher phosphorus content (P) is critical for ATP production and cellular division in developing root tips. Avoid high nitrogen (N) inputs during the prep phase; excess nitrogen can lead to succulent growth that is highly susceptible to late spring frosts and pathogen infiltration. Ensure you have elemental sulfur on hand if your soil is alkaline, as high pH levels lock up micronutrients like iron and manganese, leading to interveinal chlorosis.
Timing:
Orchard establishment is dictated by the USDA Hardiness Zone and the specific chilling hour requirements of your selected cultivars. Most deciduous fruit trees require a dormant period between 32 and 45 degrees Fahrenheit to reset their biological clocks. In Zones 5 through 7, the ideal window for site preparation is the autumn prior to a spring planting. This allows soil amendments to chemically integrate into the rhizosphere.
The transition from the vegetative stage to the reproductive stage is a multi-year process. Planting too early in the spring while the ground is still saturated can lead to soil compaction and anaerobic conditions, which kill the fine feeder roots responsible for water uptake. Monitor the soil temperature; once it consistently hits 45 degrees Fahrenheit, the roots begin their first flush of growth. This is the biological signal that the site must be ready for the trees to transition from dormancy to active establishment.
Phases:

Sowing and Cover Cropping
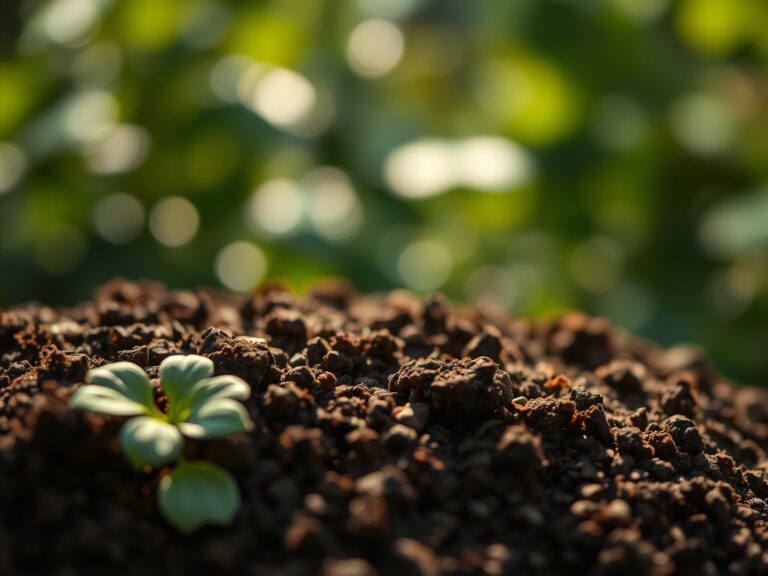
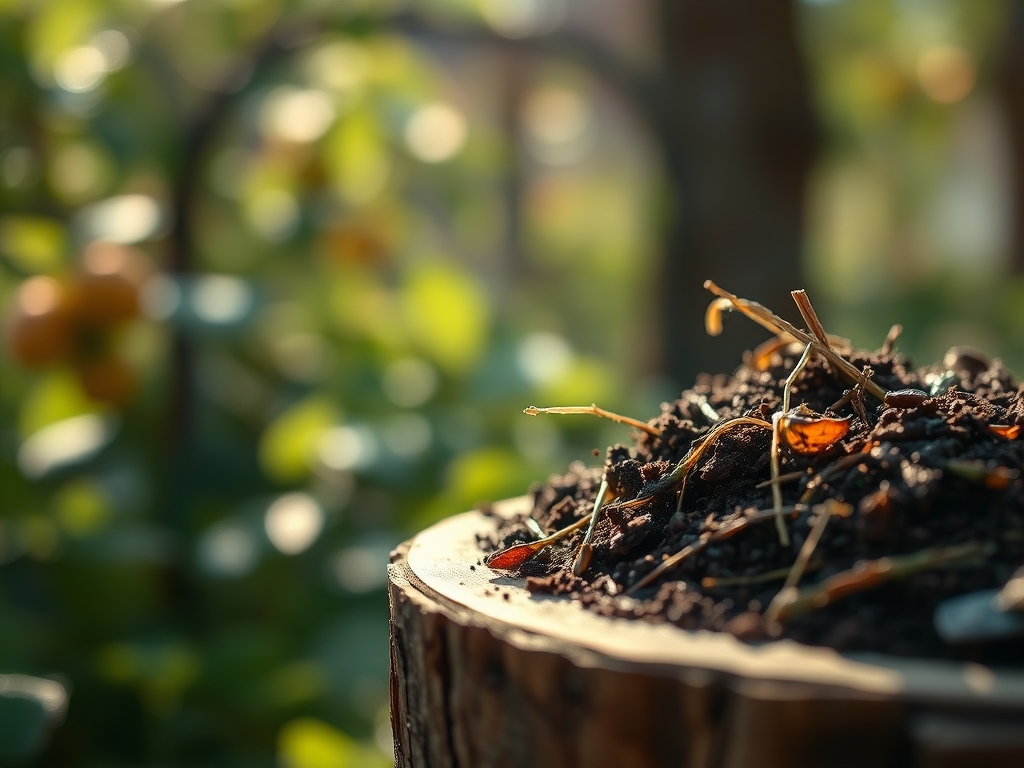
Before a single tree arrives, sow a cover crop of crimson clover or hairy vetch. These legumes engage in a symbiotic relationship with Rhizobium bacteria to fix atmospheric nitrogen into the soil. This biological nitrogen is more stable than synthetic urea and becomes available as the cover crop decomposes.
Pro-Tip: Cover cropping increases mycorrhizal symbiosis. These fungal networks extend the reach of the tree's root system by up to 100 times, significantly increasing the uptake of immobile nutrients like phosphorus.
Transplanting and Root Management
When the bare-root trees arrive, they must be kept hydrated to maintain turgor pressure. Dig a hole twice as wide as the root spread but no deeper than the root flare. Planting a tree too deep suffocates the trunk bark and invites Phytophthora root rot. Ensure the graft union remains at least 2 to 3 inches above the final soil line.
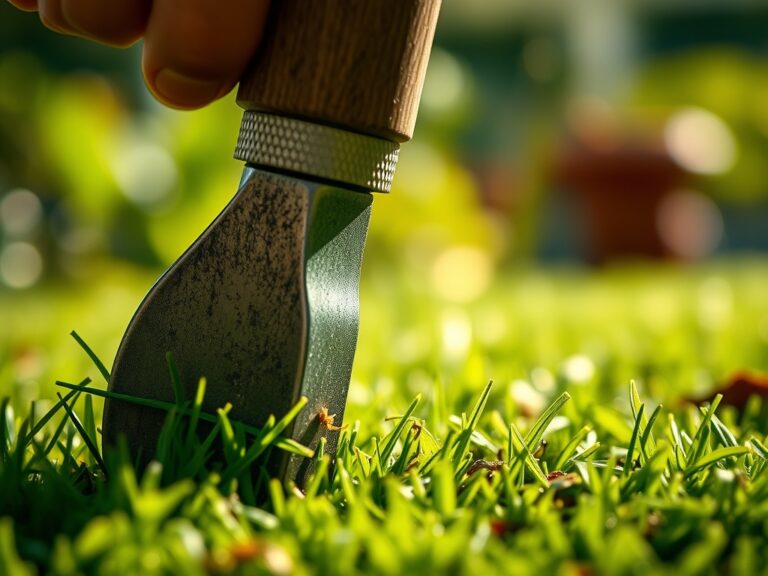
Pro-Tip: Use a sharp hori-hori knife to prune any circling or damaged roots. This stimulates the production of auxins, plant hormones that signal the tree to generate new, lateral root growth into the surrounding native soil.
Establishing and Structural Pruning
Immediately after planting, prune the central leader to a height of 30 inches. This might seem aggressive, but it restores the balance between the reduced root system and the canopy. This action suppresses apical dominance and encourages the development of strong scaffold branches.
Pro-Tip: This initial heading cut utilizes phototropism. By removing the top bud, you redirect the tree's energy to lower buds, ensuring a lower center of gravity and easier harvesting in future years.
The Clinic:
Physiological disorders often mimic infectious diseases. Accurate diagnosis is essential for effective intervention.
- Symptom: Yellowing of older leaves while veins remain green.
Solution: This is Magnesium deficiency. Apply Epsom salts (Magnesium Sulfate) at a rate of 1 tablespoon per gallon of water to restore chlorophyll production. - Symptom: Stunted growth and "little leaf" syndrome at the branch tips.
Solution: This indicates a Zinc deficiency, common in high pH soils. Apply a chelated zinc foliar spray during the early growing season. - Symptom: Bark splitting or "sunscald" on the southwest side of the trunk.
Solution: This is a physical reaction to rapid temperature fluctuations. Apply a 50/50 mixture of white latex paint and water to the trunk to reflect thermal energy.
Fix-It for Nitrogen Chlorosis: If the entire tree appears pale green or yellow, apply a quick-release calcium nitrate fertilizer. Calcium improves cell wall thickness, while the nitrate provides an immediate nitrogen source for protein synthesis.
Maintenance:
Precision is the difference between a surviving tree and a thriving orchard. Provide 1.5 inches of water per week delivered at the drip line. Avoid wetting the foliage, as moisture on the leaves facilitates fungal spore germination. Use a soil moisture meter to verify that the water is penetrating at least 12 inches deep.
Keep a pair of bypass pruners sterilized with 70 percent isopropyl alcohol to prevent the spread of pathogens. Use a hori-hori knife to maintain a 3-foot weed-free circle around the base of each tree. Competition from turfgrass can reduce young tree growth by up to 50 percent due to nutrient sequestration. Apply a 3-inch layer of wood chips to the root zone, keeping the mulch 6 inches away from the trunk to prevent crown rot.
The Yield:
Harvesting is the culmination of the establishment process. For pome fruits like apples, monitor the starch-to-sugar conversion. Use a refractometer to check the Brix level; most commercial-grade fruit should register between 12 and 15 percent. Pick the fruit by lifting and twisting to avoid damaging the fruiting spurs, which hold the potential for next year's crop.
Post-harvest handling is critical for "day-one" freshness. Field heat must be removed immediately. Place the fruit in a 33 to 35 degree Fahrenheit environment with high humidity. This slows the rate of senescence, the biological aging process where the fruit consumes its own stored sugars through respiration. Proper cooling can extend the storage life of late-season varieties for several months.
FAQ:
How deep should I dig the hole for a new fruit tree?
Dig the hole only as deep as the root system. The root flare must remain visible at the soil surface. Digging too deep causes the tree to settle, leading to trunk rot and oxygen deprivation in the rhizosphere.
What is the best NPK ratio for orchard preparation?
Use a 10-20-10 NPK ratio. High phosphorus levels are essential for early root development and cellular energy transfer. Avoid high-nitrogen fertilizers during the first year to prevent weak, leggy growth that is susceptible to pests and frost.
How much water do young fruit trees need?
Deliver 1.5 inches of water per week directly to the drip line. Use a soil moisture meter to ensure the water reaches a depth of 12 inches. Consistent hydration is vital for maintaining turgor pressure and nutrient transport.
When is the best time to plant an orchard?
In most regions, early spring while the trees are still dormant is ideal. This allows the roots to establish in cool, moist soil before the heat of summer increases the transpiration rate and stresses the young vascular system.
Why is soil pH important for fruit trees?
A pH between 6.0 and 6.8 optimizes nutrient availability. If the soil is too acidic or alkaline, essential minerals become chemically locked, leading to deficiencies like nitrogen chlorosis or poor calcium uptake, regardless of how much fertilizer you apply.