5 Best Mesh Sizes for Garden Soil
The smell of damp earth after a spring rain is more than a scent; it is the olfactory signature of geosmin produced by soil bacteria. When a plant maintains high turgor pressure, its leaves stand rigid and efficient, maximizing the surface area available for photosynthesis. Achieving this level of physiological health requires a substrate free of compaction and debris. Selecting the best mesh sizes for garden soil is the fundamental mechanical step in preparing a high functioning rhizosphere. Without proper sifting, heavy clay clods or large stones obstruct root elongation and create anaerobic pockets. A disciplined gardener approaches soil preparation with the same precision as a laboratory technician. By refining the particle size of your compost and topsoil, you optimize the Cation Exchange Capacity (CEC) by increasing the available surface area of organic matter. This ensures that essential ions like potassium and magnesium remain accessible to the root hairs rather than leaching away during heavy irrigation cycles.
Materials:

The ideal substrate for most horticultural applications is a friable loam with a **pH range of 6.2 to 6.8**. This acidity level ensures that phosphorus remains soluble and available for uptake. When preparing your growing medium, target an NPK ratio of **5-10-5** for root establishment or a **10-10-10** for general maintenance. The physical texture must be granular enough to allow for a high infiltration rate while maintaining moisture.
To achieve this, you require a series of hardware cloth screens. The five best mesh sizes for garden soil are:
- 1/2 inch (12.7 mm): Used for primary screening of raw compost to remove large woody debris and stones.
- 1/4 inch (6.35 mm): The standard for general garden beds; it creates a uniform texture that supports stable Cation Exchange.
- 1/8 inch (3.175 mm): Essential for seed starting mixes where delicate radicles require zero resistance.
- 1/16 inch (1.58 mm): Used for top-dressing lawns or fine botanical potting work to ensure rapid nutrient integration.
- 2 mm (Standard Soil Science Sieve): Utilized for precise soil texture analysis to determine the sand, silt, and clay fractions.
Timing:
Timing your soil preparation is governed by the Hardiness Zones and the thermal mass of your garden. In Zones 5 through 7, soil sifting should occur at least three weeks before the last predicted frost date. This allows the sifted medium to settle and for microbial populations to stabilize before planting. The biological clock of a plant dictates that the transition from the vegetative stage to the reproductive stage is triggered by the photoperiod and accumulated Growing Degree Days (GDD).
For cool season crops, soil should reach a consistent 50 degrees Fahrenheit (10 degrees Celsius) at a four inch depth. For warm season crops, wait until the soil temperature hits 65 degrees Fahrenheit (18 degrees Celsius). Sifting wet soil is a mechanical error; it destroys soil structure and leads to massive compaction. Wait until the soil passes the "squeeze test" where it crumbles under slight pressure rather than forming a solid ribbon.
Phases:

Sowing
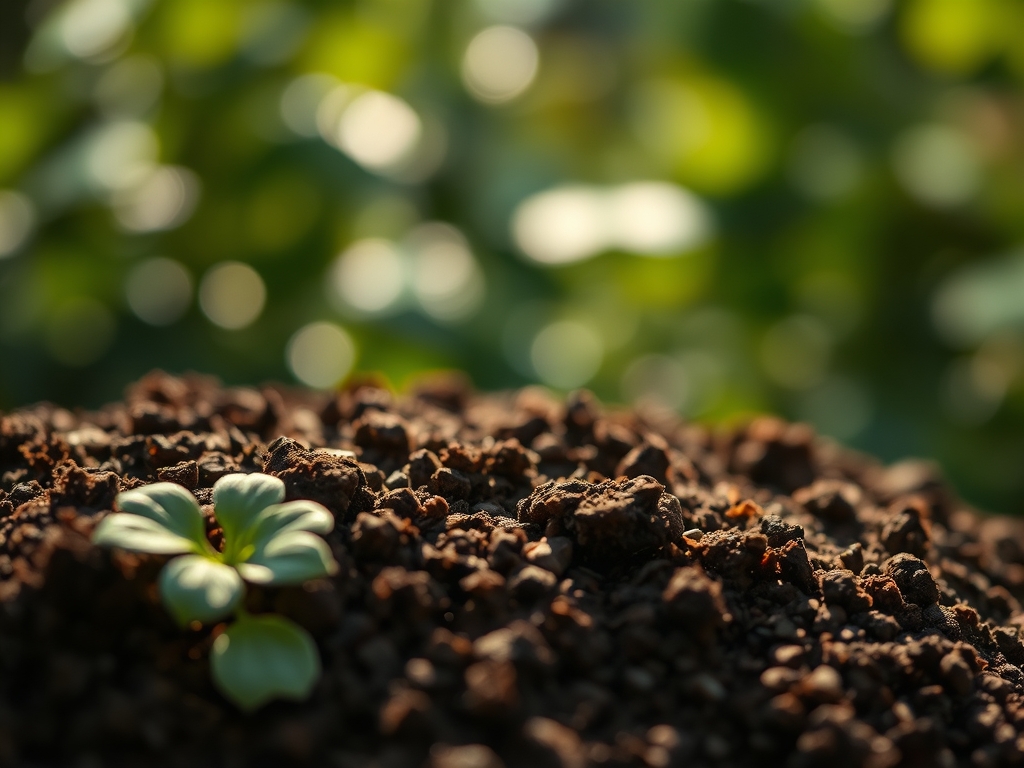
When sowing seeds, use a 1/8 inch mesh to create a fine, uniform cover. This ensures maximum seed to soil contact, which is critical for imbibition. If the soil particles are too large, air pockets will desiccate the emerging radicle before it can establish.
Pro-Tip: Fine sifting facilitates photomorphogenesis. By ensuring a light, uniform covering, you control the exact amount of light reaching the seed, which prevents premature elongation of the hypocotyl.
Transplanting
For transplanting, the receiving hole should be backfilled with soil sifted through a 1/4 inch screen. This size allows for adequate macropores and micropores, balancing oxygen availability with water retention.
Pro-Tip: Sifting removes large debris that can physically damage the mycorrhizal fungi networks. Maintaining these fungal hyphae is essential for the symbiotic transport of phosphorus to the plant.
Establishing
As the plant enters the rapid vegetative growth phase, use a 1/2 inch mesh to prepare a side-dressing of compost. This larger grit provides a slow release of nutrients as the organic matter continues to break down over the season.
Pro-Tip: Coarser top-dressing suppresses auxin production in the lower lateral buds by slightly cooling the soil surface. This encourages the plant to focus energy on vertical growth and apical dominance.
The Clinic:
Physiological disorders often stem from poor soil mechanics or chemical imbalances.
- Symptom: Interveinal chlorosis in young leaves.
Solution: This indicates a Manganese or Iron deficiency. Check the pH immediately; if it is above 7.0, these micronutrients become "locked" and unavailable. Lower the pH using elemental sulfur.
- Symptom: Blossom end rot in Solanaceae species.
Solution: This is caused by a Calcium transport failure. It is rarely a lack of calcium in the soil but rather inconsistent moisture. Use a soil moisture meter to ensure the rhizosphere stays at a consistent 15 to 20 percent moisture content.
- Symptom: Purpling of the underside of leaves.
Solution: Phosphorus deficiency. This often occurs in cold soils where microbial activity is low. Increase the soil temperature using black plastic mulch or wait for the thermal mass to rise.
- Fix-It for Nitrogen Chlorosis: If older leaves are turning uniform pale yellow, apply a high nitrogen fertilizer (such as blood meal) at a rate of 1 pound per 100 square feet.
Maintenance:
Precision maintenance prevents the degradation of your sifted soil structure. Apply exactly 1.5 inches of water per week at the drip line. Use a soil moisture meter to verify that the water is penetrating at least six inches deep. Avoid overhead watering to prevent the spread of fungal spores.
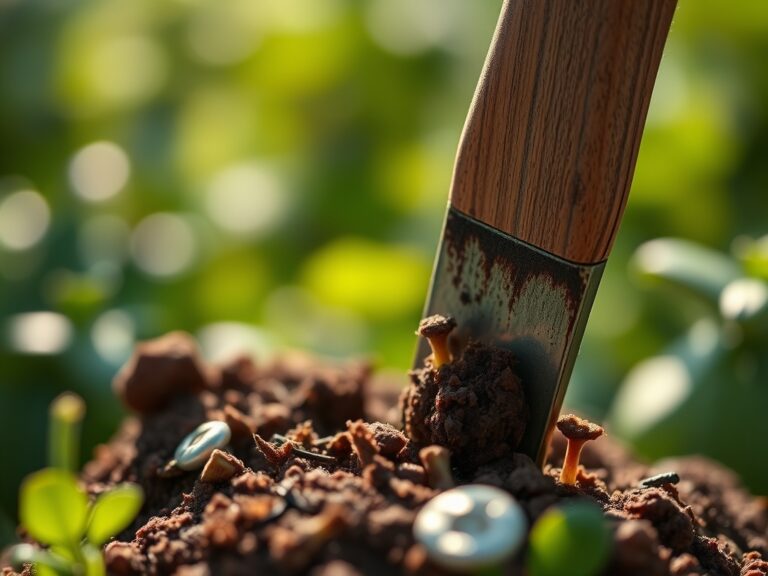
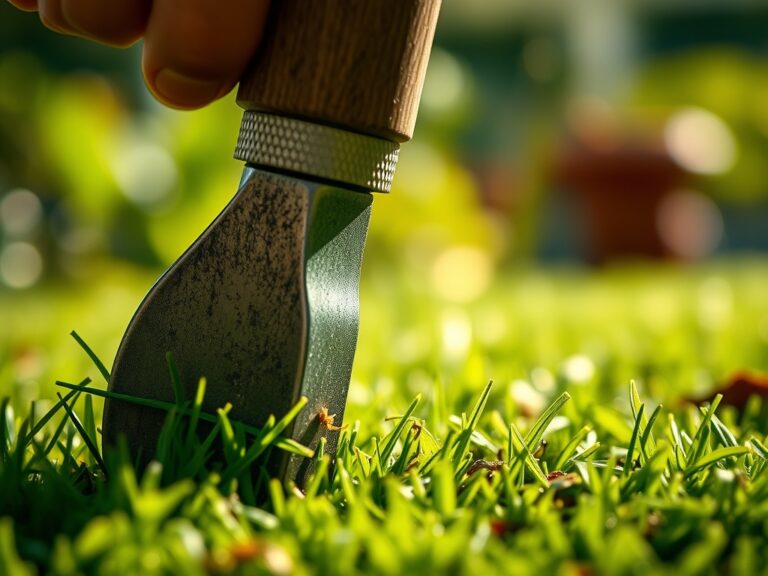
Use a hori-hori knife for precise weeding; its serrated edge allows you to cut taproots deep below the surface without disrupting the surrounding soil structure. For woody perennials, use bypass pruners to make clean 45 degree angle cuts, which promotes rapid callusing and prevents pathogens from entering the vascular system. Annually check for soil compaction with a penetrometer; if the resistance exceeds 200 psi, it is time to re-sift and incorporate more organic matter.
The Yield:
Harvesting is the culmination of precise horticultural management. For leafy greens, harvest in the early morning when turgor pressure is at its peak. This ensures the cells are fully hydrated, extending the shelf life of the produce. Use a sharp, sterilized blade to avoid crushing the vascular tissues (xylem and phloem).
For fruiting crops, monitor the "abscission zone" where the fruit meets the stem. When this area becomes slightly brittle or changes color, the plant is signaling that the fruit has reached physiological maturity. Post-harvest, immediately move the produce to a cool, shaded environment to reduce the respiration rate. Reducing the temperature by 10 degrees Celsius can double the post-harvest longevity of most garden vegetables.
FAQ:
What is the best mesh size for general garden soil?
The 1/4 inch (6.35 mm) mesh is the industry standard. It removes large stones and debris while maintaining a granular structure that supports air porosity and water retention for most vegetable and flower species.
Can I use window screening to sift soil?
Window screen is typically 1/16 inch, which is too fine for general garden soil. It will clog quickly and remove beneficial organic aggregates. Use it only for specialized seed starting or fine top-dressing.
Why should I sift my compost?
Sifting compost through a 1/2 inch mesh ensures that only fully decomposed organic matter enters the garden. It removes "trash" and large woody pieces that can temporarily tie up nitrogen as they continue to break down.
Does sifting soil damage the ecosystem?
Aggressive sifting can temporarily disrupt earthworm tunnels and fungal networks. To minimize impact, only sift the top 4 to 6 inches of the planting row rather than the entire garden bed.
How do I clean my soil screens?
Remove dry debris with a stiff wire brush. If the soil was damp, wash the mesh with a 10 percent bleach solution to prevent the transfer of soil-borne pathogens between different areas of the garden.