7 Accurate Steps to Mark Tree Spacing
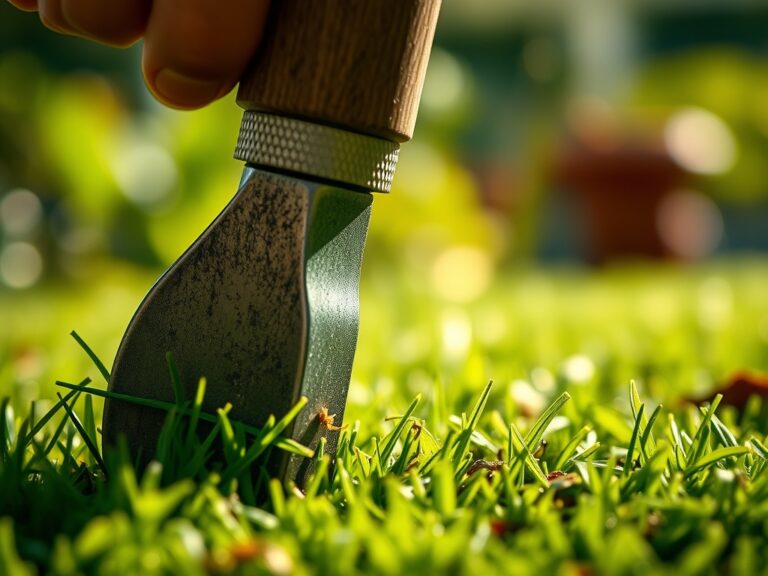
Damp earth releases a sharp, geosmin-heavy scent when the shovel first breaks the surface. This mineral aroma signals a healthy rhizosphere where microbial activity is high. A plant with high turgor pressure exhibits rigid, upright leaves; this internal hydraulic pressure is the first line of defense against environmental stress. Proper planning prevents the catastrophic failure of an overcrowded canopy. You must master the seven technical steps to mark tree spacing to ensure every specimen receives adequate solar radiation and airflow. Without precise measurements, competition for soil nutrients and water will lead to stunted growth or premature senescence.
Materials:

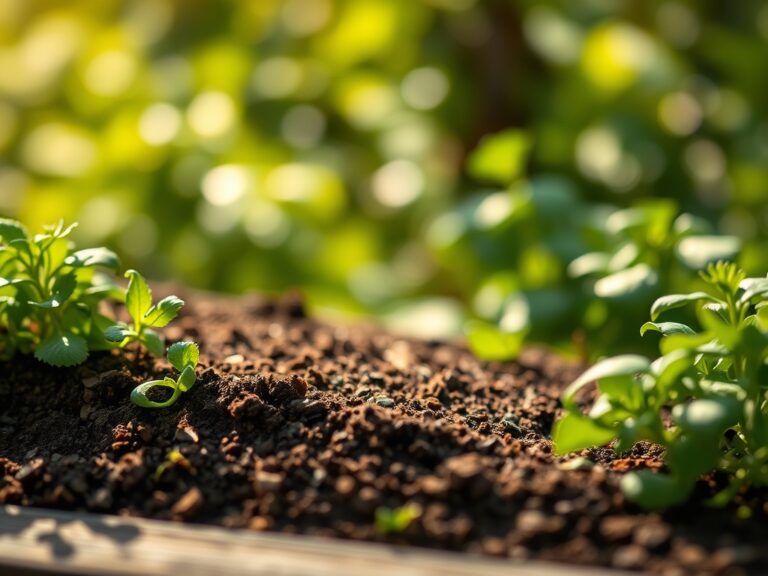
The ideal substrate for most deciduous and coniferous species is a **friable loam**. This texture allows for rapid root penetration while maintaining a high Cation Exchange Capacity (CEC). Before marking your grid, test the soil pH. Most temperate trees thrive in a range of **6.0 to 7.0**. If the pH is below 5.5, the availability of Phosphorus and Magnesium drops significantly.
For the initial planting phase, prepare a starter fertilizer with an NPK ratio of 10-20-10. The high Phosphorus content supports vigorous root development without forcing excessive top-growth that the root ball cannot yet sustain. You will also require a 100-foot fiberglass measuring tape, high-visibility marking stakes, and a canister of non-toxic inverted marking paint.
Timing:
Hardiness Zones dictate the window of opportunity for site marking and installation. In Zones 4 through 7, the primary window opens during the dormant season, typically between late autumn and early spring. You must complete the marking process before the soil temperature reaches 45 degrees Fahrenheit, as root activity begins to accelerate at this threshold.
The "Biological Clock" of a tree transitions from the dormant stage to the vegetative stage as day length increases. This photoperiod shift triggers the movement of auxins from the apical meristems down to the roots. Marking your spacing during dormancy ensures that the physical installation occurs before the tree enters its high-transpiration phase in late spring.
Phases:

Sowing and Site Prep
Calculate the mature spread of the species. For a tree with a 20-foot mature canopy, the center-to-center distance must be at least 22 feet to prevent canopy overlap. Overlap reduces light penetration to the lower interior leaves, causing them to drop. Use your marking paint to create a 3-foot diameter circle around each stake to denote the future mulch zone.
Pro-Tip: Maintaining a wide radius free of turf reduces competition for Nitrogen. This prevents auxin suppression in the lower branches, allowing the tree to develop a structurally sound, wide-based scaffold.
Transplanting
When moving a containerized or B&B (balled and burlapped) tree to the marked spot, the hole must be two to three times wider than the root ball but no deeper. If the flare of the trunk is buried, the tree will suffer from oxygen deprivation in the root zone.
Pro-Tip: Avoid glazing the sides of the hole with your shovel. Roughening the soil walls facilitates mycorrhizal symbiosis, where beneficial fungi extend the reach of the root system to capture more immobile Phosphorus.
Establishing
Once the tree is in the ground, the focus shifts to hydraulic stability. The first 12 to 18 months are critical for the root system to bridge the gap between the nursery soil and the native site soil. Monitor the soil moisture at a depth of 4 inches using a digital meter.
Pro-Tip: Avoid heavy Nitrogen fertilization in the first year. High Nitrogen levels can trigger rapid vegetative growth that the unestablished root system cannot support, leading to a collapse in turgor pressure during heat spikes.
The Clinic:
Physiological disorders often stem from poor spacing or site preparation.
- Symptom: Interveinal chlorosis (yellowing between leaf veins).
- Solution: This is often a sign of Manganese or Iron deficiency in high pH soils. Apply a chelated micronutrient drench to the root zone.
- Symptom: Leaf Scorch (browning of leaf margins).
- Solution: This indicates a failure in the xylem to transport water to the edges of the leaf. Increase irrigation to 1.5 inches per week and check for root girdling.
- Symptom: Stunted terminal growth.
- Solution: Check for soil compaction. Use a soil probe to measure resistance. If the soil is too dense, the roots cannot expand to find nutrients.
Fix-It for Nitrogen Chlorosis: If the entire leaf turns a uniform pale green or yellow, the tree is likely Nitrogen deficient. Apply a slow-release 15-5-10 fertilizer at a rate of 1 pound of actual Nitrogen per 1,000 square feet of the root zone.
Maintenance:
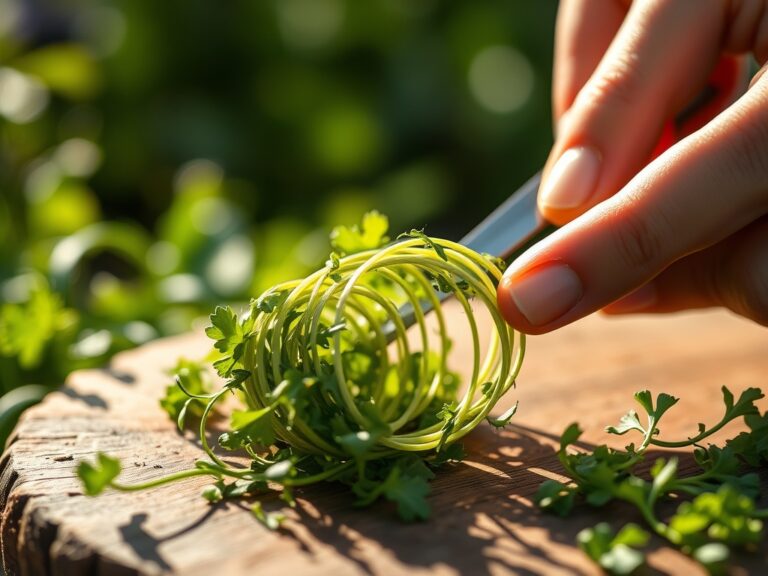
Precision maintenance requires the right equipment. Use a hori-hori knife to remove invasive weeds within the mulch ring without disturbing the shallow feeder roots. For structural pruning, use bypass pruners to make clean cuts at the branch collar; never leave a stub, as this prevents the tree from properly compartmentalizing the wound.
Irrigation must be targeted. Apply 1.5 inches of water per week at the drip line, which is the outermost circumference of the tree canopy. Using a soil moisture meter ensures you are reaching the full depth of the root zone, typically 12 to 18 inches, without over-saturating the soil and causing root rot.
The Yield:
For fruit or nut-bearing trees, the yield is the ultimate metric of success. Harvest when the fruit reaches its peak Brix level (sugar content). For pome fruits like apples, the seeds should be dark brown. Handle the fruit with care to avoid bruising, which triggers the release of ethylene gas and accelerates decay. Store in a cool, high-humidity environment to maintain "day-one" freshness and cellular turgor.
FAQ:
How far apart should I space fruit trees?
Standard fruit trees require 20 to 25 feet of space. Semi-dwarf varieties need 12 to 15 feet, while dwarf trees can be spaced 8 to 10 feet apart. This ensures adequate light for fruit ripening and prevents fungal pathogens.
What happens if trees are planted too close?
Overcrowding leads to "canopy competition" where trees grow tall and spindly to reach light. This reduces lower branch vigor, limits fruit production, and creates a humid microclimate that encourages powdery mildew and other foliar diseases.
Should I use the mature width for spacing?
Yes. Always use the maximum expected mature width as your baseline. If a tree has a 30-foot spread, space it at least 30 feet from the next tree to allow for full structural development and easy maintenance access.
How do I mark a straight line for a windbreak?
Drive a stake at the start and end points. Stretch a heavy-duty mason line between them. Use a measuring tape to mark intervals along the line with marking paint. This ensures the root systems do not overlap as they mature.