9 Best Tape Measures for Landscaping
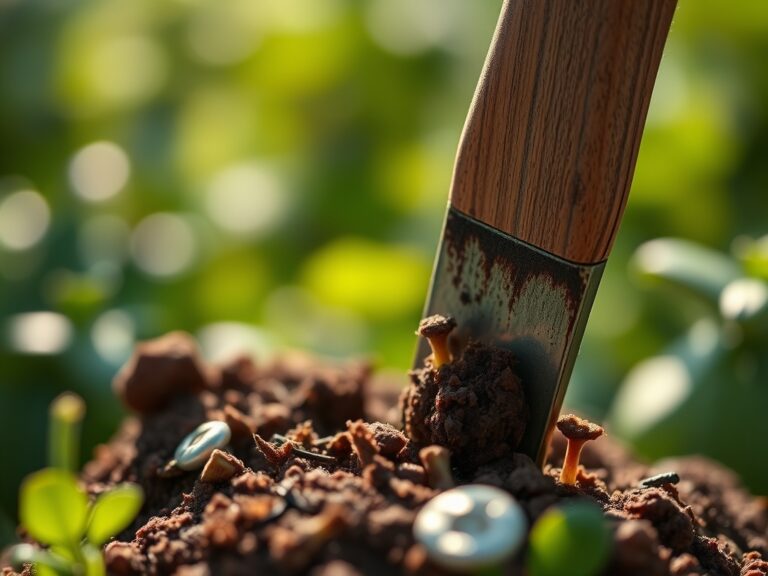
Crushing the soil between your fingers reveals its structural integrity; the smell of damp earth and the turgor of a healthy leaf signify a thriving rhizosphere. Landscaping is a game of precision where a single inch dictates the success of a retaining wall or the spacing of a perennial border. Professional results require professional tools. Selecting the best tape measures for landscaping means choosing instruments that survive grit, moisture, and constant abrasion. A standard household tape will fail when exposed to the alkaline dust of limestone or the high humidity of a closed canopy. You need a blade with high standout and a coating that resists the corrosive salts found in many fertilizers. Accuracy in the field ensures that your hardscape elements align perfectly with your biological plantings; preventing root crowding and ensuring adequate airflow. Whether you are measuring the diameter of a root ball or the length of a stone walkway; your tools must be as resilient as the cultivars you plant.
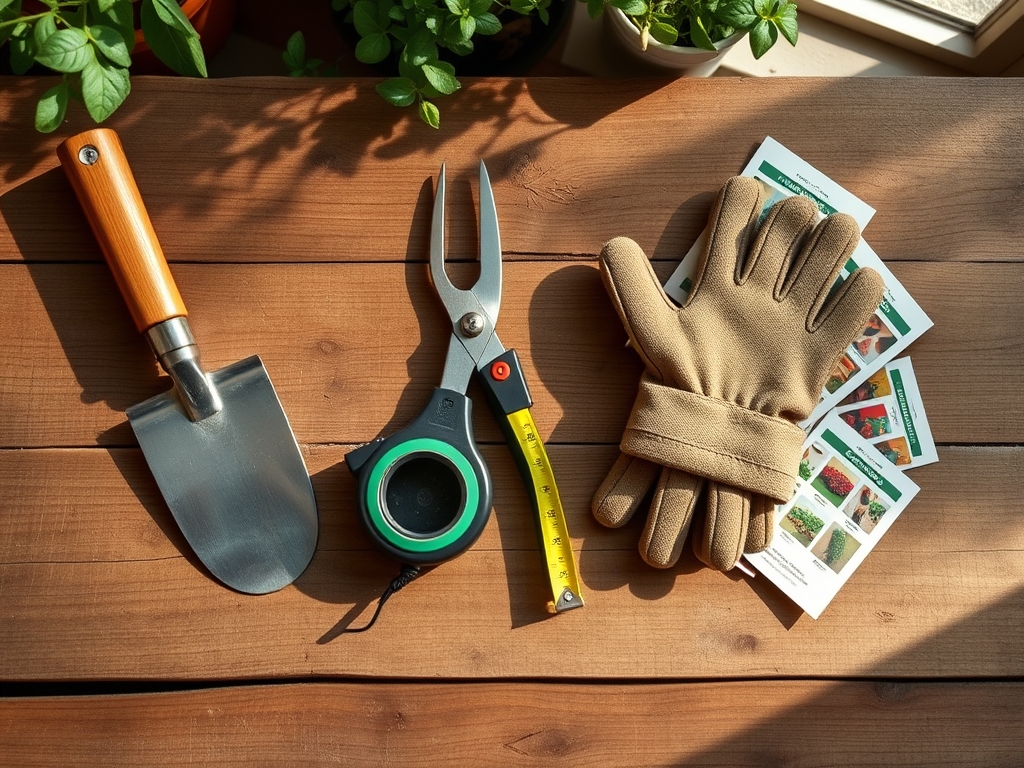
Materials:
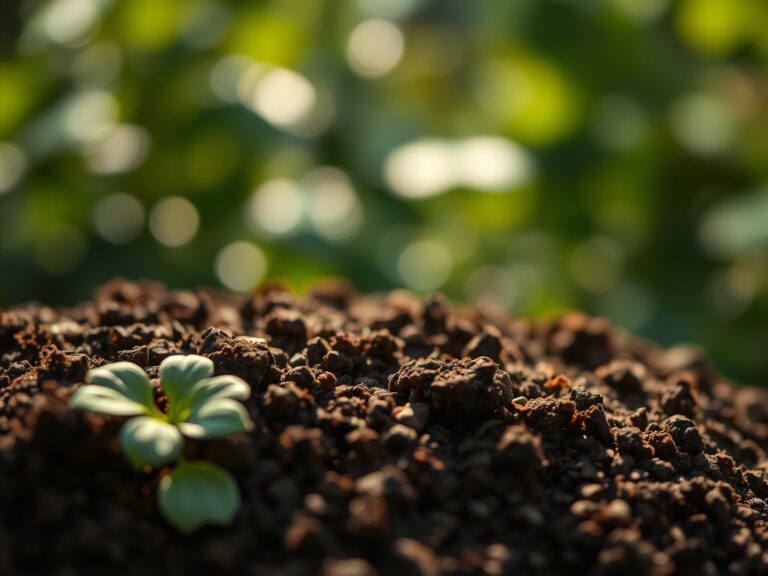
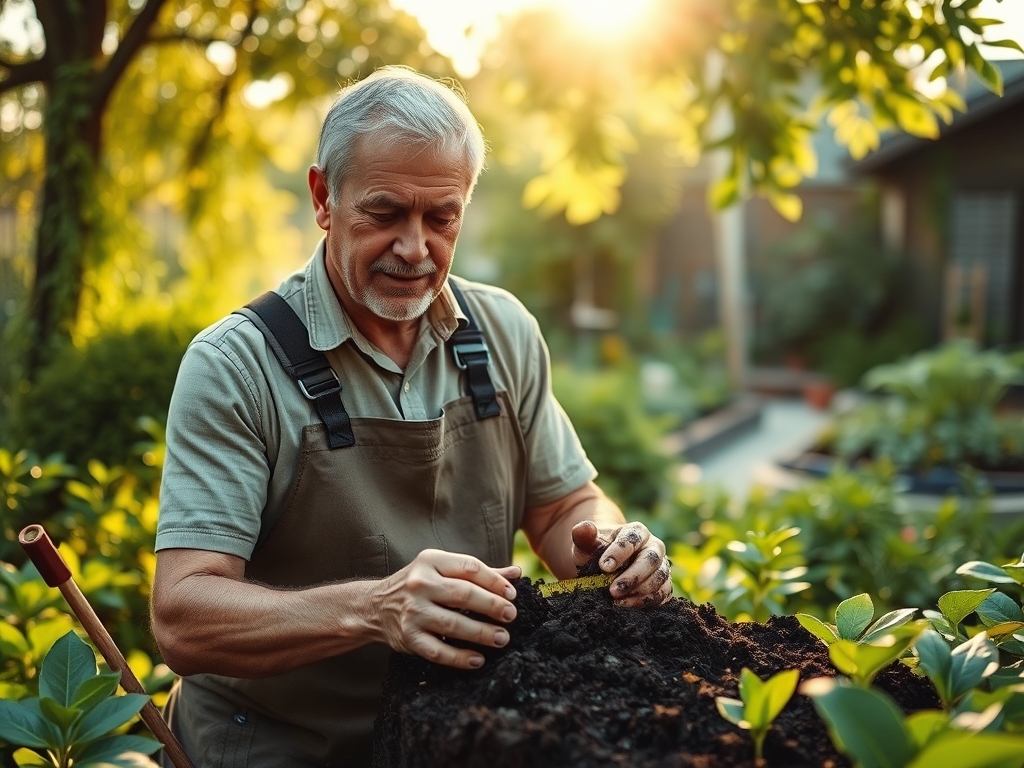
The success of any landscape installation begins with the substrate. For most ornamental and edible crops; a friable loam with a Soil Cation Exchange Capacity (CEC) between 15 and 25 meq/100g is ideal. This texture allows for optimal gas exchange and water retention. Before you pull your tape measure; ensure your soil pH is calibrated. Most woody ornamentals prefer a pH of 6.0 to 7.0. If you are planting acid-loving species like Pieris or Rhododendron; aim for a pH of 4.5 to 5.5.
Nutrient management requires specific NPK ratios tailored to the growth stage. For establishing new transplants; use a 5-10-5 starter fertilizer to prioritize root development over foliage. High phosphorus levels encourage the ATP production necessary for cellular division in the meristem. Avoid high nitrogen (N) applications during the heat of summer; as this can lead to "succulent growth" that is highly susceptible to drought stress and sucking insects. A well-structured soil with 3 percent to 5 percent organic matter provides the buffering capacity needed to maintain these nutrient levels throughout the growing season.
Timing:
Landscaping projects must align with the local frost-date windows and USDA Hardiness Zones. In Zones 5 through 7; the primary planting window opens when soil temperatures consistently reach 50 degrees Fahrenheit. This temperature triggers the "Biological Clock;" moving the plant from winter dormancy into the vegetative stage. During this transition; the plant increases its uptake of water to maintain turgor pressure.
The transition from the vegetative stage to the reproductive stage is often dictated by the photoperiod. Short-day plants require a specific duration of darkness to trigger flowering; while long-day plants respond to increasing light. Time your hardscape measurements and heavy construction to avoid these critical reproductive windows. Disturbing the root zone during anthesis (flowering) can cause premature senescence or bud drop. Aim to complete all heavy measurements and soil grading at least two weeks prior to the last expected frost to allow the soil to settle.
Phases:
Sowing
When sowing turf or cover crops; precision in seed depth is mandatory. Most small seeds should be buried no deeper than two times their diameter. Use your tape measure to verify a uniform depth of 0.25 inches for most cool-season grasses.
Pro-Tip: Proper depth ensures the emerging coleoptile reaches the surface before its stored energy reserves are depleted. This is a matter of photomorphogenesis; where the plant detects light signals to begin photosynthesis.
Transplanting
When moving a container-grown plant into the field; the hole must be two to three times wider than the root ball but no deeper. Use a long-form open-reel tape to ensure spacing between large shrubs accounts for their mature spread. For a shrub with a 6-foot mature width; space centers at 72 inches.
Pro-Tip: Maintaining the flare of the trunk at the soil line prevents bark rot. This protects the vascular cambium; the critical tissue layer responsible for secondary growth and nutrient transport.
Establishing
The first 90 days are the establishment phase. During this time; the plant relies on mycorrhizal symbiosis to extend its reach for phosphorus and water. Monitor the soil moisture daily using a soil moisture meter.
Pro-Tip: Avoid over-fertilizing during establishment. High salt concentrations in the soil can cause osmotic stress; drawing water out of the roots and leading to cellular collapse.
The Clinic:
Physiological disorders often mimic disease but are usually rooted in environmental or nutritional imbalances.
- Symptom: Interveinal Chlorosis. The leaves turn yellow while the veins remain green.
- Solution: This is typically an Iron (Fe) or Magnesium (Mg) deficiency. Check the pH first. If the pH is above 7.5; iron becomes insoluble. Lower the pH using elemental sulfur.
- Symptom: Blossom End Rot. Dark; sunken spots on the base of fruit.
- Solution: This is caused by a localized Calcium (Ca) deficiency; often due to inconsistent watering. Maintain a steady 1.5 inches of water per week to ensure calcium transport via the transpiration stream.
- Symptom: Leaf Scorch. Brown; crispy edges on the foliage.
- Solution: This indicates a failure in the transpiration rate. The plant is losing water faster than the roots can provide it. Increase mulch depth to 3 inches to cool the rhizosphere.
- Fix-It for Nitrogen Chlorosis: If the oldest leaves are turning a uniform pale yellow; apply a quick-release 20-0-0 fertilizer or a foliar urea spray to restore chlorophyll production.
Maintenance:
Precision maintenance extends the life of the landscape. Use a hori-hori knife to remove deep-taproot weeds without disturbing the root systems of your desired plants. Pruning should be executed with sharp bypass pruners to ensure clean cuts that callose quickly. For most deciduous shrubs; remove no more than one-third of the old wood annually to stimulate new growth.
Irrigation must be targeted. Apply 1.5 inches of water per week directly at the drip line; which is the outermost circumference of the canopy where the feeder roots are most active. Avoid overhead irrigation in the evening; as prolonged leaf wetness promotes fungal pathogens like Erysiphe cichoracearum (powdery mildew). Utilize a soil moisture meter to verify that moisture has penetrated at least 6 to 8 inches deep.
The Yield:
Harvesting is the culmination of precise measurement and biological timing. For woody herbs; harvest just before the flower buds open to capture the highest concentration of essential oils. For flowers; cut in the early morning when turgor pressure is at its peak. Use a sharp blade to make a 45-degree cut and immediately plunge the stems into 100-degree Fahrenheit water. This "pulse" treatment removes air bubbles from the xylem; ensuring "day-one" freshness and maximum vase life. For edible crops; monitor the Brix level (sugar content) using a refractometer to determine the peak harvest window.
FAQ:
What is the best blade width for landscaping?
A 1-inch to 1.25-inch blade width is superior. This provides the "standout" needed to measure across open trenches or over tall vegetation without the tape collapsing under its own weight.
How do I prevent my tape measure from rusting?
Wipe the blade with a dry cloth after every use in damp soil. Periodically apply a thin coat of silicone-based lubricant to the blade to repel moisture and prevent oxidation of the steel.
Why use an open-reel tape for large landscapes?
Open-reel tapes; typically 100 feet or longer; allow dirt and debris to fall through the housing. This prevents the internal spring mechanism from jamming when working in sandy or muddy conditions.
How does tape accuracy affect plant health?
Incorrect spacing leads to poor airflow and light penetration. Using a tape measure to ensure proper distance prevents the high humidity microclimates that encourage fungal pathogens and competition for soil nutrients.