6 Best Wax for Wooden Tools
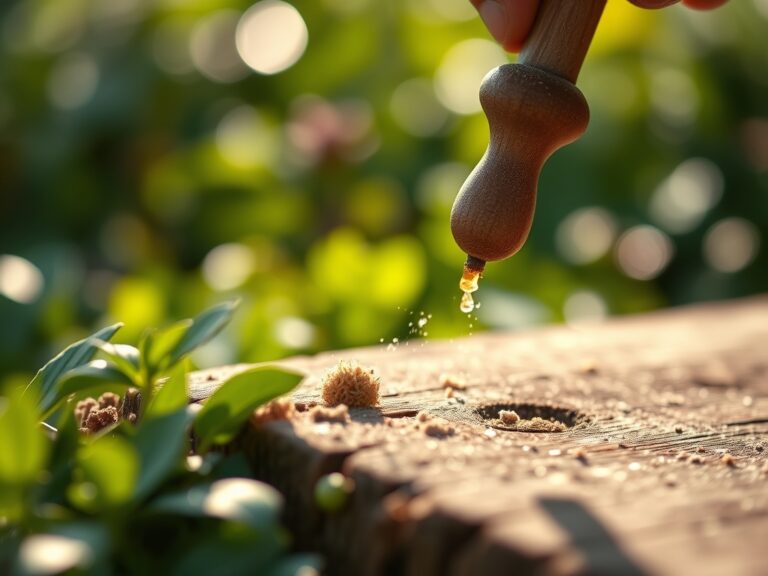
The smell of damp earth and the high turgor pressure of a healthy leaf signify a garden in peak production. When you grip a long handled spade or a seasoned dibber, the tactile connection to the soil depends entirely on the integrity of the wood. Neglected handles suffer from desiccation; the fibers pull apart and create splinters that compromise your grip. Applying the best wax for wooden tools prevents moisture from infiltrating the grain and causing rot or fungal colonization. A properly sealed handle resists the acidic fluctuations of the rhizosphere and maintains structural stability during heavy prying. This maintenance is not aesthetic; it is a fundamental requirement for tool longevity and ergonomic safety in the field.
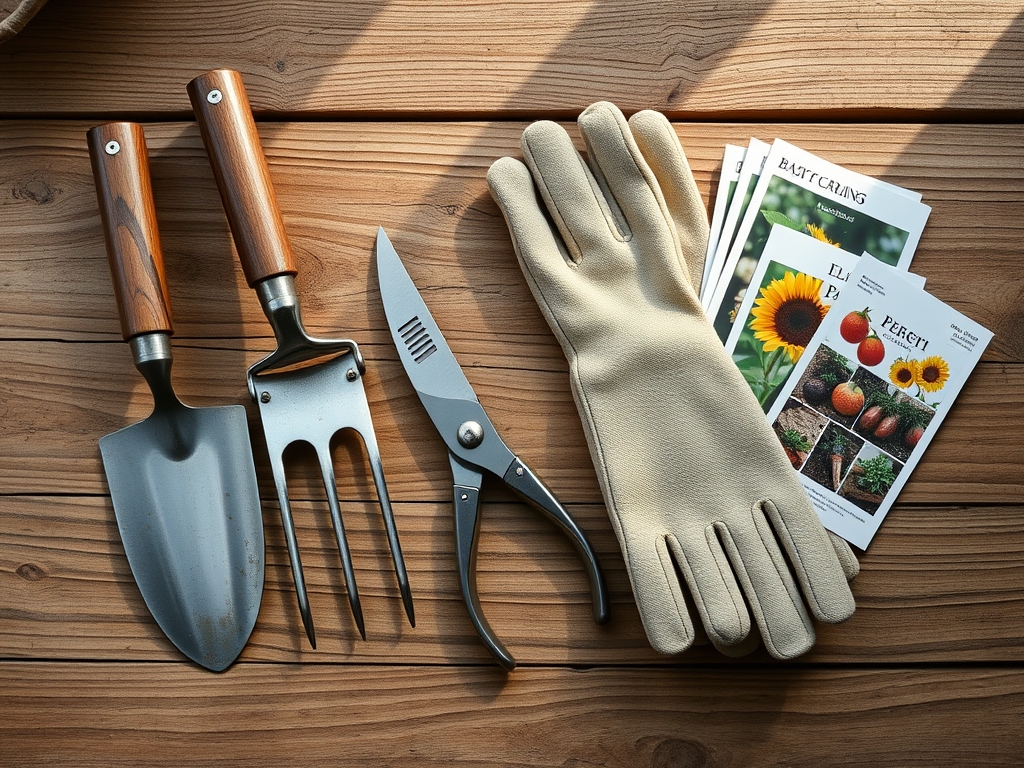
Materials:
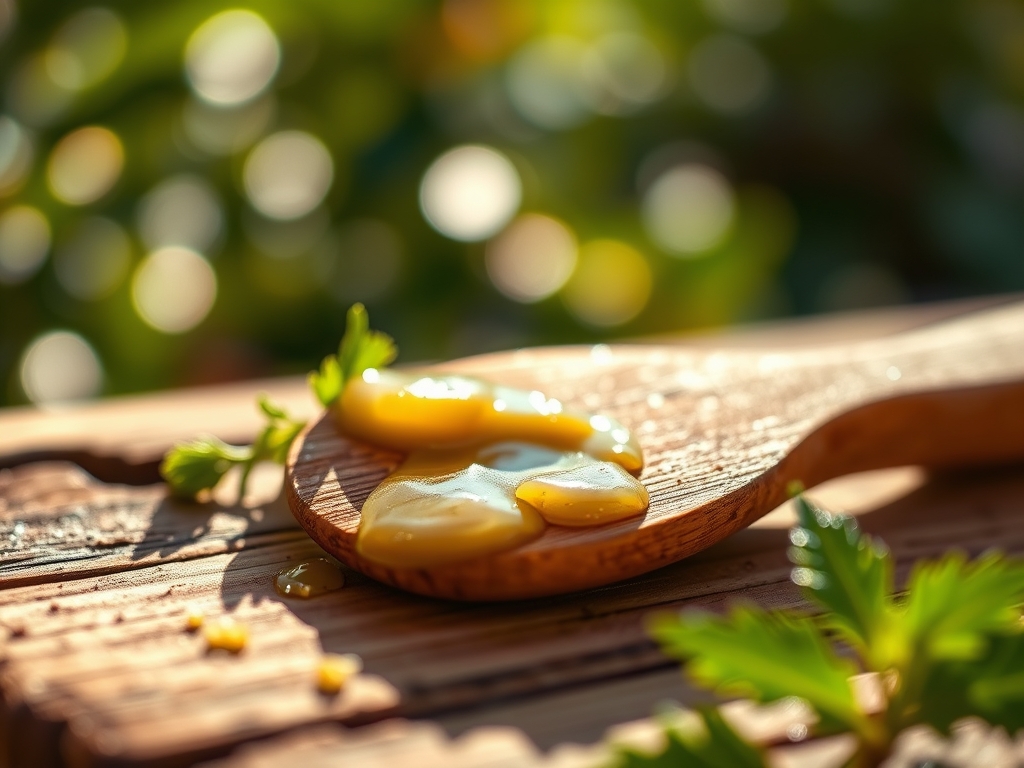
The performance of wooden tools is inextricably linked to the environment where they operate. In a friable loam with a **pH of 6.5**, the high organic matter content increases the risk of microbial degradation of untreated wood. To protect your equipment, you must understand the chemistry of the sealant. The best wax for wooden tools typically involves a blend of **beeswax and food grade mineral oil** or carnauba wax.
When preparing the substrate for your garden, aim for an NPK ratio of 5-10-5 for root development or 10-10-10 for general vegetative growth. High Cation Exchange Capacity (CEC) soils, such as those rich in montmorillonite clay, hold onto nutrients more effectively but can also be abrasive to wooden handles. Ensure your storage area is dry and the soil you work with is well draining to minimize the osmotic pressure on the wood fibers.
Timing:
Timing your maintenance and planting is governed by the frost date windows of your specific region. In Hardiness Zones 5 through 7, the transition from the vegetative stage to the reproductive stage often occurs as the photoperiod shifts in mid summer. You should apply wax to your tools during the dormant winter months or at the first sign of grain lifting.
The biological clock of your plants dictates when you will be putting the most stress on your equipment. For instance, during the spring surge when soil moisture is high, the wood will expand. If the tool is not sealed, it will absorb excess water, leading to wood swell and eventual cracking during the summer heat. Calibrate your tool maintenance to occur before the spring equinox to ensure readiness for the primary planting window.
Phases:

Sowing
When sowing seeds, precision is required to ensure proper seed to soil contact. Use a waxed wooden dibber to create uniform holes at a depth of two to three times the seed diameter.
Pro-Tip: Proper tool maintenance facilitates seed placement by preventing soil from sticking to the wood. This ensures that the delicate radical can emerge without physical obstruction; a process driven by geotropism, where the roots grow downward in response to gravity.
Transplanting
Moving a seedling from a controlled environment to the field requires a sharp hori-hori knife and a sturdy trowel. The wood handle must be smooth to allow for rapid hand movements without friction burns.
Pro-Tip: A waxed handle allows for a firmer grip during the delicate process of teasing out roots. This minimizes transplant shock by protecting the root hairs, which are the primary sites for water and nutrient uptake via osmosis.
Establishing
As the plant enters its rapid growth phase, you will use hoes and cultivators to manage weeds. A well waxed tool slides through the upper 2 inches of soil without resistance.
Pro-Tip: Reducing friction on the tool handle conserves your energy and prevents the disruption of mycorrhizal symbiosis. This fungal relationship enhances the plant's ability to absorb phosphorus and water in exchange for carbohydrates.
The Clinic:
Physiological disorders in plants often mirror the degradation of the tools used to tend them.
- Symptom: Interveinal Chlorosis. This is often a sign of Magnesium deficiency. The leaves turn yellow while the veins remain green.
Solution: Apply Epsom salts (magnesium sulfate) at a rate of 1 tablespoon per gallon of water.
- Symptom: Blossom End Rot. This occurs due to a lack of calcium uptake, often caused by inconsistent watering.
Solution: Maintain consistent soil moisture levels and ensure the soil pH remains above 6.0 to facilitate calcium availability.
- Symptom: Tip Burn. This is typically caused by high salinity or boron toxicity.
Solution: Flush the soil with 2 inches of water to leach excess salts away from the root zone.
- Fix-It for Nitrogen Chlorosis: If the older leaves are turning a uniform pale yellow, the plant is likely nitrogen deficient. Apply a high nitrogen fertilizer with an NPK of 21-0-0 to stimulate chlorophyll production and vegetative vigor.
Maintenance:
Precision maintenance extends beyond the tool shed and into the garden beds. Plants require exactly 1.5 inches of water per week delivered at the drip line to ensure deep root penetration. Use a soil moisture meter to verify that the water is reaching a depth of 6 to 8 inches.
Keep your bypass pruners sharp and sterilized with a 70 percent isopropyl alcohol solution between cuts to prevent the transmission of pathogens. After each use, wipe down your wooden handles with a clean cloth. If the wood feels "thirsty," reapply the best wax for wooden tools using a lint free rag. Buff the wax in a circular motion until the wood no longer absorbs the oil; this creates a hydrophobic barrier that prevents senescence of the wood fibers.
The Yield:
Harvesting is the culmination of the biological cycle. For leafy greens, harvest in the early morning when turgor pressure is at its highest. Use a sharp, waxed handle knife to make clean cuts, which allows the parent plant to heal quickly and prevents the entry of opportunistic bacteria.
For root crops, use a garden fork to gently lift the soil. The waxed handle will resist the moisture of the damp earth, ensuring you maintain a secure grip. Post harvest, cool the produce immediately to 40 degrees Fahrenheit to slow the rate of respiration and preserve "day one" freshness. This process halts the enzymatic breakdown of sugars into starches.
FAQ:
What is the best wax for wooden tools?
A blend of natural beeswax and food grade mineral oil is superior. It provides a non toxic, hydrophobic barrier that penetrates deep into the wood grain while remaining safe for contact with edible plants and soil microbes.
How often should I wax my tool handles?
Apply wax at least twice per year; once before the spring planting season and once before winter storage. If tools are used daily in wet conditions, monthly applications may be necessary to prevent grain lifting and splintering.
Can I use linseed oil instead of wax?
Yes, but ensure it is raw linseed oil. Boiled linseed oil often contains metallic driers that can leach into the soil. Wax provides a more durable physical barrier against moisture compared to oil alone.
How do I prep an old handle for waxing?
Sand the handle with 120 grit sandpaper to remove existing debris and smooth out splinters. Wipe away all dust with a tack cloth before applying the wax to ensure maximum adhesion to the wood fibers.