10 Smooth Steps to Sand a Wooden Dibber
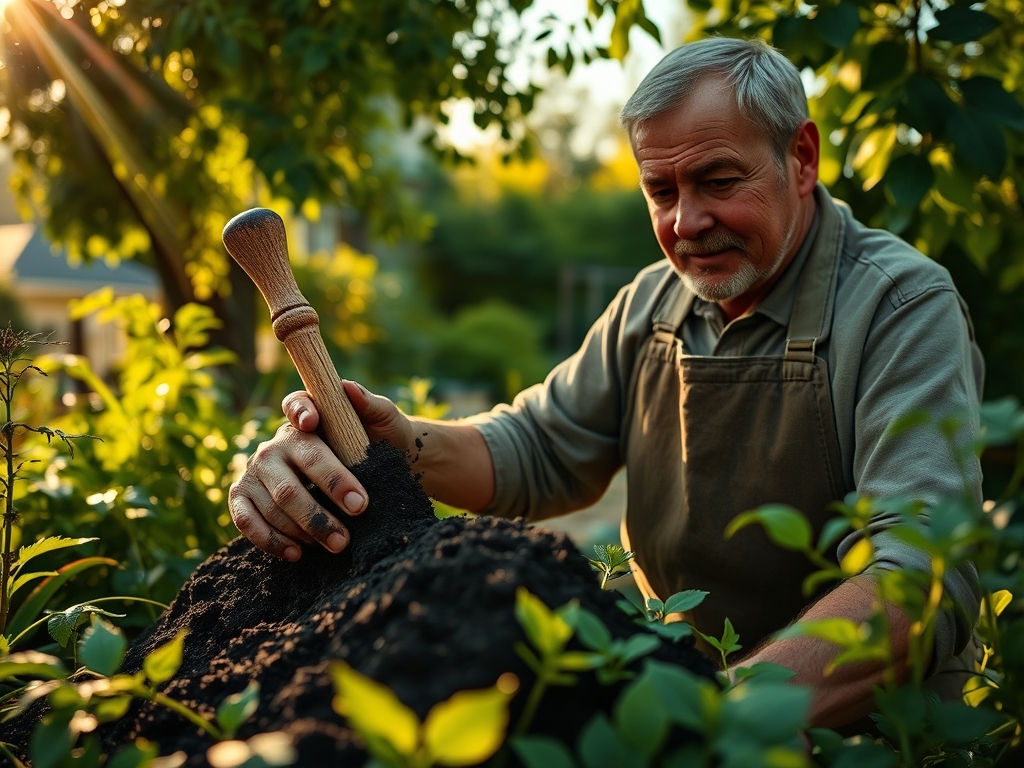
The smell of damp earth and the high turgor pressure of a healthy seedling are the primary indicators of a successful transplanting season. A smooth dibber is essential for maintaining the integrity of the rhizosphere during the planting process. Rough wood creates friction that tears delicate root hairs and disrupts the soil structure. Following the correct steps to sand a wooden dibber ensures the tool glides into the substrate without compressing the pore space required for oxygen exchange. A perfectly finished tool allows for precise depth control and minimizes the risk of transplant shock by ensuring the seedling is seated at the exact level of the surrounding soil.
Precision in the garden begins with the tools. A dibber that has been properly sanded and sealed prevents the accumulation of pathogens and ensures a clean hole for every seed or bulb. This process is not merely aesthetic; it is a fundamental requirement for maintaining soil health and plant vigor. By reducing the surface area where soil can cling, you maintain the efficiency of your movements and the health of your crops.
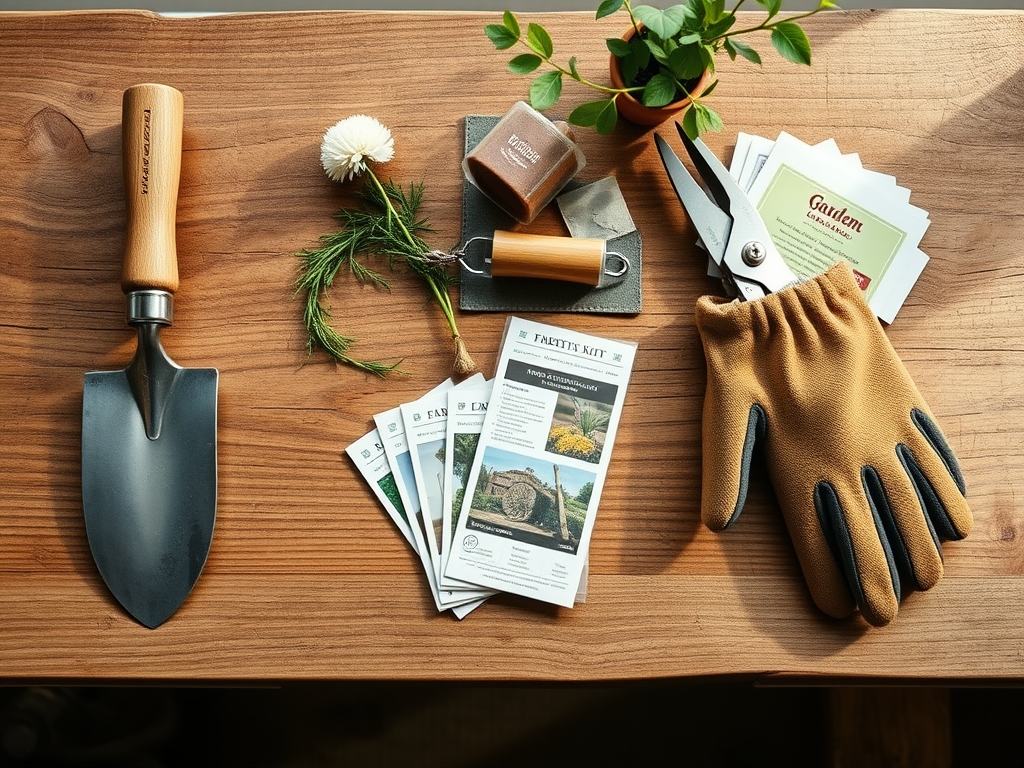
Materials:
Preparation requires more than just sandpaper. To maintain a tool that interacts with the soil, you must understand the environment it enters. The ideal substrate for most garden crops is a **friable loam** with a **pH between 6.0 and 7.0**. This texture allows for optimal **Cation Exchange Capacity (CEC)**, which is the soil’s ability to hold and release essential nutrients like Potassium (K), Calcium (Ca), and Magnesium (Mg).
When selecting materials for the tool itself, choose hardwoods like ash or oak that can withstand the abrasive nature of mineral-heavy soils. You will need:
- Sandpaper grits: 80-grit, 120-grit, and 220-grit.
- A clean microfiber cloth.
- Food-grade linseed oil or tung oil.
- A workspace with a stable bench.
Ensure your soil is amended with a balanced NPK ratio, such as 10-10-10, to support early root development once the dibber has done its work. High phosphorus (P) levels are particularly important during the establishment phase to stimulate root branching.
Timing:
The best time to prepare your tools is during the dormant season, typically between the first hard frost and the spring thaw. In Hardiness Zones 5 through 7, this window usually falls between late November and early March. By completing the steps to sand a wooden dibber before the "Biological Clock" shifts from winter dormancy to the vegetative growth of spring, you ensure your equipment is ready for the first planting window.
The transition from vegetative to reproductive stages in plants is governed by the photoperiod. For example, long-day plants require the increasing light of spring to trigger flowering. Having your tools ready allows you to hit the precise frost-free date for your specific microclimate. In Zone 8, the window for early spring planting may begin as early as February, necessitating tool maintenance in January.
Phases:
Sowing
Begin by using the 80-grit sandpaper to remove any old soil, splinters, or rough factory finishes from the dibber. Sand in the direction of the grain to avoid creating cross-grain scratches that could harbor fungal spores. This initial phase creates a uniform surface.
Pro-Tip: Removing rough edges prevents the tool from snagging on organic matter. This is critical because mycorrhizal symbiosis depends on a stable soil environment where fungal hyphae can attach to roots without mechanical disturbance.
Transplanting
Transition to the 120-grit sandpaper. This medium grit smooths the surface further, reducing the coefficient of friction. Focus on the tip of the dibber, ensuring it is tapered to a fine point but remains blunt enough to avoid piercing the root ball.
Pro-Tip: A smooth tool allows for better phototropism management. By creating a clean, vertical hole, you ensure the seedling is perfectly upright, allowing the plant to maximize light interception through its primary growth response.
Establishing
Finish the tool with 220-grit sandpaper until the wood feels like polished stone. Wipe away all dust with a damp cloth and apply a thin layer of oil. This seals the wood against moisture, preventing it from swelling when it contacts wet soil.
Pro-Tip: Sealing the wood prevents auxin suppression. If a tool is rough and damages the apical meristem during planting, the plant may experience stunted growth as its internal hormone signaling is diverted to repair rather than expansion.
The Clinic:
Even with a perfect tool, plants may face physiological disorders. Monitor your crops for these common issues:
-
Symptom: Interveinal Chlorosis. The leaves are yellow while the veins remain green.
-
Solution: This indicates a Magnesium deficiency. Apply Epsom salts (Magnesium Sulfate) at a rate of 1 tablespoon per gallon of water to restore chlorophyll production.
-
Symptom: Blossom End Rot. Dark, sunken spots on the bottom of fruits like tomatoes.
-
Solution: This is caused by a Calcium deficiency often triggered by uneven watering. Maintain consistent soil moisture to ensure the transport of Calcium through the xylem.
-
Symptom: Nitrogen Chlorosis. The entire leaf turns pale green or yellow, starting with older growth.
-
Fix-It: Apply a high-nitrogen fertilizer with an NPK ratio like 21-0-0 (Ammonium Sulfate) to rapidly boost vegetative growth and protein synthesis.
Maintenance:
A well-sanded dibber is only one part of the equation. Use a soil moisture meter to ensure your plants receive exactly 1.5 inches of water per week at the drip line. Avoid overhead watering to prevent foliar diseases.
Keep your other tools in peak condition as well. Use bypass pruners for clean cuts that heal quickly, and a hori-hori knife for weeding around sensitive root zones. After each use, wipe your dibber clean and reapply oil if the wood begins to feel dry or "thirsty." This prevents the wood from becoming porous and absorbing soil-borne pathogens.
The Yield:
Harvesting should occur when the plant reaches peak physiological maturity but before senescence begins. For leafy greens, harvest in the early morning when turgor pressure is at its highest. This ensures the cell walls are fully hydrated, providing a crisp texture.
Use sharp, sanitized tools to harvest. For root crops, use your smooth dibber to loosen the soil around the base before lifting. Once harvested, move the produce to a cool, shaded area immediately to remove field heat and preserve "day-one" freshness.
FAQ:
Why should I sand my wooden dibber?
Sanding reduces friction and prevents soil from clinging to the tool. This ensures clean planting holes and protects delicate root systems from mechanical damage and pathogen infiltration during the transplanting process.
What grit sandpaper is best for garden tools?
Start with 80-grit for heavy material removal. Move to 120-grit for smoothing and finish with 220-grit for a polished surface. This progression creates a professional finish that resists moisture and soil buildup.
How do I seal the wood after sanding?
Apply a thin coat of food-grade linseed oil or tung oil. Allow it to penetrate for 15 minutes, then wipe off the excess. This creates a hydrophobic barrier that prevents the wood from rotting in wet soil.
Can a rough dibber hurt my plants?
Yes. Rough wood can tear root hairs and create jagged holes that lead to air pockets. These pockets cause root desiccation and increase the risk of transplant shock and nutrient uptake failure.