9 Best Floor Tiles for Gazebos
The scent of decaying organic matter and the gritty texture of friable loam define the workspace of a professional horticulturist. When structural stability meets the rhizosphere, selecting the best floor tiles for gazebos becomes a matter of engineering and botanical health. A gazebo is not merely a structure; it is a microclimate that alters light infiltration and water distribution for the surrounding flora. Choosing a substrate that balances durability with the thermal requirements of nearby perennials is essential for maintaining plant turgor pressure and preventing root zone compaction.
Materials:
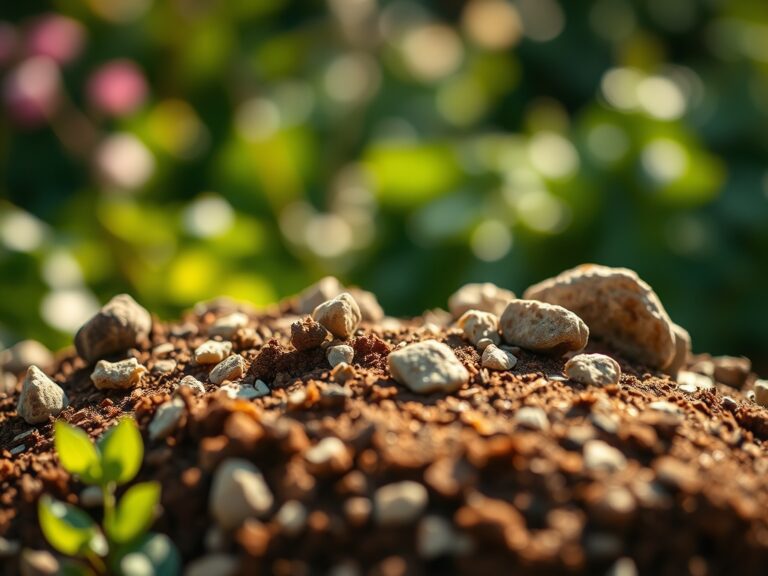
The installation of the best floor tiles for gazebos requires a foundation that respects soil chemistry. The ideal substrate is a **friable loam** with a **Cation Exchange Capacity (CEC) between 15 and 25 meq/100g**. This ensures that the soil beneath the sub-base can still hold essential cations like Potassium and Magnesium. Before laying stone or porcelain, the surrounding soil pH must be stabilized at **6.2 to 6.8** to prevent acidic runoff from damaging mortar joints.
For the surrounding vegetation, maintain an NPK ratio of 10-10-10 for general establishment. If the gazebo houses heavy feeders, increase the Phosphorus (P) ratio to 10-20-10 to stimulate robust root architecture. Use a 4-inch layer of crushed 21A limestone as a base; this provides structural integrity while slightly buffering the acidity of the surrounding soil.
- Porcelain Pavers: High density, low porosity (less than 0.5 percent absorption).
- Slate: Natural foliation provides slip resistance; high thermal mass.
- Travertine: Porous structure allows for heat dissipation.
- Granite: High compressive strength; resistant to freeze-thaw cycles.
- Quarry Tile: Unglazed, dense clay fired at high temperatures.
- Sandstone: High permeability; requires sealing to prevent moss colonization.
- Terracotta: High iron content; provides a rustic aesthetic but requires a frost-proof rating.
- Interlocking Rubber: Excellent for root protection and impact absorption.
- Concrete Pavers: High versatility; can be treated to mimic natural stone.
Timing:
Successful installation and surrounding landscape integration depend on the USDA Hardiness Zone. In Zones 3 through 6, tile installation must occur at least 45 days before the first frost to allow the sub-base to settle. This prevents heaving caused by the expansion of freezing water molecules. The biological clock of the surrounding plants dictates that heavy construction should occur during the dormant phase (late winter or early spring) to minimize root disturbance and transpiration stress.
The transition from the vegetative to the reproductive stage is a period of high metabolic demand. Avoid heavy tiling work when the local flora is in its peak photoperiod response. If plants are forced into a state of senescence early due to soil compaction or heat radiation from the tiles, the longevity of the landscape is compromised.
Phases:

Sowing the Perimeter
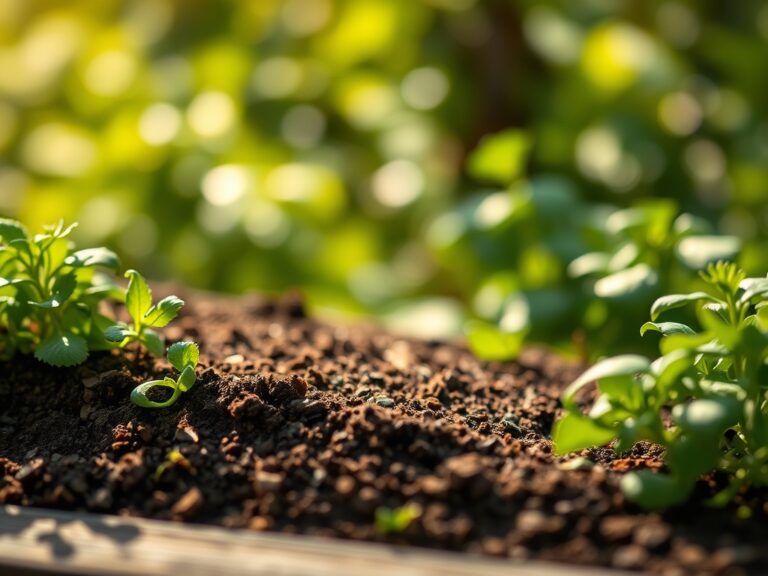
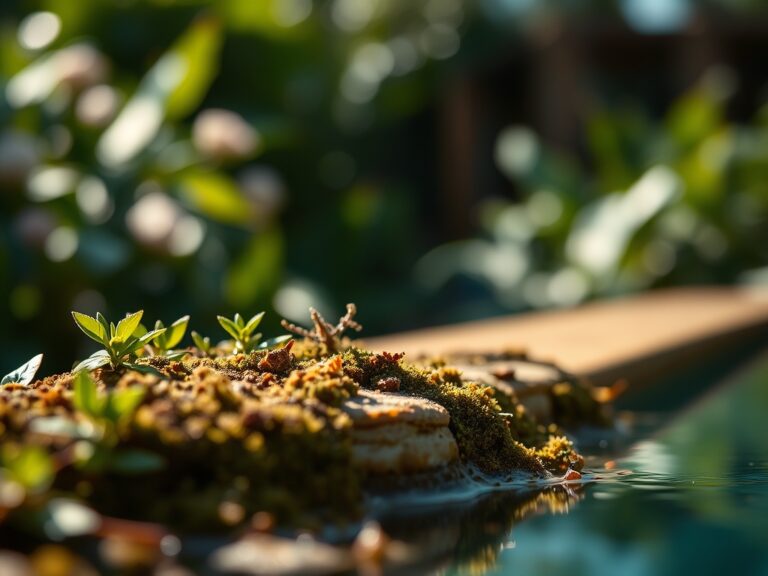
Before laying the best floor tiles for gazebos, prepare the surrounding soil by tilling to a depth of 8 inches. Incorporate organic matter to improve the soil's water-holding capacity. If planting ground covers between tiles, use species that tolerate high foot traffic and limited root space.
Pro-Tip: Utilize mycorrhizal inoculants during the sowing phase. This symbiotic relationship between fungi and roots increases the surface area for nutrient absorption, allowing plants to survive the restricted drainage often found near hardscaping.
Transplanting and Leveling
When placing large specimens near the gazebo edge, ensure the root flare is visible. Use a hori-hori knife to tease out circling roots. The tile grade must slope away from the structure at a rate of 1/4 inch per foot to prevent water pooling in the rhizosphere of sensitive plants.
Pro-Tip: Maintain the auxin balance by avoiding heavy pruning during transplanting. Auxins are hormones produced in the apical meristem that signal root growth; removing too much foliage can stall the establishment of the root system beneath the tile edges.
Establishing the Hardscape
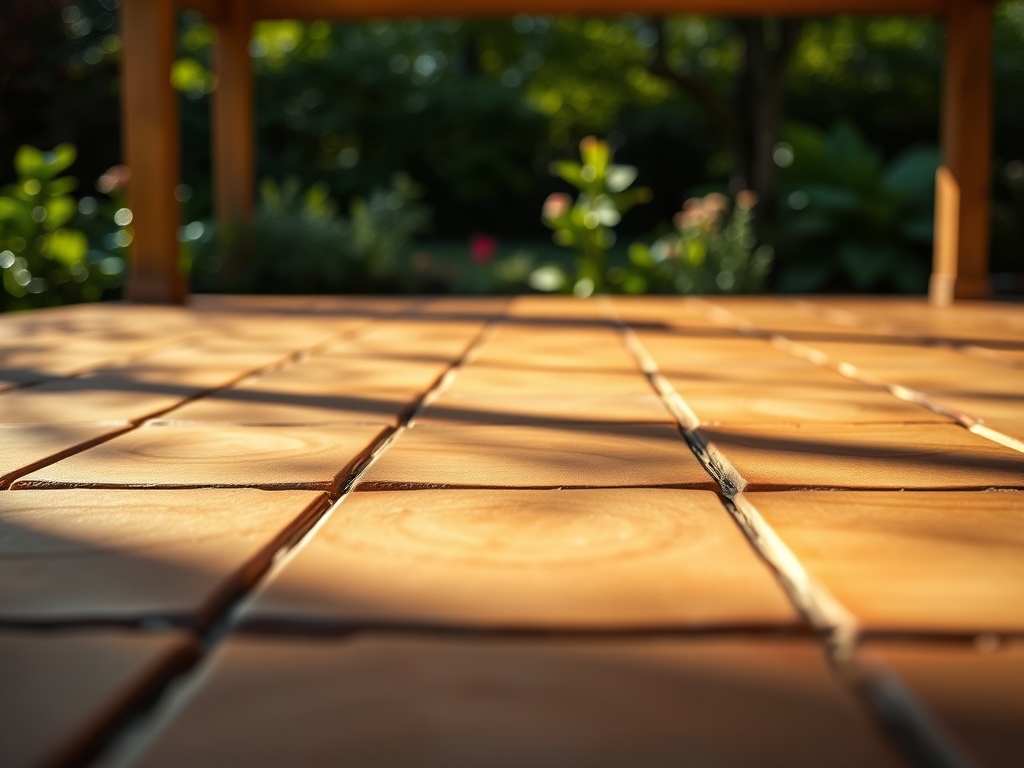
Once the tiles are set, use a polymeric sand in the joints. This prevents weed seeds from germinating while remaining flexible enough to accommodate the natural expansion and contraction of the earth. Observe the root structure in the step-by-step photos below to see how tile placement impacts lateral root spread.
Pro-Tip: Leverage phototropism by selecting tile colors that reflect light toward the interior of the gazebo. Lighter tiles can increase the available light for shade-tolerant plants positioned under the gazebo roof, enhancing their photosynthetic efficiency.
The Clinic:
Physiological disorders often arise when hardscaping interferes with plant biology. Monitor the following symptoms:
- Symptom: Interveinal chlorosis (yellowing between leaf veins).
- Solution: This indicates a Manganese or Iron deficiency caused by high alkalinity from concrete runoff. Apply a chelated iron foliar spray and adjust soil pH to 6.5.
- Symptom: Leaf scorch on the side facing the gazebo.
- Solution: Excessive heat radiation from dark tiles. Increase irrigation frequency and consider using a 30 percent shade cloth during peak summer months.
- Symptom: Root rot (Phytophthora) near tile edges.
- Solution: Poor drainage. Install a French drain or increase the gravel sub-base depth to 6 inches to improve oxygen diffusion to the roots.
Fix-It for Nitrogen Chlorosis: If plants show uniform yellowing, apply a high-nitrogen fertilizer (e.g., blood meal) at a rate of 1 pound per 100 square feet. This restores the chlorophyll concentration necessary for energy production.
Maintenance:
Maintain the ecosystem surrounding the gazebo with surgical precision. Deliver 1.5 inches of water per week at the drip line using a soaker hose to ensure deep infiltration. Avoid overhead watering, which can lead to fungal pathogens on the foliage. Use a soil moisture meter daily during the first growing season to ensure the soil remains at 40 to 60 percent field capacity.
Pruning should be performed with sharpened bypass pruners to ensure clean cuts that heal quickly. When removing deadwood, cut back to the branch bark ridge to facilitate the compartmentalization of decay. Inspect the tiles for shifting; if a tile moves, it can crush the fine feeder roots located in the top 2 inches of soil.
The Yield:
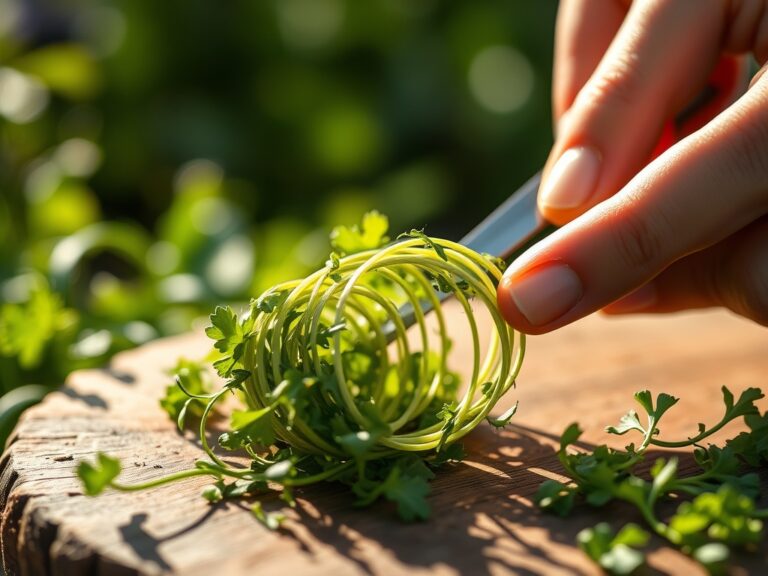
For gazebos surrounded by edible herbs or cut flowers, harvest during the early morning hours when turgor pressure is at its maximum. This ensures the cell walls are fully distended, providing the best texture and longevity. Use a hori-hori knife for harvesting root crops or dividing perennials. Post-harvest, immediately submerge the stems in 40-degree Fahrenheit water to slow the rate of respiration and preserve the volatile oils within the plant tissue.
FAQ:
Which tile is best for high-traffic gazebos?
Porcelain pavers are the superior choice. They offer a high breaking load of over 2,000 pounds and a slip-resistance rating of R11, making them durable for constant use while resisting moisture penetration in damp environments.
How do I prevent tiles from killing nearby grass?
Ensure a 4-inch gravel base for drainage and maintain a 1-inch gap between the tile edge and the turf. This prevents heat transfer and allows for oxygen exchange in the rhizosphere, protecting the grass roots from thermal stress.
Can I lay tiles directly on soil?
No. Direct placement leads to uneven settling and root suffocation. You must excavate 6 to 8 inches, lay a geotextile fabric, and add a compacted aggregate base to ensure structural integrity and proper soil aeration.
Do dark tiles harm surrounding plants?
Dark materials like slate have high thermal mass, absorbing and radiating heat. This can increase the ambient temperature by 5 to 10 degrees, potentially causing leaf scorch or increased transpiration rates in sensitive nearby vegetation.
How often should I seal gazebo floor tiles?
Natural stone like sandstone or travertine should be sealed every 2 to 3 years. This prevents the colonization of cyanobacteria and moss, which can compromise the stone's integrity and create a slippery surface for users.