7 Peaceful Ways How to Prep a Zen Garden
Crushing a handful of damp, friable loam reveals the structural integrity of your growing medium; the earthy scent of geosmin indicates active microbial life. When learning how to prep a zen garden, the focus must shift from mere aesthetics to the physiological requirements of the selected flora. A successful installation relies on the turgor pressure within the plant cells and the chemical balance of the substrate. Proper preparation ensures that the root systems can access essential micronutrients without the stress of compaction or anaerobic conditions. This process requires a technical understanding of soil physics and plant biology to create a sustainable, low-stress environment for slow growing perennials and mosses.
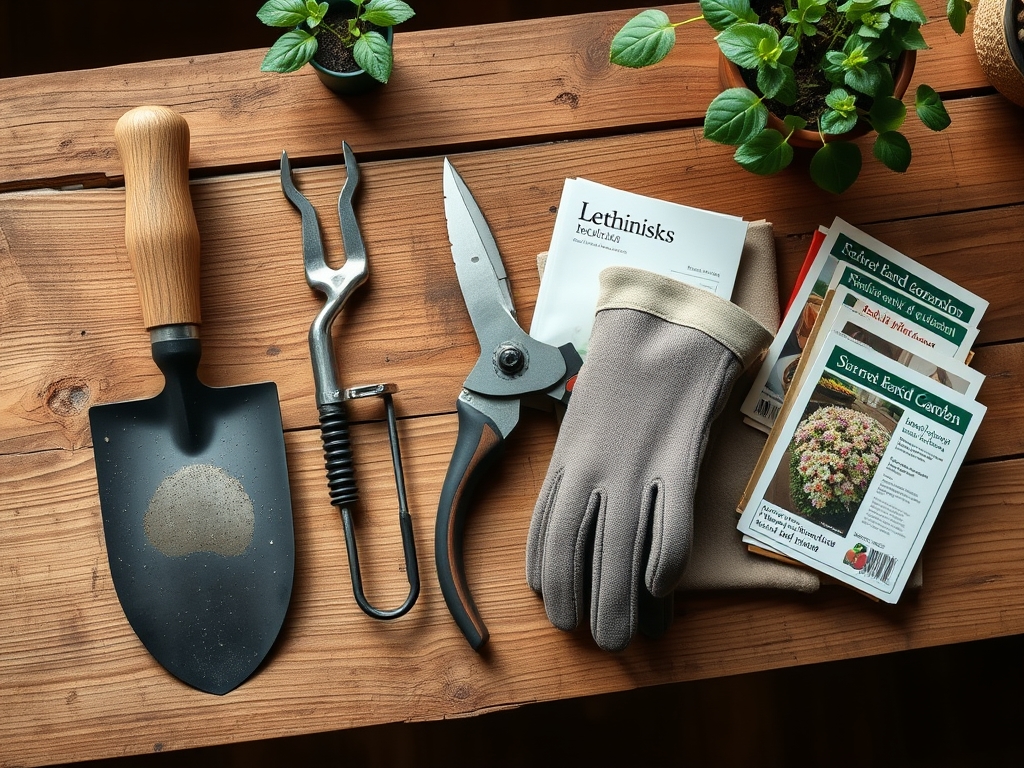
Materials:
The foundation of a Japanese style dry landscape, or Karesansui, begins with a substrate that maintains a pH range between 5.5 and 6.5. Most traditional zen plants, such as Acer palmatum or various moss species, thrive in slightly acidic conditions. For the planting pockets, use a soil mix with a Cation Exchange Capacity (CEC) of 15 to 25 milliequivalents per 100 grams. This ensures the soil can hold onto positively charged ions like Calcium and Magnesium.
Incorporate a slow release fertilizer with an NPK ratio of 5-10-5. The lower Nitrogen levels prevent excessive vegetative growth that would disrupt the garden's scale; the higher Phosphorus content supports robust root development. The physical texture must be a gritty, well draining mix. Use a ratio of 40 percent decomposed granite, 40 percent coarse river sand, and 20 percent organic humus. This composition prevents waterlogging and ensures the rhizosphere remains oxygenated.
Timing:
The biological clock of your garden is governed by the photoperiod and temperature fluctuations of your specific Hardiness Zone. In Zones 5 through 9, the ideal window for site preparation occurs during the dormant season or early spring, at least three weeks before the last predicted frost. Soil temperatures should consistently reach 50 degrees Fahrenheit (10 degrees Celsius) before any transplanting occurs.
During the transition from the vegetative to the reproductive stage, plants redirect energy from leaf production to root and flower development. Prepping the site in late winter allows the soil to settle and the microbial community to stabilize before the surge of spring growth. Avoid working the soil when it is saturated; mechanical pressure on wet soil collapses the macropores, leading to compaction that restricts gas exchange.
Phases:

Sowing and Substrate Leveling
Begin by excavating the area to a depth of 4 to 6 inches. Install a heavy duty, non woven geotextile fabric to prevent the migration of subsoil into your clean gravel or sand layers. Level the base using a 1 percent grade to ensure surface runoff and prevent standing water.
Pro-Tip: Ensure the substrate is level to manage gravitropism. When roots perceive gravity through amyloplasts in the root cap, they grow downward; uneven soil density can cause erratic root architecture and destabilize larger stones or structural plants.
Transplanting Specimen Plants
When placing structural elements like dwarf conifers, dig a hole twice the width of the root ball but no deeper. Ensure the root flare is visible at the soil surface. Backfill with the specified gritty mix, tamping lightly to remove large air pockets without crushing the delicate root hairs.
Pro-Tip: Apply a mycorrhizal inoculant to the root zone during transplanting. This establishes a mycorrhizal symbiosis where fungal hyphae extend the root system's reach, increasing the uptake of Phosphorus and water in exchange for plant sugars.
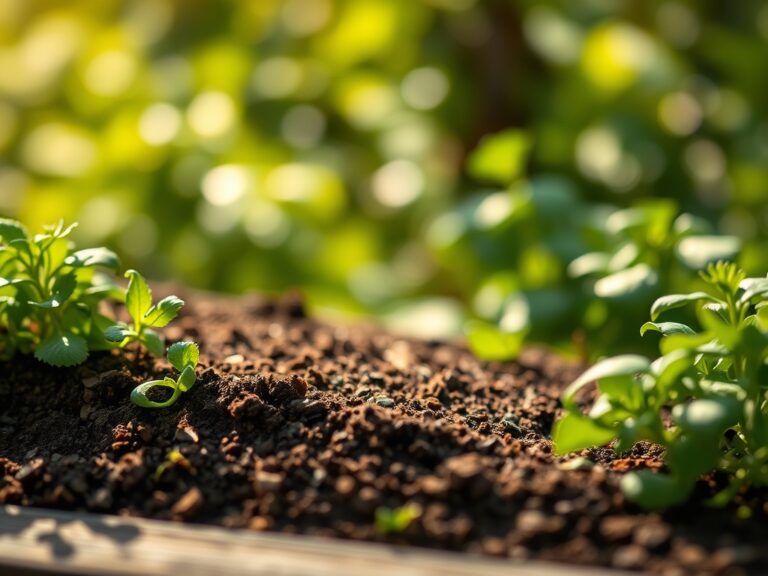
Establishing Moss and Groundcover
For moss sections, the surface must be firm and free of debris. Use a blender to create a slurry of moss fragments and buttermilk, or press intact mats firmly into the damp soil. Maintain constant moisture for the first 21 days to allow the rhizoids to anchor.
Pro-Tip: Mosses lack a vascular system and rely on poikilohydry. They absorb water directly through their leaves; maintaining high humidity at the ground level prevents the plant from entering a desiccated, dormant state during the establishment phase.
The Clinic:
Physiological disorders often mimic disease but stem from environmental or nutritional imbalances.
Symptom: Interveinal chlorosis (yellowing between leaf veins) on new growth.
Solution: This typically indicates an Iron deficiency common in soils with a pH above 7.0. Lower the pH by adding elemental sulfur or apply chelated iron foliar spray.
Symptom: Leaf tip burn or marginal necrosis.
Solution: This is often a result of high salinity or "fertilizer burn." Flush the soil with 3 inches of distilled water to leach excess salts from the root zone.
Symptom: Wilting despite moist soil.
Solution: This suggests root rot caused by anaerobic conditions. Improve drainage by increasing the ratio of coarse grit or perlite in the substrate.
Fix-It for Nitrogen Chlorosis: If older leaves turn uniformly pale green or yellow, the plant is scavenging Nitrogen for new growth. Apply a quick release high Nitrogen (10-0-0) liquid fertilizer at half strength to restore turgor and chlorophyll production.
Maintenance:
Precision maintenance is the difference between a thriving landscape and a declining one. Use a soil moisture meter twice weekly; do not water if the probe reads above 40 percent moisture for drought tolerant species. Most zen garden plants require approximately 1.5 inches of water per week, delivered directly at the drip line to avoid wetting the foliage and inviting fungal pathogens.
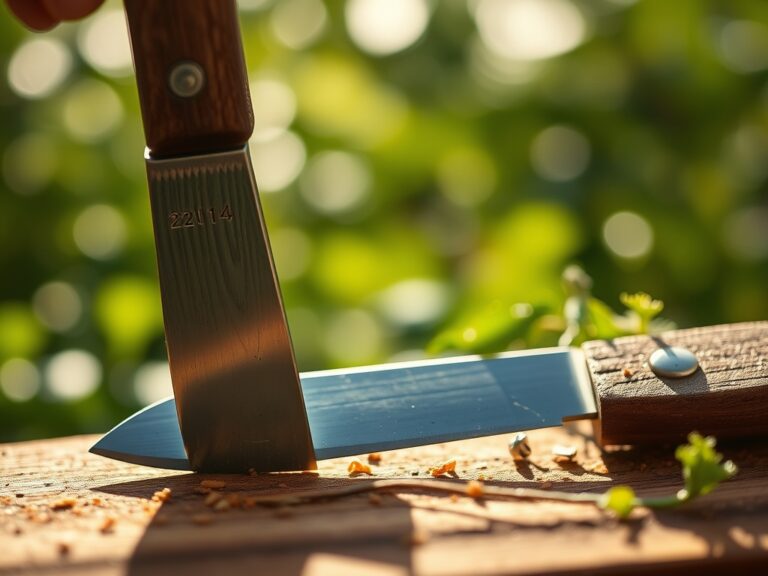
Pruning should be performed with sharp bypass pruners to ensure clean cuts that heal quickly. For delicate shaping of pines or maples, a hori-hori knife is useful for weeding in tight spaces between rocks. Use a traditional wooden rake to maintain the gravel patterns; this mechanical action also serves to disrupt the germination of wind-blown weed seeds before they can establish a taproot.
The Yield:
While a zen garden is primarily a visual and meditative space, certain elements like Japanese Maples or mosses can be propagated. Harvest moss patches by cutting 2-inch squares from a mature colony, leaving at least 60 percent of the original mat intact for regeneration.
For floral elements like Camellias, harvest blooms in the early morning when turgor pressure is at its peak. Use a sharp blade to cut at a 45-degree angle and immediately submerge the stem in 100 degree Fahrenheit (38 degree Celsius) water. This "hardening off" process removes air bubbles from the xylem, ensuring the bloom remains turgid for several days.
FAQ:
What is the best sand for a zen garden?
Use crushed decomposed granite or fine pea gravel (2mm to 4mm). Avoid beach sand or play sand; these are too fine, retain excessive moisture, and do not hold the crisp ridges required for traditional raked patterns.
How do I stop weeds without chemicals?
Install a high-grade geotextile weed barrier beneath the gravel layer. For surface weeds, use a propane torch or a hori-hori knife to extract the entire root system, preventing regrowth from rhizomes or fragmented taproots.
Can I build a zen garden in the shade?
Yes. Focus on bryophytes (mosses) and sciophytic plants like Hostas or Ferns. Ensure the soil remains acidic and well-drained. Shade reduces evaporation rates, so decrease supplemental irrigation to prevent root senescence from overwatering.
How deep should the gravel layer be?
Maintain a depth of 3 to 4 inches. This thickness provides enough mass to hold raked patterns while suppressing weed germination. Thinner layers expose the landscape fabric; deeper layers make walking and raking difficult due to displacement.