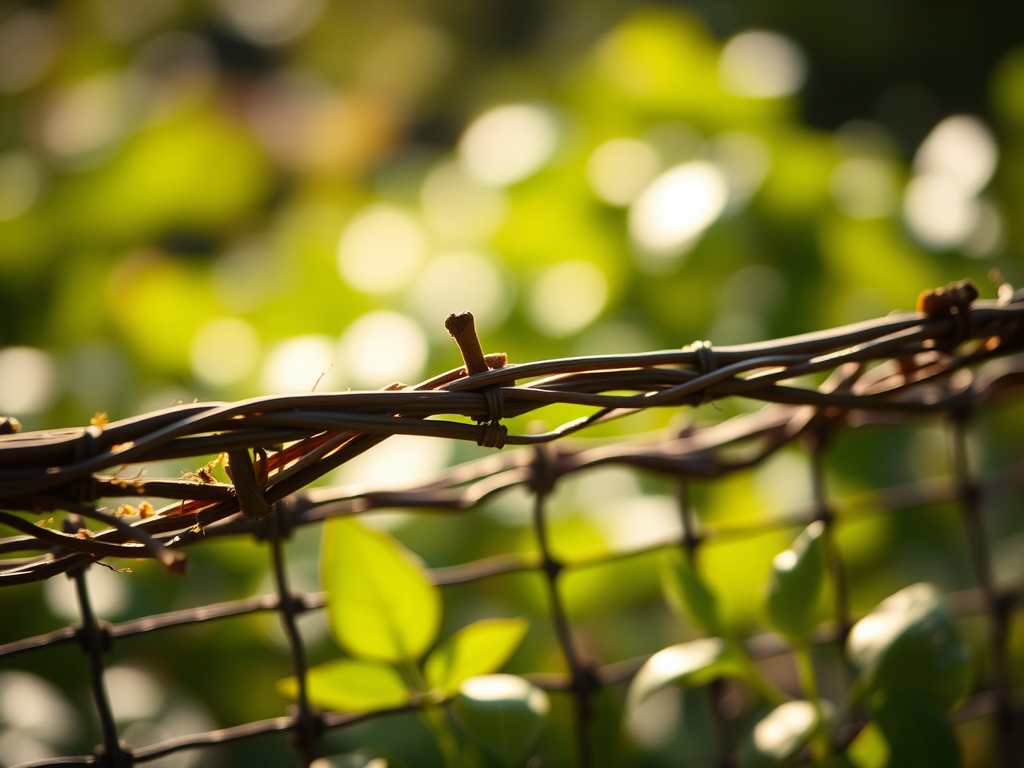
8 Technical Steps to Replace Wire Mesh
The scent of damp, anaerobic silt rising from a neglected garden bed indicates a failure in structural integrity. When metal barriers corrode, they leach zinc and iron oxides into the rhizosphere, disrupting the delicate chemical balance required for optimal root respiration. You must execute the steps to replace wire mesh before the structural failure compromises the turgor pressure of your primary cultivars. A sagging fence or a rusted subterranean cage allows burrowing rodents to sever taproots and introduces pathogens through mechanical injury. This process requires a systematic approach to soil management and physical installation to ensure the long-term health of your botanical collection. By maintaining a rigid physical barrier, you protect the high-value biological assets within your managed landscape from both physical intrusion and the slow degradation of hardware failure.
Materials:
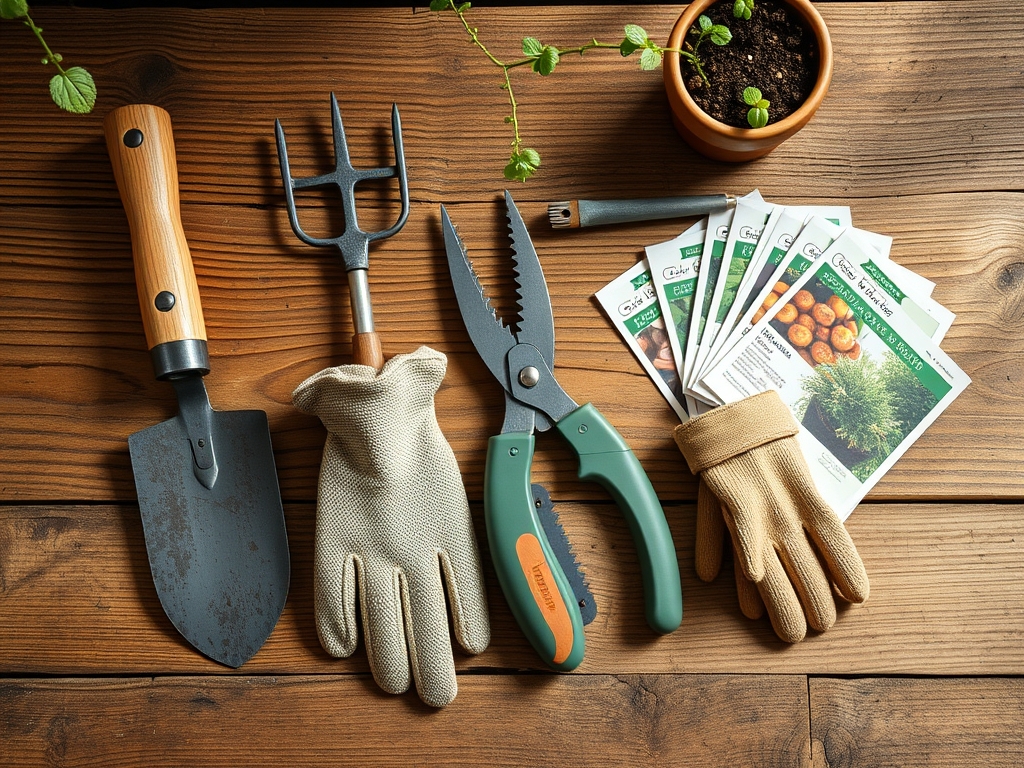
Successful replacement begins with the substrate. You require a friable loam with a Cation Exchange Capacity (CEC) between 15 and 25 milliequivalents per 100 grams. This ensures the soil can hold and exchange essential nutrients like calcium and magnesium. For the mesh, select 19-gauge galvanized steel with a 1/2-inch aperture to prevent entry by juvenile rodents.
The nutrient profile of the backfill must be precise. Aim for a 6.5 pH to maximize nutrient bioavailability. Incorporate a slow-release granular fertilizer with an NPK ratio of 5-10-5 for root establishment. High phosphorus levels are critical during the re-installation phase to stimulate rapid root regeneration in plants disturbed by the excavation. Avoid high nitrogen levels initially; excessive nitrogen promotes lush vegetative growth that the compromised root system cannot yet support. Ensure your backfill material has less than 20 percent clay content to prevent compaction and maintain high oxygen levels within the soil pores.
Timing:
Timing is dictated by the Biological Clock of your specific Hardiness Zone. For zones 5 through 7, the ideal window for mesh replacement is late dormancy or early spring, approximately four weeks before the average last frost date. During this period, plants are in a state of low metabolic activity, reducing the risk of transplant shock.
As the photoperiod increases, plants transition from dormancy to the vegetative stage. Replacing mesh during this transition allows the root system to colonize the newly disturbed soil just as the auxin flow shifts toward root tip elongation. Avoid replacement during the reproductive stage (flowering or fruiting), as the plant allocates the majority of its carbohydrate reserves to seed production rather than root repair. If you are in Zones 8 or higher, late autumn is the preferred window to avoid the high transpiration demands of summer heat.
Phases:

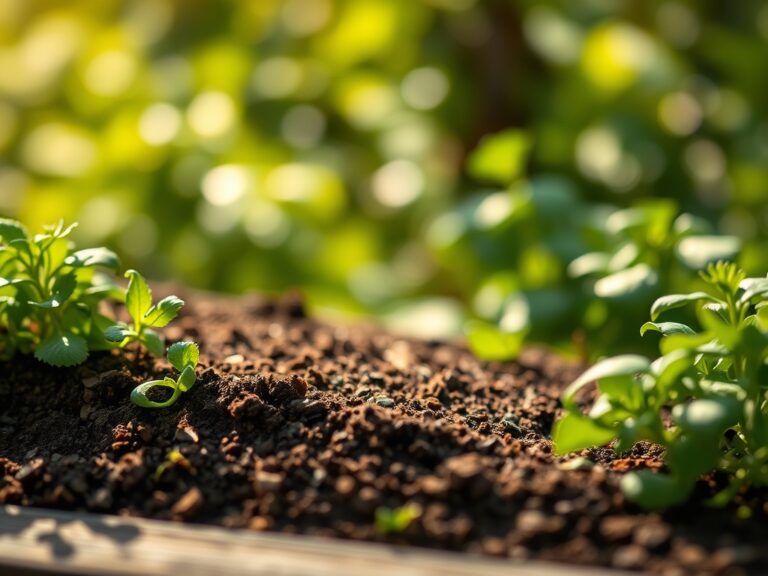
Sowing and Preparation
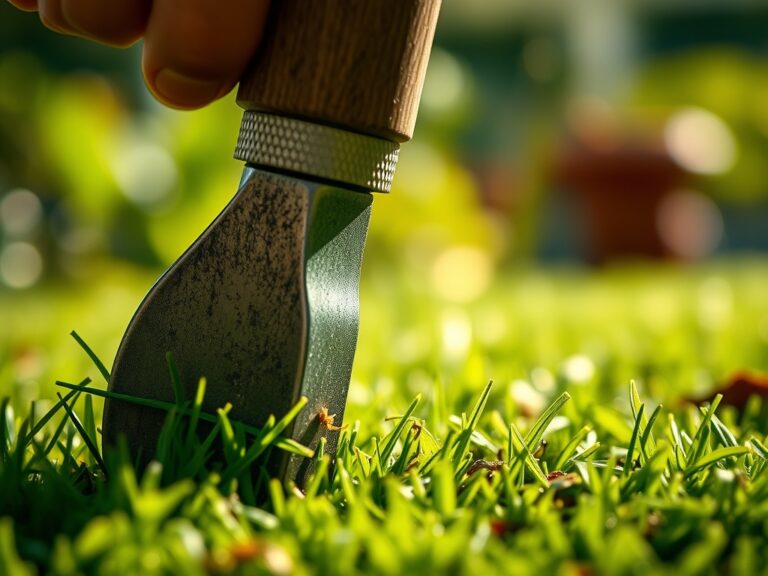
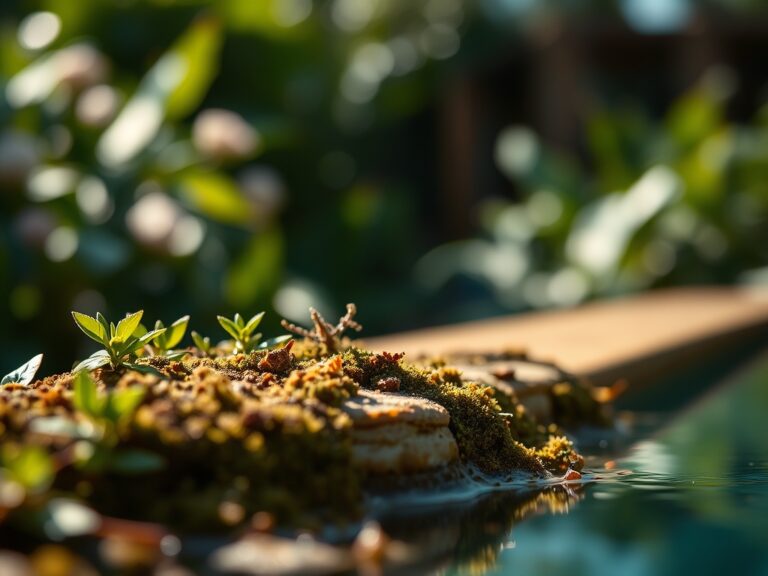
Clear a 24-inch buffer zone around the existing mesh. Use a hori-hori knife to cleanly sever any lateral roots that have grown through the old wire. This prevents tearing, which can lead to fungal infections. Excavate to a depth of 12 inches for subterranean barriers.
Pro-Tip: Cleanly cut roots trigger the plant to release cytokinins, hormones that stimulate lateral bud growth and root branching. This physiological response helps the plant recover faster than if the roots were crushed or torn.
Transplanting and Installation
Position the new mesh with a 3-inch overlap at all seams to ensure no gaps exist. If protecting individual root balls, form a "basket" that allows for three years of projected growth. Backfill with your prepared friable loam, tamping down lightly to remove large air pockets without destroying soil structure.
Pro-Tip: Maintaining close contact between the soil and the mesh prevents "air bridging." This ensures that mycorrhizal symbiosis can continue uninterrupted as fungal hyphae bridge the gap between the root surface and the surrounding soil minerals.
Establishing
Immediately saturate the area with 2 gallons of water per square yard to settle the soil. Monitor the plants for signs of wilting, which indicates a loss of turgor. Use a soil moisture meter to ensure the root zone stays between 60 and 80 percent field capacity during the first 14 days.
Pro-Tip: Temporary shading after installation reduces the transpiration rate. By lowering the leaf temperature, you reduce the demand on the root system while it re-establishes its hydraulic connection with the soil.
The Clinic:
Physiological disorders often follow the mechanical stress of mesh replacement. Monitor your plants for these specific symptoms:
- Nitrogen Chlorosis: Leaves turn pale yellow, starting with the older growth. Fix-It: Apply a water-soluble 10-0-0 fertilizer to provide immediate bioavailability.
- Anthocyanin Accumulation: Leaves turn purplish, indicating phosphorus deficiency or cold stress. Fix-It: Check soil temperature; if above 55 degrees Fahrenheit, apply bone meal or triple superphosphate.
- Marginal Necrosis: Brown, crispy leaf edges suggesting potassium deficiency or salt buildup. Fix-It: Flush the soil with 3 inches of water to leach excess salts and check the CEC levels.
- Interveinal Chlorosis: Yellowing between green veins, usually a sign of Iron or Magnesium deficiency. Fix-It: Apply chelated iron or Epsom salts (magnesium sulfate) based on a soil test.
Maintenance:
Post-installation care requires technical precision. Provide 1.5 inches of water per week, delivered at the drip line rather than the crown to prevent fungal pathogens. Use bypass pruners to remove any dead or senescing tissue; this redirects the plant's energy toward new growth.
Check the mesh tension every six months. Soil shifting and freeze-thaw cycles can displace the barrier. Use a soil moisture meter at a depth of 6 inches twice weekly during the first growing season. If the meter reads below 40 percent, increase irrigation frequency. Avoid heavy machinery within the root zone to prevent soil compaction, which reduces the oxygen diffusion rate and leads to root suffocation.
The Yield:
When working with edible crops or cut flowers, the timing of your harvest is critical for post-harvest longevity. Harvest during the "cool of the day," typically between 5:00 AM and 8:00 AM, when the plant is at maximum turgidity. Use a sharp, sterilized blade to make a clean cut, minimizing the surface area of the wound.
Immediately submerge the stems in 40-degree Fahrenheit water to remove field heat. This process, known as hydro-cooling, slows the rate of senescence and preserves the sugars and volatile oils within the plant tissue. For woody perennials, ensure you leave at least two nodes of current-season growth to provide the buds for next year's production.
FAQ:
What is the best mesh size for rodent protection?
Use 19-gauge galvanized hardware cloth with a 1/2-inch or 1/4-inch mesh size. This gauge is thick enough to resist chewing, while the small aperture prevents juvenile voles and gophers from passing through the barrier.
How deep should I bury the wire mesh?
For effective subterranean protection, bury the mesh to a minimum depth of 12 to 18 inches. Bend the bottom 6 inches outward in an "L" shape to prevent burrowing animals from digging underneath the vertical wall.
Will galvanized mesh affect my soil pH?
Zinc coating on galvanized mesh has a negligible effect on soil pH in most environments. However, in highly acidic soils (pH below 5.0), the coating may break down faster, slightly increasing zinc levels in the immediate rhizosphere.
Can I replace mesh without digging up my plants?
You can perform a perimeter replacement by trenching 12 inches away from the main stem. This minimizes damage to the primary root mass while still providing a functional barrier against invasive pests and structural soil erosion.