8 Luxurious Ways How to Design a Pool Landscape
Success in high-end horticulture depends on the precise management of turgor pressure and soil oxygenation. When you learn how to design a pool landscape, you are not merely placing ornaments; you are engineering a living microclimate where chlorine-laden humidity meets the rhizosphere. A successful installation requires balancing the high Cation Exchange Capacity (CEC) of the soil against the reflective heat of the pool deck. This guide provides the technical framework for an elite aquatic environment.
Materials:

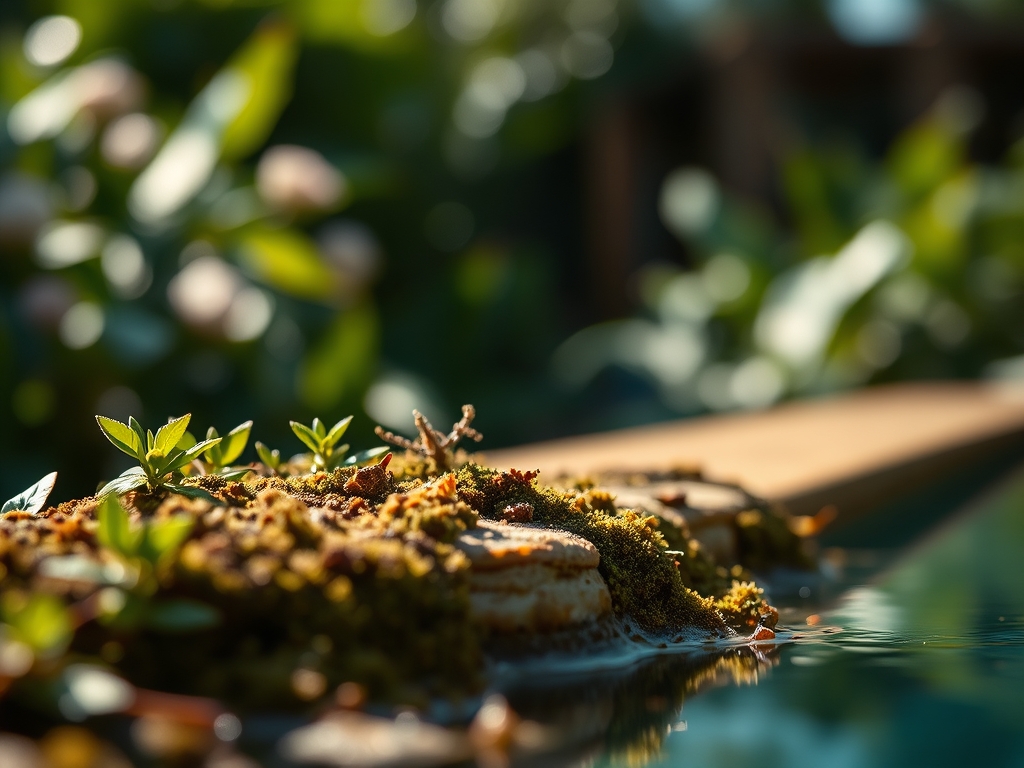
The foundation of a luxury pool landscape is a **friable loam** with a sand-to-silt-to-clay ratio of approximately 40-40-20. This texture ensures rapid drainage, preventing root rot in high-splash zones. You must maintain a soil pH between **6.0 and 7.0** to ensure nutrient bioavailability.
For the vegetative establishment phase, utilize a slow-release fertilizer with an NPK ratio of 10-10-10. As plants transition to the reproductive or flowering stage, pivot to a 5-10-15 ratio to prioritize root strength and bloom density over excessive foliar growth. Incorporate organic matter to achieve a CEC of at least 15 to 25 milliequivalents per 100 grams (meq/100g), which allows the soil to retain essential cations like calcium and magnesium against the leaching effects of heavy irrigation.
Timing:
Timing is dictated by the Biological Clock of your specific Hardiness Zone. In Zones 7 through 9, installation should occur during the dormant window of late autumn or the early spring surge, at least six weeks before the first or last frost. This allows the root system to establish before the plant enters the high-transpiration demands of summer.
Monitor the photoperiod; most tropical poolside specimens require at least six to eight hours of direct solar radiation to maintain metabolic efficiency. If you are planting deciduous species, ensure the transition from the vegetative stage to senescence is managed by reducing nitrogen inputs as the day length shortens.
Phases:

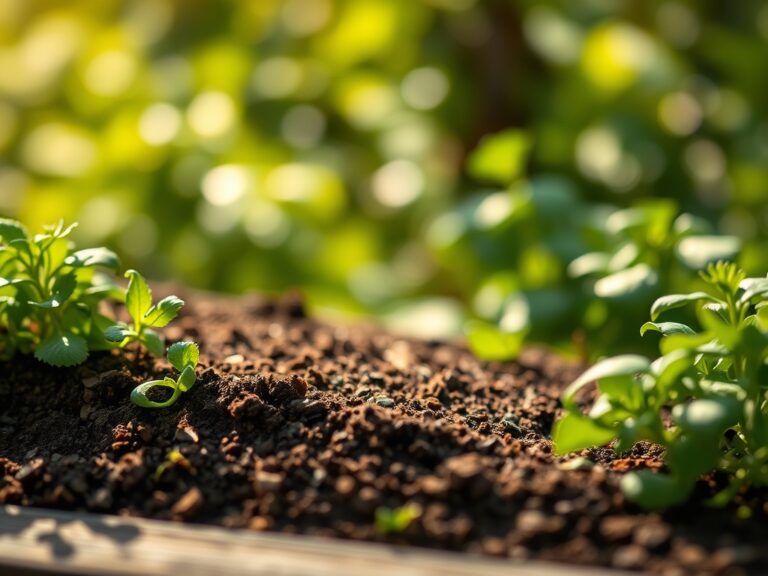
Sowing and Soil Preparation
Begin by excavating planting pits twice the width of the root ball. Ensure the bottom of the pit is compacted slightly to prevent the plant from settling too deep, which can lead to stem rot. Mix the native soil with 20 percent composted leaf mold to enhance microbial activity.
Pro-Tip: Inoculate the soil with mycorrhizal fungi. This symbiotic relationship extends the root surface area, allowing the plant to absorb phosphorus and water more efficiently in the competitive poolside environment.
Transplanting
When moving specimens from containers to the ground, inspect for circling roots. Use a hori-hori knife to make vertical scores in the root mass to break apical dominance in the root tips. Set the crown of the plant exactly at the soil line to prevent oxygen deprivation in the root zone.
Pro-Tip: Apply a transplant shock hormone containing auxins. This suppresses immediate upward foliar growth and redirects the plant's energy toward radical root elongation, ensuring stability near heavy foot traffic.
Establishing
During the first 90 days, the plant is in a critical establishment phase. Maintain consistent moisture levels using a soil moisture meter to ensure the root zone stays between 40 and 60 percent field capacity. Avoid overhead watering to prevent fungal pathogens from colonizing the foliage.
Pro-Tip: Utilize phototropism management by orienting the plant's most robust side toward the primary light source. This prevents the plant from leaning over the water, which would otherwise increase the organic debris load in the pool filtration system.
The Clinic:
Physiological disorders in pool landscapes often stem from chemical exposure or nutrient lockout.
- Symptom: Interveinal Chlorosis. The leaves turn yellow while the veins remain green.
- Solution: This indicates a Manganese or Iron deficiency, often caused by high pH levels from concrete runoff. Lower the pH using elemental sulfur or apply chelated iron.
- Symptom: Marginal Leaf Burn. The edges of the leaves appear scorched or brown.
- Solution: This is frequently a result of Salt Toxicity from chlorine or salt-water splash. Flush the root zone with 2 inches of fresh water to leach the sodium from the rhizosphere.
- Symptom: Epinasty. Leaves curve downward and stems appear twisted.
- Solution: This is a sign of Ethylene stress or chemical drift. Improve airflow around the plant and prune affected tissue to encourage new, healthy growth.
Fix-It Section: For general Nitrogen chlorosis (uniform yellowing of older leaves), apply a water-soluble 20-20-20 fertilizer at half strength. This provides an immediate boost to chlorophyll production and restores turgor.
Maintenance:
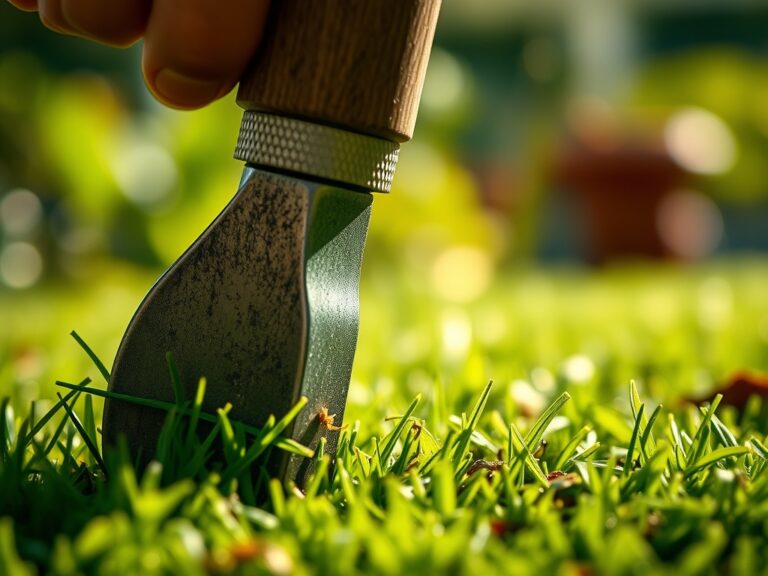
Precision maintenance is the difference between a thriving landscape and a declining one. Apply 1.5 inches of water per week at the drip line; do not water the trunk or the crown. Use bypass pruners for clean cuts that heal quickly; ragged tears are entry points for pathogens.
Mulch with a 2-inch layer of pine bark or cedar to regulate soil temperature and suppress weeds. Every spring, use a soil probe to check for compaction. If the soil is too dense, use a garden fork to aerate the perimeter of the root zone, allowing oxygen to reach the deep roots. Monitor the CEC levels annually through professional soil testing to ensure the nutrient reservoir remains functional.
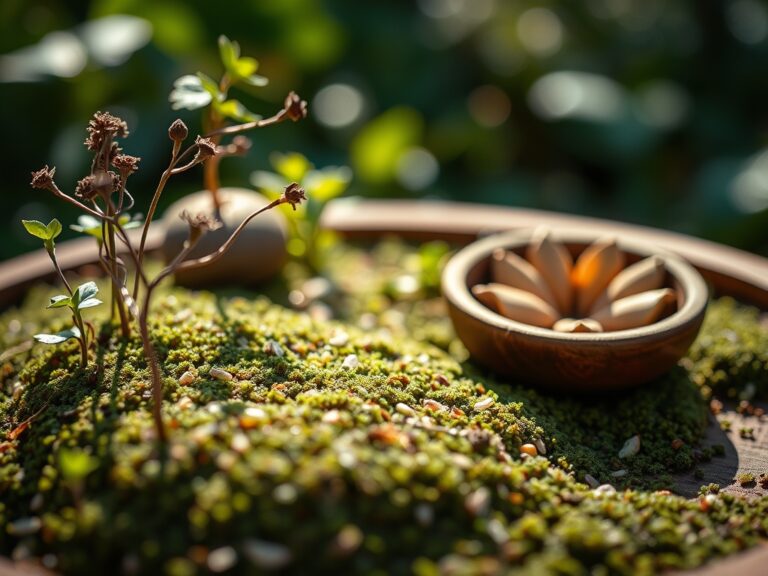
The Yield:
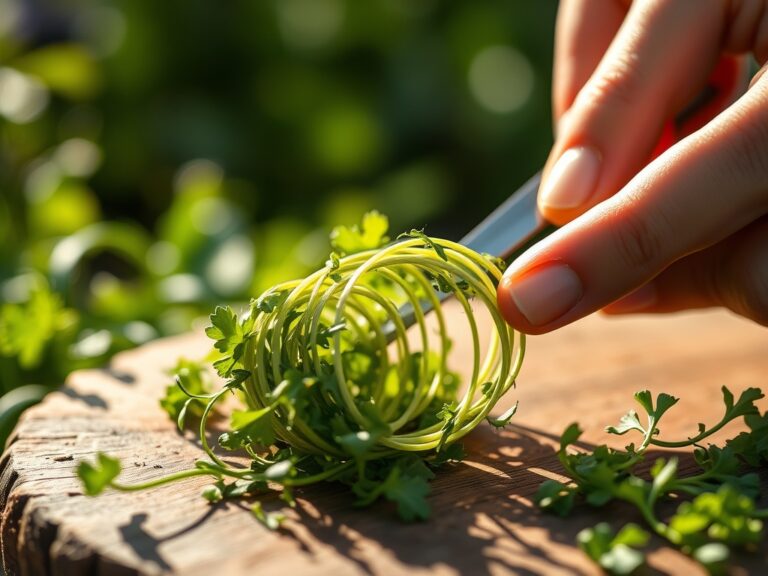
If your pool landscape includes flowering perennials or ornamental grasses, timing the "harvest" or pruning is vital for plant health. For flowers, harvest in the early morning when turgor pressure is at its peak. This ensures the cells are fully hydrated, extending the post-harvest life of the bloom.
Use a sharp, sterilized blade to cut at a 45-degree angle just above a node. For ornamental grasses, wait until late winter to cut back the dead foliage; this protects the crown from frost damage. Post-harvest, place stems immediately in 100-degree Fahrenheit water to break any air bubbles in the xylem, ensuring "day-one" freshness for indoor displays.
FAQ:
What is the best soil for pool landscapes?
A well-draining, friable loam with a pH of 6.5 is ideal. It must have a high Cation Exchange Capacity to hold nutrients while allowing excess chlorine or salt to leach away from the root zone quickly.
How often should I water poolside plants?
Target 1.5 inches of water per week, delivered directly to the soil at the drip line. Use a soil moisture meter to ensure the subsurface remains moist but not saturated, preventing root hypoxia.
Which plants resist chlorine splash best?
Species with thick, waxy cuticles or leathery leaves, such as certain palms and evergreen shrubs, provide the best resistance. These physical barriers prevent chemical absorption into the leaf tissue, maintaining high turgor pressure.
How do I fix yellowing leaves near a pool?
Check the soil pH first. High alkalinity from pool stone often causes Iron chlorosis. Apply elemental sulfur to lower the pH to 6.5, or use a chelated iron foliar spray for immediate correction.
When is the best time to plant?
Install plants during the dormant window of late autumn or early spring. This allows the root system to establish in soil temperatures between 45 and 55 degrees Fahrenheit before the high-stress transpiration of the summer season begins.