8 Traditional Ways How to Maintain a Garden Dibber
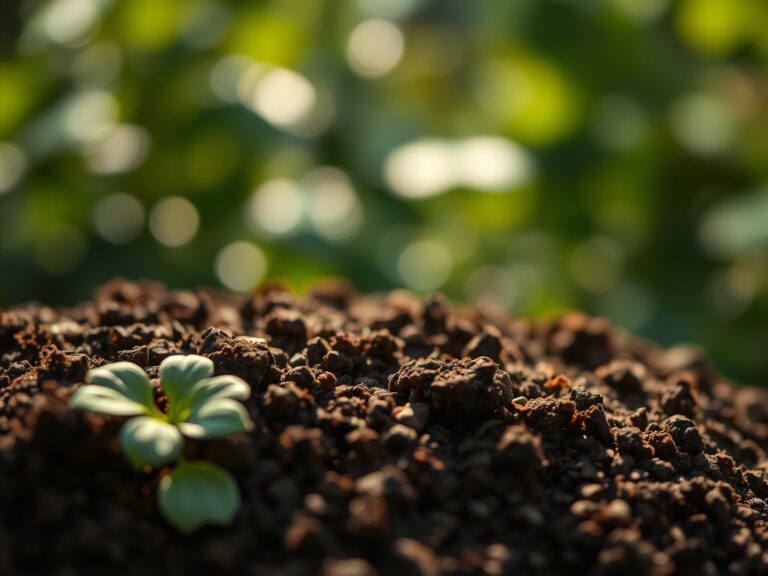
The smell of damp, anaerobic mud clinging to a steel tip signals the end of a planting cycle; the turgor of a healthy seedling depends entirely on the precision of the hole it occupies. A neglected tool compresses the rhizosphere and introduces pathogens into the delicate vascular tissue of young transplants. Understanding how to maintain a garden dibber ensures that every seed is placed at the exact depth required for optimal geotropism. This process requires more than a casual wipe; it demands a systematic approach to metallurgy and wood preservation to prevent the degradation of the tool's structural integrity.
Maintaining the smooth surface of the dibber reduces friction during penetration, which preserves the soil structure and prevents the glazing of the planting hole walls. Glazed walls act as a physical barrier to lateral root expansion. By following traditional maintenance protocols, the gardener ensures that the tool remains an extension of the hand, capable of measuring depth to within a millimeter. This precision is the difference between successful germination and seed rot in heavy, cold soils. Proper care prevents the oxidation of metal components and the desiccation of wooden handles, extending the tool's service life across decades of seasonal cycles.
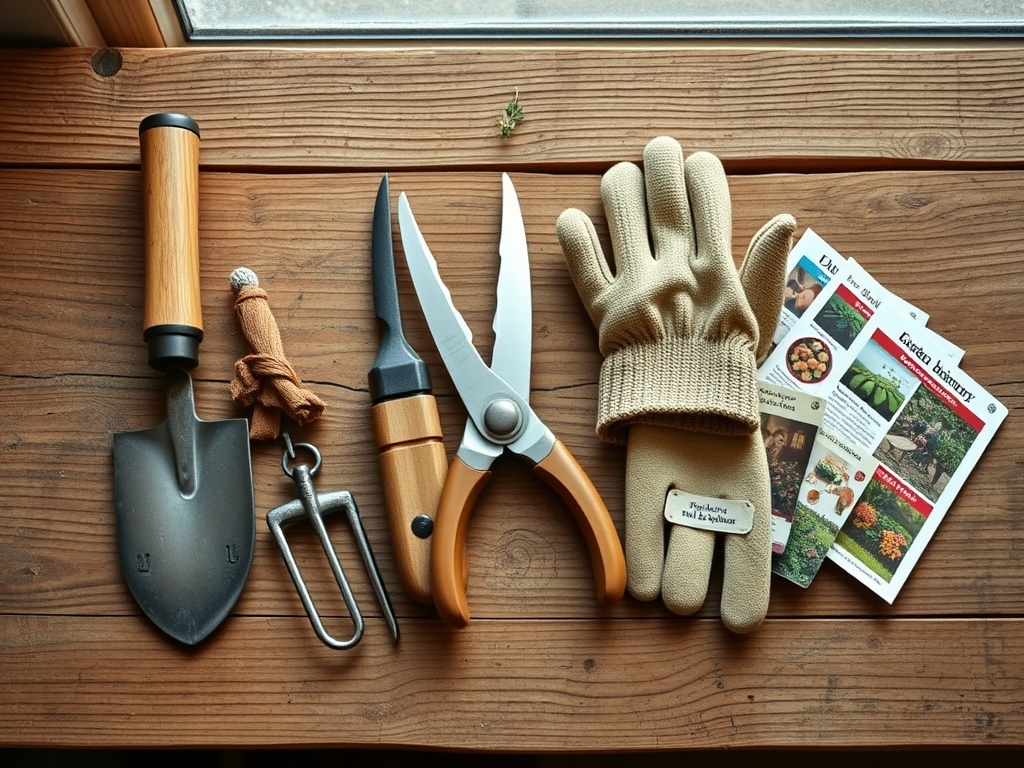
Materials:
Effective maintenance begins with the substrate the tool interacts with daily. A friable loam with a pH between 6.0 and 7.0 is the ideal medium for tool longevity. Soils high in clay content increase the Cation Exchange Capacity (CEC) but also increase the risk of tool abrasion and moisture retention. To neutralize the corrosive effects of acidic soils, keep a bucket of dry builder's sand mixed with 3 percent mineral oil in the shed.
When preparing the garden beds where the dibber will be used, monitor the NPK ratios. A balanced 10-10-10 NPK application supports general plant health, but excessive salts from synthetic fertilizers can accelerate the pitting of stainless steel or carbon steel dibbers. Ensure the soil has a high organic matter content to maintain a crumbly texture; this reduces the physical force required to use the tool, thereby reducing stress on the handle-to-shank connection.
Timing:
Maintenance schedules must align with local frost dates and the biological clock of the garden. In Hardiness Zones 5 through 7, the primary maintenance window occurs during the transition from the dormant winter phase to the active vegetative growth of spring. Perform a deep clean and sharpening before the first frost-free date, typically when soil temperatures reach a consistent 55 degrees Fahrenheit.
The biological clock of the garden dictates tool use frequency. During the reproductive stage of summer crops, the dibber is often shelved in favor of irrigation tools. This period of inactivity is when oxidation occurs if the tool is stored with high moisture levels. Perform a mid-season inspection when the photoperiod begins to shorten in late August. This ensures the tool is ready for the fall transplanting of brassicas and the sowing of cover crops.
Phases:

Sowing
Before the first seed touches the soil, the dibber must be sterilized. Use a 10 percent bleach solution or isopropyl alcohol to kill lingering fungal spores. A clean tool ensures that the seed makes direct contact with the soil without the interference of debris.
Pro-Tip: Proper sterilization prevents the transfer of Pythium species. This is crucial because mycorrhizal symbiosis cannot establish if the seedling is overwhelmed by damping-off pathogens in the early germination phase.
Transplanting
When moving starts from flats to the field, the dibber must create a hole that matches the root ball volume. The tool should be polished to a mirror finish to prevent soil from sticking to the tip, which can cause "soil pull-back" and leave air pockets around the roots.
Pro-Tip: Eliminating air pockets maintains turgor pressure within the plant. When roots have 100 percent soil contact, they can immediately begin the uptake of water and dissolved nutrients through osmosis.
Establishing
As the garden enters the establishment phase, use the dibber to side-dress granular fertilizers. Maintaining the tool's depth markings is essential here to ensure nutrients are placed in the active root zone rather than on the soil surface where nitrogen volatilization occurs.
Pro-Tip: Precise nutrient placement prevents auxin suppression. By placing phosphorus near the root tips, you encourage downward growth rather than lateral spreading, which improves the plant's drought resistance.
The Clinic:
Physiological disorders in the garden often stem from poor tool hygiene or improper use. Observe the following symptoms and apply the necessary fixes.
- Symptom: Nitrogen Chlorosis. Yellowing of older leaves while veins remain green.
- Solution: Use the dibber to aerate the soil around the drip line. Compaction often limits nitrogen uptake even if the element is present in the soil.
- Symptom: Root Girdling. Roots circling the planting hole rather than penetrating the surrounding soil.
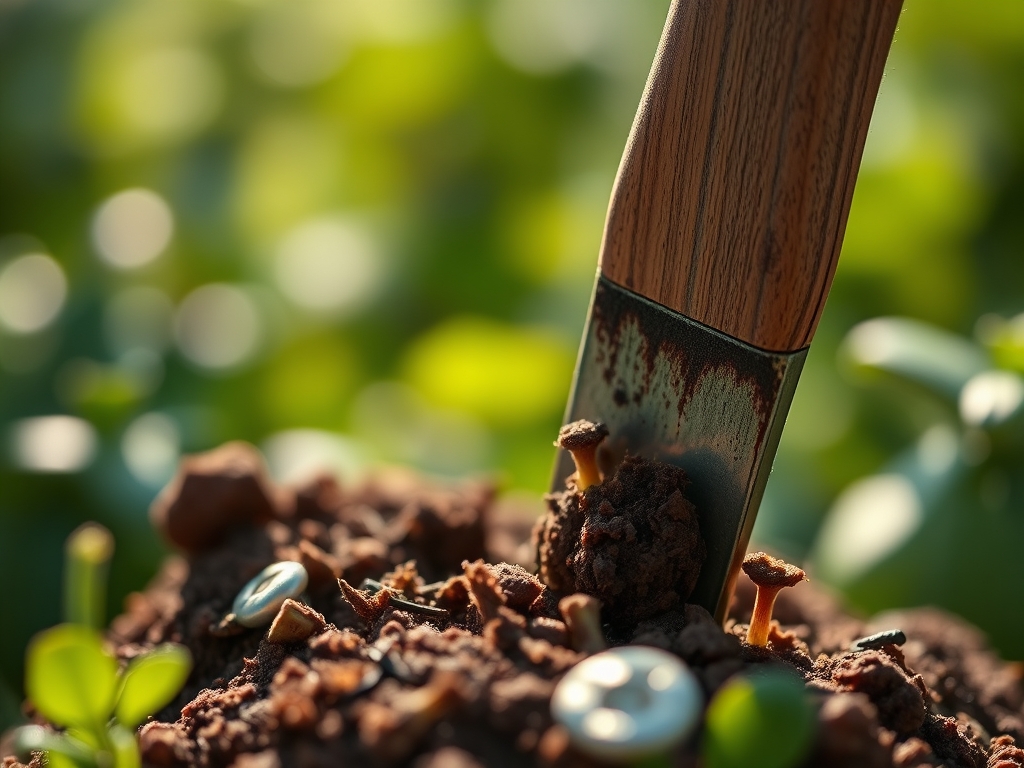
- Solution: Sharpen the dibber's tip. A dull tool creates a "pot effect" by smearing the soil walls. A sharp tool shears the soil, leaving it porous.
- Symptom: Bacterial Wilt. Sudden drooping of the plant despite adequate soil moisture.
- Solution: Immediate sterilization of the dibber. This prevents the mechanical transmission of bacteria from an infected site to a healthy one.
Fix-It: For carbon steel dibbers showing signs of rust, use a wire brush or 80-grit sandpaper to remove the oxidation. Follow with a coat of linseed oil to create a hydrophobic barrier.
Maintenance:
Routine maintenance is a daily requirement, not a seasonal afterthought. After every use, spray the tool with a high-pressure hose to remove all organic matter. Dry the tool immediately with a lint-free cloth. Once a week, check the handle for splinters; sand them down and apply a fresh coat of tung oil to prevent moisture from entering the grain.
Monitor the soil moisture levels using a soil moisture meter before using the dibber. If the soil is too dry, the tool will cause micro-fractures in the soil structure. If it is too wet, it will cause compaction. Aim for a moisture level that allows the soil to hold its shape when squeezed but crumbles easily. For established perennials, ensure they receive 1.5 inches of water per week at the drip line, using a hori-hori knife to check for soil penetration depth alongside your dibber measurements. Use bypass pruners to clear any woody debris that might nick the dibber's edge during use.
The Yield:
While the dibber is primarily a planting tool, its maintenance affects the final harvest. For root crops like carrots or parsnips, a well-maintained dibber creates the vertical path necessary for straight, unbranched taproots. Harvest these crops when the shoulder of the vegetable reaches the diameter specified for the variety, typically 0.5 to 1 inch.
Post-harvest, use the dibber to mark the locations of removed plants to ensure proper crop rotation. To maintain "day-one" freshness for harvested greens, harvest in the early morning when turgor pressure is at its peak. Immediately plunge the produce into a cold water bath to remove field heat and slow the process of senescence.
FAQ:
How do I remove rust from a garden dibber?
Use a stiff wire brush or medium-grit sandpaper to scrub the oxidized areas until the bare metal is visible. Wipe the surface clean with a dry cloth and apply a thin layer of mineral or linseed oil to prevent future oxidation.
What is the best way to sharpen a dibber?
Secure the tool in a vice and use a mill file to sharpen the tip to a 45-degree angle. Work in one direction, following the original bevel. Finish the edge with a whetstone for a smooth, friction-reducing surface.
Can I use a dibber in heavy clay soil?
Yes, but you must ensure the tool is highly polished. Clay particles adhere to rough surfaces, causing soil compaction. Dip the tool in a bucket of oiled sand between every few holes to maintain a slick surface.
How often should I oil the wooden handle?
Apply a light coat of boiled linseed oil every two months during the growing season. This prevents the wood from becoming brittle or absorbing excess moisture, which leads to swelling and eventual cracking of the handle.