7 Sturdy Steps to Install a Trellis Post
The smell of damp earth and the iron tang of a shovel blade hitting stone signal the start of a structural garden upgrade. Successful viticulture or ornamental climbing depends entirely on the turgor pressure of the plant; without a rigid skeleton, the vascular system collapses under its own weight. Learning the steps to install a trellis post ensures that heavy fruiting bodies or dense foliage do not lead to stem kinking or restricted sap flow. A stable post allows for maximum light interception and airflow, reducing the risk of fungal pathogens in the lower canopy. Proper installation begins with assessing the soil density and structural integrity of the site. You are not just burying a piece of wood; you are anchoring a biological engine that must withstand wind loads and crop weight for decades. Precision in the first six inches of depth determines the success of the next ten feet of vertical growth.
Materials:
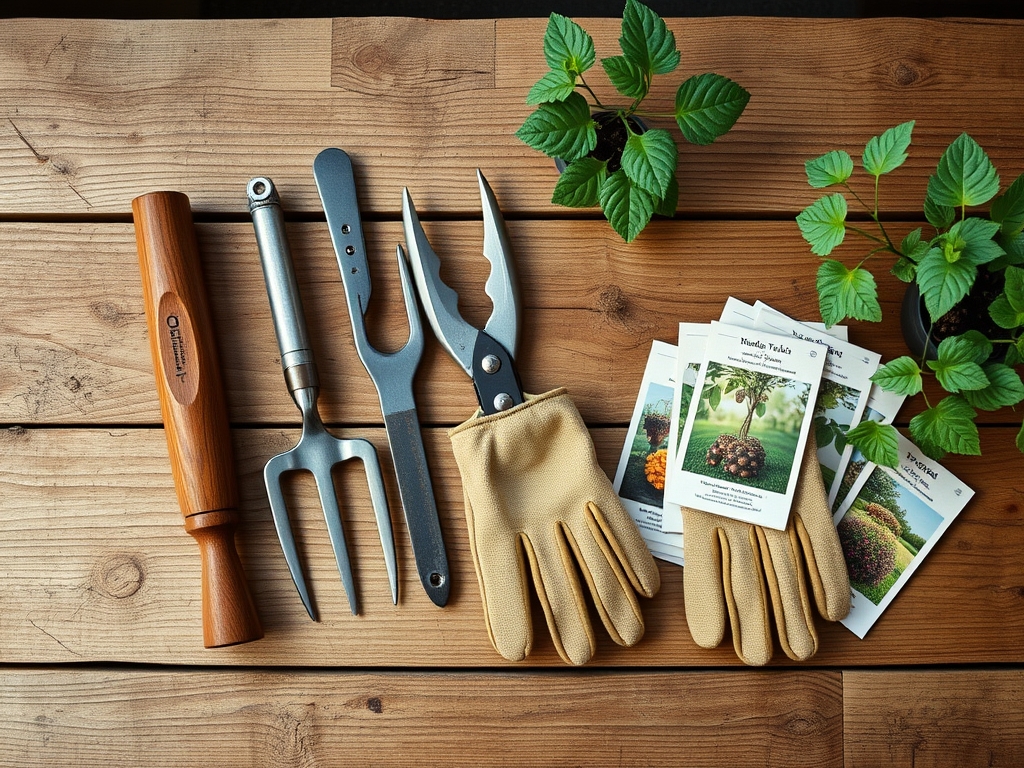
The ideal substrate for a trellis system is a **friable loam** with a **pH between 6.0 and 7.0**. This acidity range optimizes the **Cation Exchange Capacity (CEC)**, allowing the roots of your climbing plants to access essential nutrients. Before setting posts, amend the surrounding soil to reach an **NPK ratio of 10-10-10** for general establishment or **5-10-10** if you are prioritizing root development over rapid vegetative surges. You will need pressure-treated 4×4 timber or galvanized steel pipes, a manual post-hole auger, and crushed 3/4-inch gravel for drainage. Avoid pouring concrete directly against wood; this creates a moisture trap that accelerates fungal decay at the soil line. Use a **soil moisture meter** to ensure the area is not oversaturated before you begin digging, as wet clay leads to sidewall glazing which prevents lateral root penetration later.
Timing:
Installation should occur during the dormant season, typically between Hardiness Zones 4 and 9 from late autumn to early spring. In Zone 5, the window opens after the first hard frost but before the ground freezes solid, usually when soil temperatures drop below 45 degrees Fahrenheit. This timing respects the biological clock of the plant. By installing the structure while the plant is in senescence, you avoid damaging active root hairs or disrupting the rhizosphere during the critical spring growth flush. Establishing the trellis before the transition from vegetative to reproductive stages ensures that the plant has immediate support as soon as auxin levels shift to promote upward vine elongation.
Phases:

Sowing the Foundation
Excavate a hole three times the width of the post and at least 24 to 36 inches deep. This depth must reach below the local frost line to prevent "heaving" during freeze-thaw cycles. Line the bottom with 4 inches of compacted gravel.
Pro-Tip: Proper drainage at the base prevents anaerobic conditions. This protects the mycorrhizal symbiosis in the soil; beneficial fungi require oxygen to help the plant's roots absorb phosphorus efficiently.
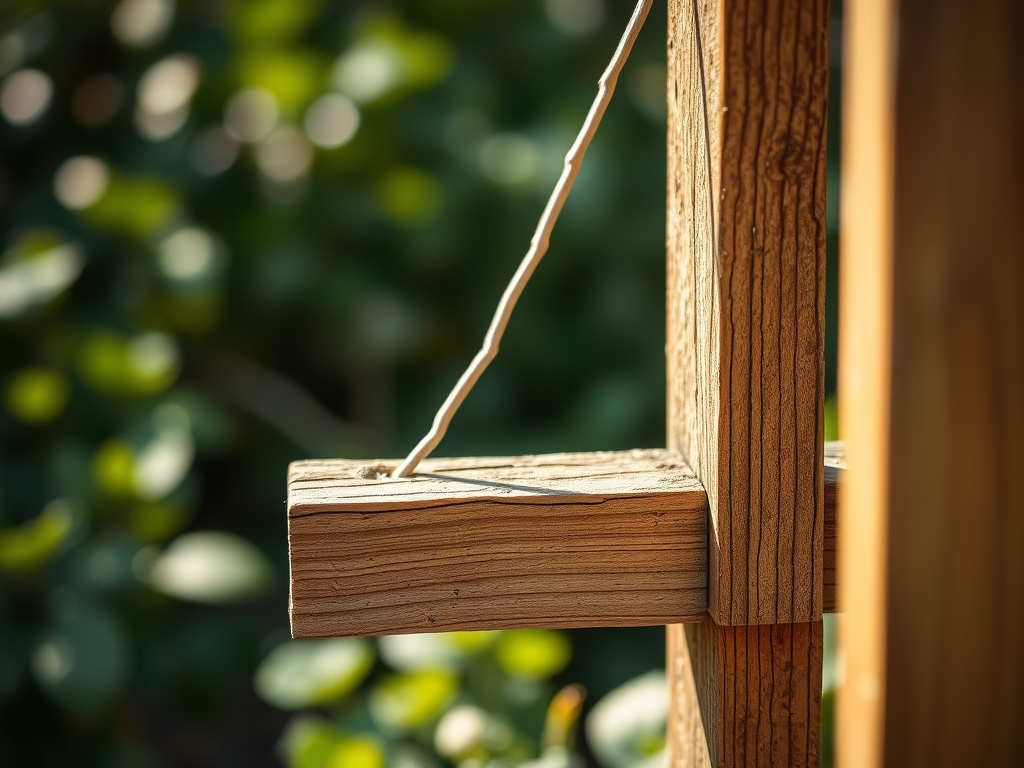
Transplanting and Alignment
Set the post and use a level to ensure vertical accuracy on two planes. Backfill with a mix of native soil and crushed stone, tamping every 6 inches to eliminate air pockets. If you are planting vines simultaneously, place the root ball 8 to 12 inches away from the post base to allow for radial root expansion.
Pro-Tip: Orient the trellis to maximize phototropism. In the northern hemisphere, a north-south orientation ensures that both sides of the plant receive equal solar radiation throughout the day, preventing lopsided growth.
Establishing the Lead
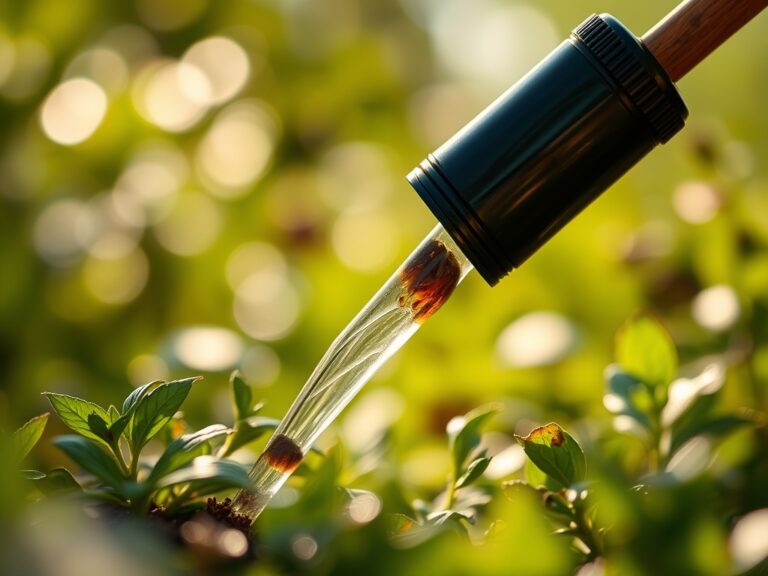
Once the post is secure, guide the primary leader toward the support using soft ties. Do not use wire, which can girdle the stem and restrict the flow of water and nutrients through the xylem and phloem.
Pro-Tip: Pruning the tip of the main leader can trigger auxin suppression. This encourages lateral branching, leading to a fuller, more productive canopy as the plant fills the trellis framework.
The Clinic:
Physiological disorders often manifest when the trellis system or soil environment is compromised.
- Symptom: Interveinal chlorosis (yellowing leaves with green veins).
- Solution: This indicates a Manganese or Iron deficiency, often caused by high soil pH. Apply chelated iron to lower the pH to the 6.5 range.
- Symptom: Stunted growth and purple-tinted lower leaves.
- Solution: This is a Phosphorus deficiency. Check soil temperature; if it is below 55 degrees Fahrenheit, the plant cannot uptake phosphorus regardless of soil content.
- Symptom: Stem "bleeding" or necrotic lesions at the tie points.
- Solution: The ties are too tight, causing mechanical damage. Use a hori-hori knife to carefully remove restrictive ties and replace them with flexible horticultural tape.
- Fix-It for Nitrogen Chlorosis: If the entire leaf turns pale yellow, the plant lacks Nitrogen. Apply a quick-release 20-0-0 fertilizer or organic blood meal to restore chlorophyll production.
Maintenance:
A trellis system requires active management to maintain the health of the climbing specimen. Apply 1.5 inches of water per week at the drip line, using a soil moisture meter to verify that the moisture reaches a depth of 12 inches. Use bypass pruners to remove any dead or diseased wood during the dormant season; this prevents the spread of pathogens. Inspect the post base annually for shifting. If the post becomes loose, the resulting vibration can tear delicate root hairs, leading to a loss of turgor pressure in the upper foliage. Every three years, perform a soil test to check the Cation Exchange Capacity and adjust your mineral applications accordingly.
The Yield:
For fruiting vines like grapes or hops, harvest timing is determined by Brix levels (sugar content). Use a refractometer to measure the juice; for most grapes, a reading of 18 to 22 Brix is ideal. Harvest in the early morning when the plant is at maximum turgor. Use sharp snips to cut the peduncle, leaving a small "tail" to prevent moisture loss from the fruit. To maintain "day-one" freshness, move the harvest immediately to a cool environment at 35 to 40 degrees Fahrenheit with 90 percent humidity. This slows the rate of respiration and prevents the degradation of cellular structures.
FAQ:
How deep should a trellis post be buried?
A trellis post should be buried at least 24 to 36 inches deep. In colder climates, the base must sit below the frost line to prevent soil heaving from displacing the structure and damaging the plant's root system.
Can I use concrete to set my trellis posts?
Concrete is generally discouraged for wooden posts as it traps moisture against the grain, leading to rot. Use compacted crushed stone and gravel instead; this provides structural stability while allowing for essential drainage in the rhizosphere.
What is the best wood for a garden trellis?
Cedar and redwood are naturally rot-resistant due to their tannin content. If using pressure-treated lumber, ensure it is rated for ground contact. Galvanized steel is a superior long-term alternative that does not leach chemicals into the soil.
How do I prevent my trellis from leaning?
Ensure the post is set in a hole three times its width and backfilled with tamped aggregate. For long rows, install "deadman" anchors or angled brace posts at the ends to counteract the tension of the wires and crop weight.