7 Basic Steps to Install a gazebo floor
The scent of damp, disturbed earth signals the beginning of a structural integration into the landscape. Successful execution depends on understanding the interface between the substrate and the structural load. To master the steps to install a gazebo floor, one must treat the ground not as a static surface but as a living rhizosphere that requires stabilization. Proper installation prevents soil compaction and ensures the longevity of the timber or stone by managing moisture levels and preventing anaerobic conditions beneath the structure.
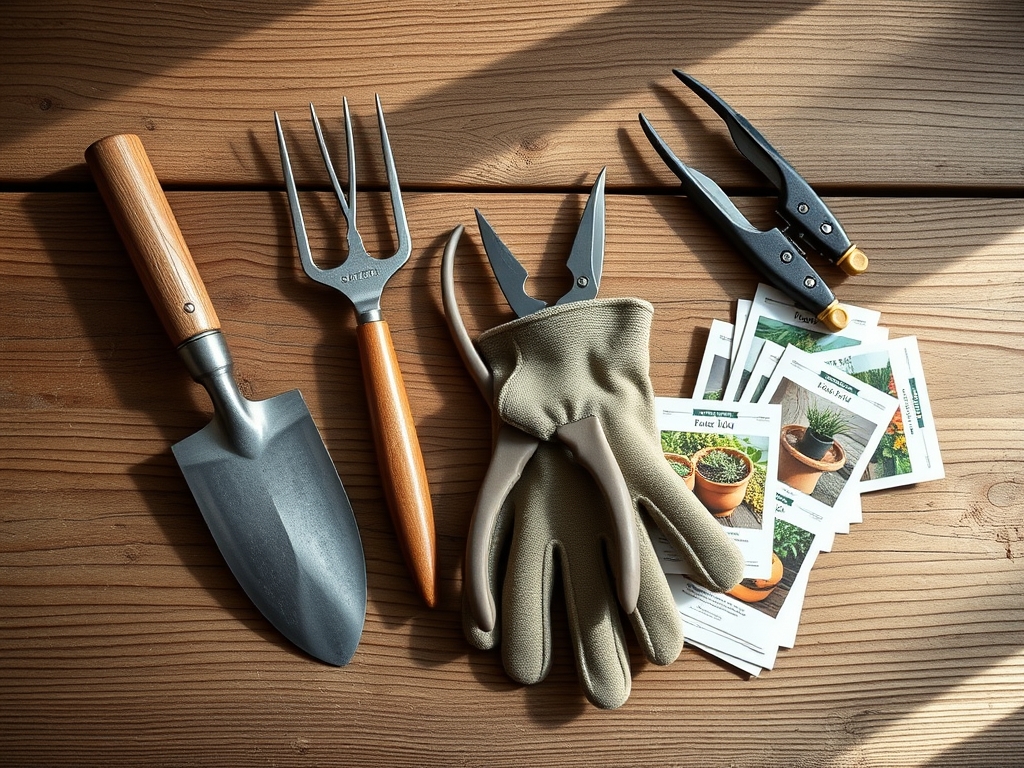
Materials:
The foundation of any gazebo floor begins with the soil profile. You must achieve a **friable loam** texture in the surrounding areas to ensure proper drainage away from the structure. Before beginning, test the soil pH; a range of **6.0 to 7.0** is ideal for supporting peripheral plantings that stabilize the perimeter.
For the base layer, utilize a crushed limestone (3/4-inch minus) or a similar aggregate. This material provides high structural density while allowing for water infiltration. If you are planting around the base, incorporate a balanced 10-10-10 NPK ratio fertilizer into the top 6 inches of the surrounding soil. High Cation Exchange Capacity (CEC) soils, such as those with high clay content, require the addition of gypsum to improve flocculation and drainage, preventing the floor from heaving during freeze-thaw cycles.
Timing:
Installation should occur during periods of low soil moisture to prevent compaction. In Hardiness Zones 4 through 7, the window opens after the last spring frost and closes approximately six weeks before the first autumn freeze. This timing respects the biological clock of the surrounding flora.
During the vegetative stage of the local ecosystem, root systems are actively expanding. Installing the floor during this period allows the soil to settle while the surrounding vegetation can still recover from the mechanical stress of construction. Aim for a soil temperature of at least 55 degrees Fahrenheit to ensure that any displaced microbes can re-colonize the disturbed area quickly.
Phases:

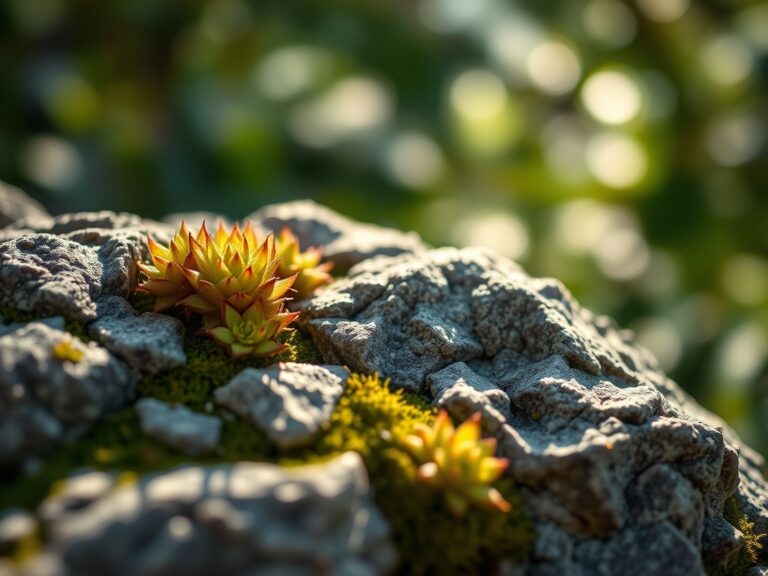
Sowing the Perimeter
Once the floor is leveled, the surrounding soil is vulnerable to erosion. Sow a low-growth cover crop or turfgrass immediately. Ensure the seeds are in contact with the soil at a depth of 1/4 inch.
Pro-Tip: Utilize mycorrhizal symbiosis by inoculating the soil with fungal spores. These fungi form a mutualistic relationship with plant roots, extending their reach for nutrients and water, which in turn stabilizes the soil around your gazebo footings.
Transplanting Support Flora
If adding ornamental shrubs to frame the floor, dig holes twice as wide as the root ball. Ensure the crown sits exactly at the soil line to prevent stem rot.
Pro-Tip: Avoid auxin suppression by not over-pruning the apical buds of new transplants. Keeping these buds intact allows the plant to send growth hormones to the roots, accelerating establishment and securing the soil structure around the gazebo base.
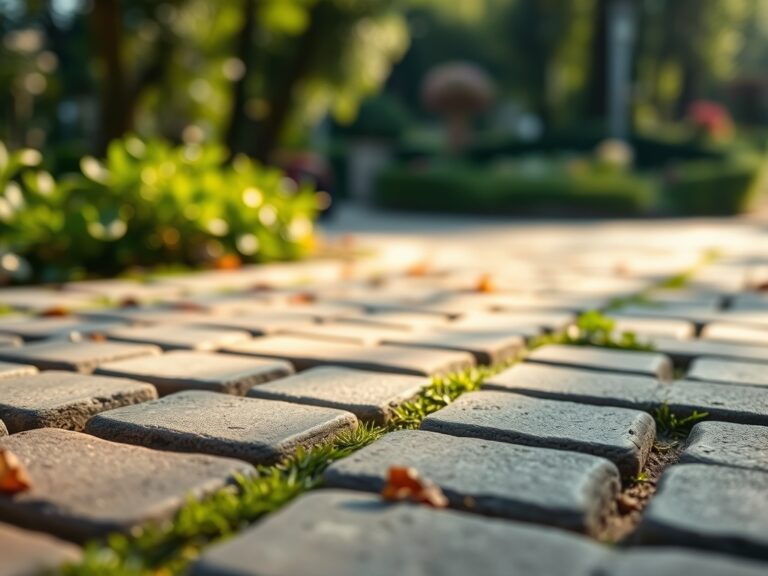
Establishing the Base
The structural floor must be set on a compacted sub-base. Use a plate compactor to reach a 95 percent Proctor density. This prevents the floor from sinking and causing mechanical stress on the gazebo frame.
Pro-Tip: Maintain turgor pressure in surrounding plants by deep watering during the compaction phase. The vibration from heavy machinery can cause localized soil drying; consistent hydration ensures the cellular structure of nearby plants remains rigid.
The Clinic:
Physiological disorders often manifest in the vegetation surrounding a new installation due to soil disturbance.
- Symptom: Interveinal chlorosis (yellowing leaves with green veins).
Solution: This indicates a Manganese or Iron deficiency, often caused by a pH spike from concrete leaching. Apply elemental sulfur to lower the pH to 6.5.
2. Symptom: Leaf wilting despite moist soil.
Solution: This is likely root asphyxiation caused by soil compaction. Use a garden fork to aerate the soil 24 inches away from the gazebo edge.
3. Symptom: Stunted growth and purple leaf undersides.
Solution: Phosphorus deficiency. Apply a high-phosphate fertilizer (0-20-0) to support ATP production and energy transfer within the plant.
Fix-It: For general Nitrogen chlorosis (entire leaf turning pale yellow), apply a quick-release urea-based fertilizer at a rate of 1 pound of Nitrogen per 1,000 square feet.
Maintenance:
Precision is the hallmark of a master horticulturist. Monitor the perimeter with a soil moisture meter twice weekly. The goal is to provide 1.5 inches of water per week at the drip line, ensuring the water penetrates to a depth of 6 to 8 inches.
Use a hori-hori knife to remove deep-rooted weeds that may compromise the aggregate base of the floor. For surrounding woody ornamentals, use bypass pruners to make clean cuts at a 45-degree angle just above the nodal tissue. This prevents the entry of pathogens while the plant is in its active growth phase. Check the level of the floor annually using a transit level to identify any minor shifts caused by soil subsidence.
The Yield:
If the gazebo floor is surrounded by edible herbs or cut flowers, harvest during the "morning surge" when turgor pressure is at its peak. This usually occurs before 9:00 AM. For woody herbs like rosemary or lavender, harvest no more than one-third of the vegetative growth to prevent senescence.
Post-harvest, immediately plunge the stems into 40-degree Fahrenheit water. This rapid cooling slows the respiration rate and preserves the essential oils and cellular integrity, ensuring "day-one" freshness for several days.
FAQ:
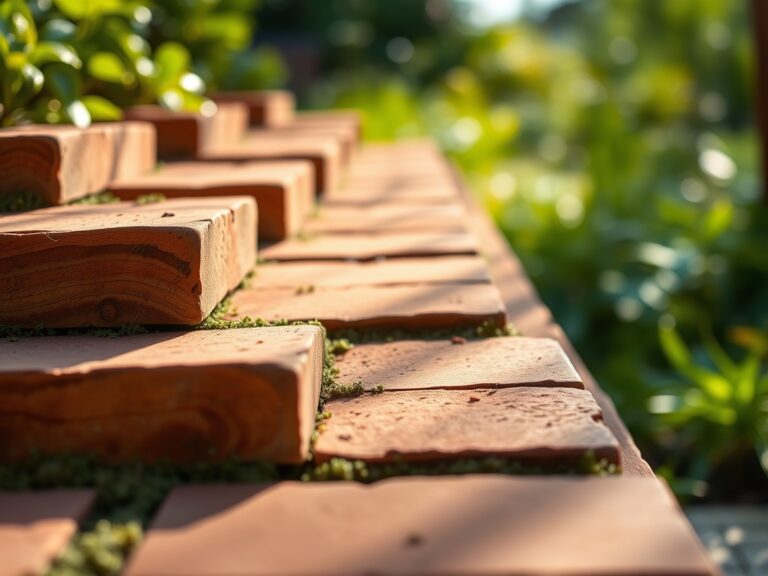
What is the best base for a gazebo floor?
A 4-inch layer of compacted 3/4-inch crushed stone provides the best drainage and stability. This prevents capillary action from pulling moisture into the flooring material, which reduces the risk of fungal decay and structural failure.
How do I prevent weeds under the gazebo floor?
Install a heavy-duty geotextile fabric (at least 4 ounces per square yard) over the subgrade before adding the aggregate. This blocks light to prevent germination while allowing water to permeate, maintaining the natural hydrological cycle of the soil.
Can I install a floor over heavy clay soil?
Yes, but you must increase the excavation depth by 2 inches and add a layer of coarse sand or pea gravel. This creates a "break" in the capillary fringe, preventing the clay from heaving against the floor during winter.
How do I protect nearby tree roots during installation?
Avoid cutting any roots larger than 2 inches in diameter. If roots are exposed, cover them with damp burlap immediately to prevent desiccation. Maintain a distance of at least 3 times the trunk diameter from the tree base.