5 Pro Tips How to Grow Purple Cauliflower
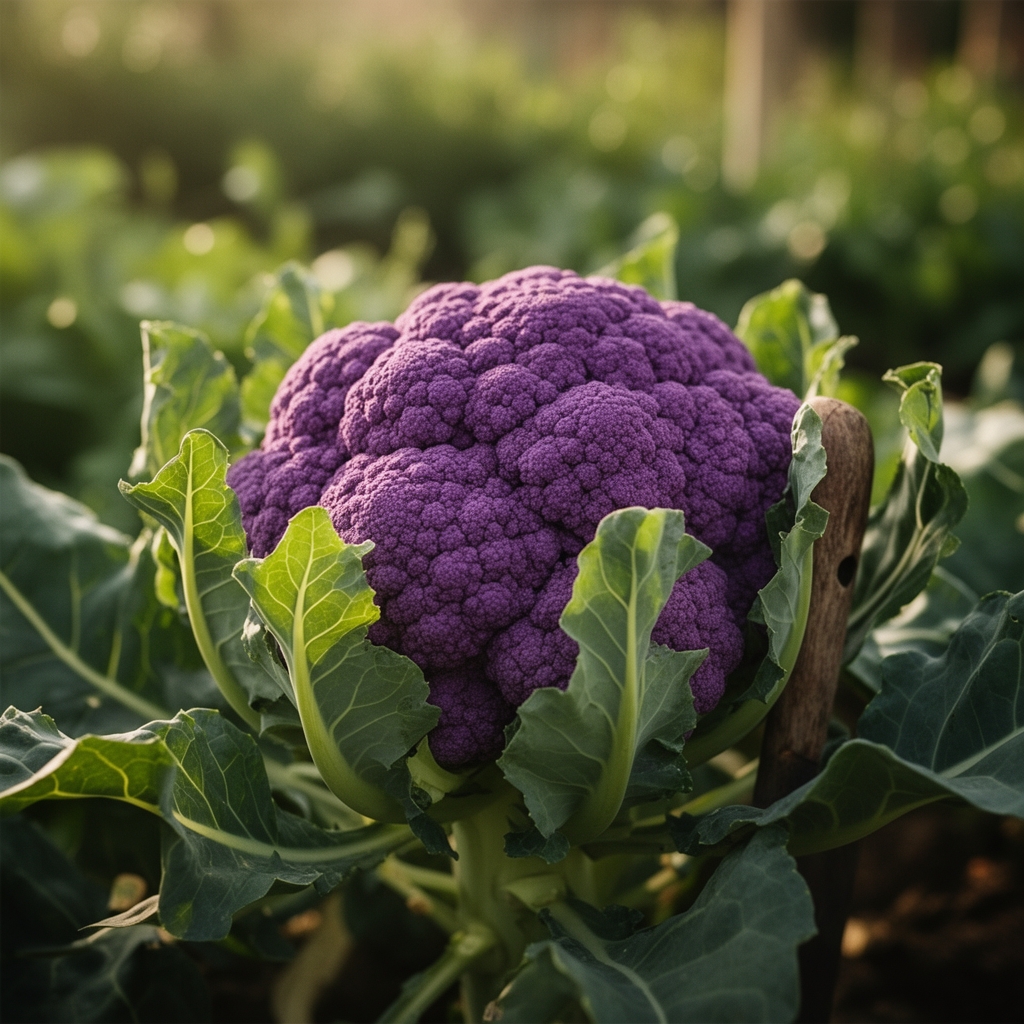
Purple cauliflower transforms cool-season gardens into edible displays of anthocyanin-rich heads that deliver 30% more antioxidants than their white cousins. Learning how to grow purple cauliflower requires understanding Brassica oleracea var. botrytis biology: these cultivars need 55 to 80 days from transplant to harvest, depending on whether you plant 'Graffiti', 'Purple of Sicily', or 'Violetta Italia'. The purple pigmentation comes from glucosinolates and anthocyanin compounds that deepen as temperatures drop below 60°F during head formation. Mastering how to grow purple cauliflower means managing soil chemistry, nitrogen timing, and microclimate to prevent buttoning and hollow stem.
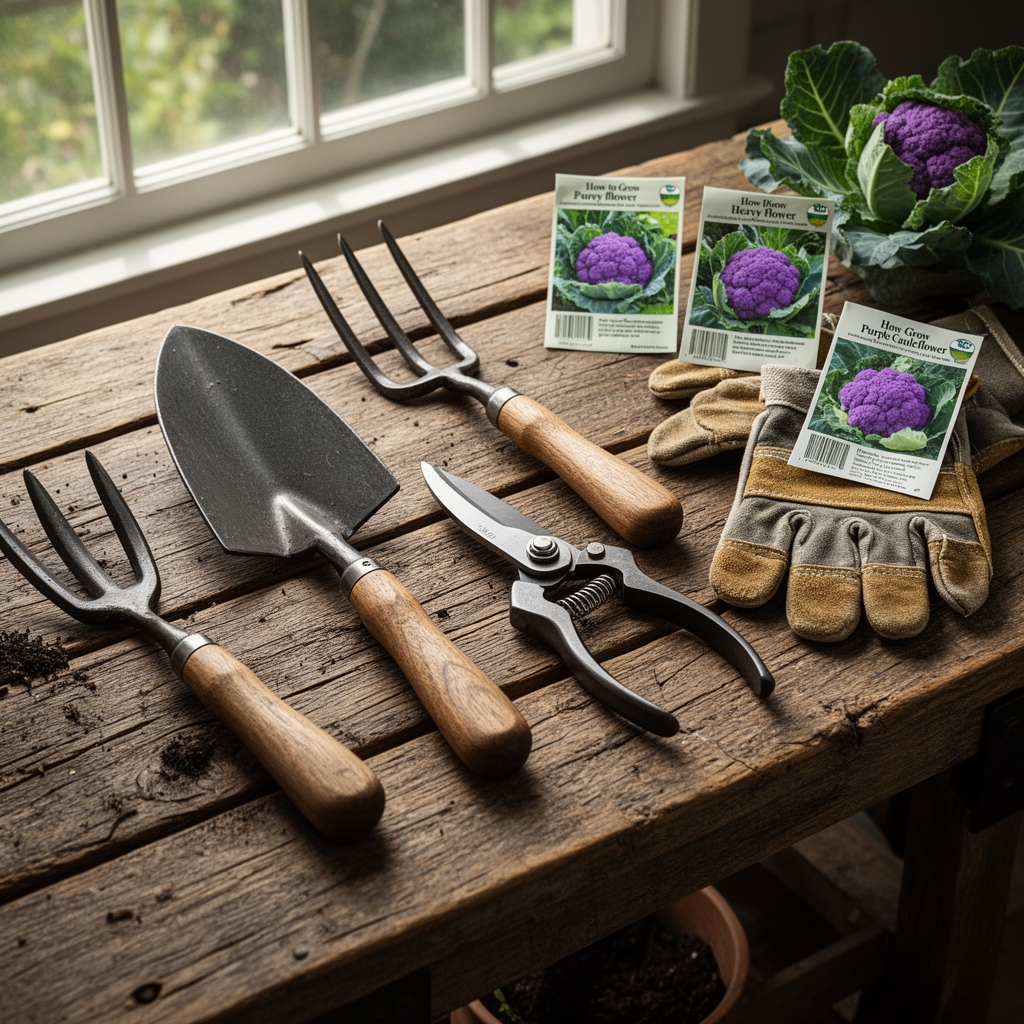
Materials
Purple cauliflower demands soil pH between 6.5 and 7.0. Below 6.2, molybdenum becomes unavailable and causes whiptail disorder. Above 7.2, boron lockout results in brown curd spots. Test soil three months before planting and amend with dolomitic lime if pH sits below 6.5. Cation exchange capacity should exceed 10 meq/100g for stable nutrient delivery.
Use a balanced organic fertilizer at 4-4-4 or 5-5-5 NPK ratio incorporated two weeks before transplant. Brassicas require high nitrogen during vegetative growth but excess nitrogen after curd initiation produces loose, leafy heads. Add 2 pounds of kelp meal per 100 square feet for trace minerals, especially boron at 0.5 ppm. Incorporate mycorrhizal fungi inoculant (Rhizophagus irregularis) at transplant to improve phosphorus uptake during the critical 21-day establishment window.
Row cover fabric rated at 0.55 oz/sq yd protects transplants from flea beetles and cabbage root maggot. Drip irrigation tape with 12-inch emitter spacing delivers consistent moisture without wetting foliage. A soil thermometer confirms temperatures stay between 50°F and 75°F, the optimal range for cauliflower metabolism.
Timing
Purple cauliflower grows best in USDA Hardiness Zones 3 through 10 as a cool-season crop. In Zones 3 through 6, start seeds indoors 4 to 6 weeks before the last spring frost date. Transplant seedlings 2 weeks before the last frost when soil reaches 50°F. For fall crops in these zones, direct sow or transplant 10 to 12 weeks before the first fall frost.
Zones 7 through 10 support winter production. Transplant seedlings in September through November for December through March harvests. Avoid summer planting in Zones 8 through 10 because temperatures above 80°F trigger premature buttoning. Buttons are undersized heads that form when plants experience stress before reaching 10 true leaves.
Spring crops mature in 55 to 65 days from transplant. Fall crops require 70 to 80 days because shorter day length slows curd development. Plan backwards from your first fall frost date to determine the latest safe transplant window.
Phases
Sowing: Fill 2-inch cell trays with sterile seed-starting mix. Plant seeds 1/4 inch deep, two seeds per cell. Maintain 70°F soil temperature for 4 to 7 days until germination. Once cotyledons emerge, reduce temperature to 60°F and provide 14 hours of light at 200 to 400 foot-candles. Thin to one seedling per cell by cutting the weaker stem at soil level. Fertilize weekly with half-strength fish emulsion (2-4-1 NPK) once the first true leaf expands.
Pro-Tip: Seven days after germination, brush seedling tops with your hand for 30 seconds twice daily. This mechanical stress triggers thigmomorphogenesis, producing stockier stems with 40% greater diameter and improved transplant survival.
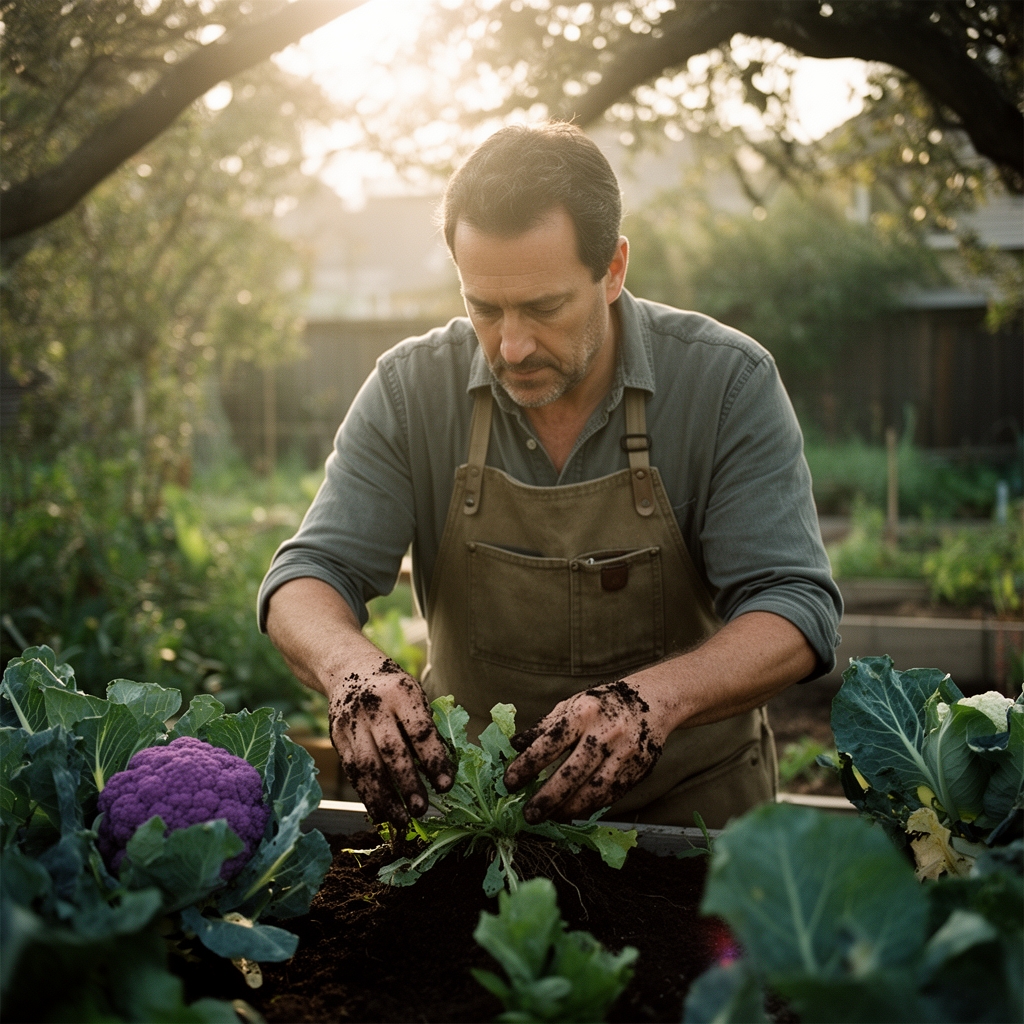
Transplanting: Harden off seedlings over 7 days by reducing water and increasing outdoor exposure. Transplant when seedlings show 4 true leaves and stems reach pencil thickness. Dig holes 18 inches apart in rows spaced 24 inches apart. Set transplants so the first true leaves sit 1/2 inch above soil level. Burying stems deeper encourages adventitious root formation along the buried portion. Water immediately with 1 cup of transplant solution (1 tablespoon 10-52-10 starter fertilizer per gallon).
Pro-Tip: Apply mycorrhizal fungi directly into the transplant hole at 1/4 teaspoon per plant. Contact between fungi and root tissue must occur within 48 hours of transplant for successful colonization. Studies show 60% faster phosphorus uptake in inoculated brassicas.
Establishing: The first 21 days after transplant determine final head size. Maintain soil moisture at 60% to 70% field capacity. Install drip irrigation and run for 45 minutes every 3 days if rainfall is insufficient. Side-dress with blood meal (12-0-0) at 1/4 cup per plant when the sixth leaf emerges. This high-nitrogen pulse supports the vegetative frame that will later hold the curd.
Pro-Tip: Remove the lowest two leaves once plants reach 8 leaves. This pruning redirects auxin distribution toward apical growth and improves air circulation at the soil line, reducing Sclerotinia stem rot by 35%.
Troubleshooting
Symptom: Hollow stem. The main stem develops a hollow cavity with brown edges. Heads may appear normal externally but collapse during storage.
Solution: Hollow stem results from boron deficiency or excessive nitrogen. Apply 1 tablespoon borax dissolved in 1 gallon of water per 100 square feet. Reduce nitrogen applications after curd initiation. Test boron levels annually because the sufficiency range is narrow: 0.5 to 2.0 ppm.
Symptom: Buttoning. Tiny 1- to 2-inch heads form prematurely, then stop growing.
Solution: Buttoning occurs when transplants experience temperatures below 50°F for more than 7 consecutive days before reaching 10 true leaves. Use row covers to maintain warmer microclimate. Transplant later or start seeds later to avoid cold exposure during the juvenile phase.
Symptom: Riceyness. Curds develop rough, granular texture with elongated flower buds visible.
Solution: Riceyness happens when temperatures exceed 75°F during curd development or when plants experience water stress. Mulch with 2 inches of straw to cool soil by 5°F to 8°F. Increase irrigation frequency to maintain consistent moisture.
Symptom: Cabbage worm damage. Large irregular holes appear in leaves and frass contaminates developing curds.
Solution: Bacillus thuringiensis var. kurstaki (Btk) applied at 1 tablespoon per gallon every 7 days controls imported cabbageworm, cabbage looper, and diamondback moth larvae. Spray in late afternoon when larvae feed actively. Row covers prevent adult moths from laying eggs.
Symptom: Black rot. V-shaped yellow lesions spread from leaf margins. Veins turn black.
Solution: Black rot (Xanthomonas campestris) spreads through contaminated water and tools. Remove infected plants immediately. Rotate brassicas on a 3-year cycle. Avoid overhead irrigation. No chemical cure exists once infection establishes.
Maintenance
Water purple cauliflower with 1 to 1.5 inches per week throughout the growing season. Use a rain gauge to track weekly totals and supplement with drip irrigation if natural rainfall falls short. Irregular watering causes stress cracks in curds and increases buttoning risk.
Maintain 3 inches of organic mulch around plants after transplants establish. Straw, shredded leaves, or compost suppress weeds and moderate soil temperature. Pull mulch 2 inches away from stems to prevent collar rot.
Feed every 14 days after the establishment phase with liquid fertilizer at 1-1-1 NPK ratio (fish/kelp blend) until curds begin forming. Once curds reach 2 inches in diameter, stop nitrogen fertilization. Excess nitrogen at this stage produces loose, leafy heads and bitter flavor.
Monitor for aphids weekly. Spray leaf undersides with insecticidal soap (potassium salts of fatty acids) at 2 tablespoons per quart of water if colonies appear. Repeat every 3 days for three applications.
Purple cauliflower does not require blanching like white varieties because anthocyanin pigments protect curds from sun exposure. Harvest when heads reach 6 to 8 inches in diameter and before individual florets begin to separate. Cut the main stem 1 inch below the curd with a sharp knife. Harvest in the morning when heads are cool and turgid.
FAQ
How long does purple cauliflower take to grow?
Purple cauliflower matures in 55 to 80 days from transplant depending on cultivar and season. 'Graffiti' requires 70 to 80 days. 'Purple of Sicily' matures in 60 to 70 days. Fall crops take 10 to 15 days longer than spring crops due to shorter day length.
Why is my purple cauliflower turning green?
Anthocyanin synthesis requires cool temperatures between 50°F and 60°F during curd development. Temperatures above 75°F degrade purple pigments, causing heads to fade toward green or white. Plant during cooler seasons or provide shade cloth to lower temperatures by 5°F to 10°F.
Can you grow purple cauliflower from cuttings?
No. Cauliflower is an annual or biennial grown from seed. It does not root from cuttings. Propagate only through seeds purchased from reputable suppliers or saved from bolted plants that undergo vernalization.
What spacing does purple cauliflower need?
Space transplants 18 inches apart within rows and 24 inches between rows. This provides 3 square feet per plant, allowing adequate air circulation and light penetration. Closer spacing increases disease pressure and reduces head size by 30% to 40%.
Does purple cauliflower need full sun?
Purple cauliflower requires 6 to 8 hours of direct sunlight daily for optimal photosynthesis. In Zones 9 and 10, provide afternoon shade to prevent heat stress. Morning sun promotes dew evaporation, reducing fungal disease pressure by 25%.