10 Expert Ways How to Build a Potting Shed
The scent of damp peat moss and the sharp tang of bruised rosemary foliage define the workspace of a professional horticulturist. When you learn how to build a potting shed, you are not merely erecting a storage unit; you are constructing a controlled environment designed to manage turgor pressure and seed germination. A functional shed serves as the command center for the rhizosphere, providing a stable microclimate where delicate seedlings transition from heterotrophic to autotrophic growth without the stress of erratic wind or fluctuating humidity.
Materials:
The foundation of a high-functioning shed begins with the substrate stored inside. You must allocate space for bulk components to mix a friable loam with a **Cation Exchange Capacity (CEC) above 15 meq/100g**. The ideal potting medium requires a **pH between 5.8 and 6.5** for maximum nutrient bioavailability. Stockpile raw materials including coarse perlite for aeration, coconut coir for moisture retention, and aged compost.
Your nutrient inventory should be categorized by NPK ratios. Maintain a supply of 10-10-10 balanced fertilizer for general maintenance, 5-10-10 high-phosphorus bone meal for root establishment, and blood meal (12-0-0) for rapid vegetative nitrogen boosts. The texture of your primary potting mix must be gritty enough to prevent anaerobic conditions while retaining enough capillary water to sustain turgidity.
Timing:
Construction and seasonal prep must align with your local USDA Hardiness Zone. In Zones 5 through 7, the window for building a potting shed opens after the last spring frost, typically between late April and mid-May. This timing ensures the ground has thawed sufficiently to set pressure-treated 4×4 posts below the frost line, preventing heave.
Understanding the biological clock of your inventory is essential. As day length increases toward the summer solstice, plants enter a rapid vegetative state driven by a long photoperiod. Your shed must be ready to facilitate "hardening off" by late March in warmer zones. This transitional phase allows the cuticle of the leaf to thicken before full exposure to ultraviolet radiation and wind desiccation.
Phases:
Sowing and Germination
Design your interior bench at a height of 36 inches to reduce physical strain during precision sowing. Use heat mats to maintain a consistent soil temperature of 70 to 75 degrees Fahrenheit for most temperate species.
Pro-Tip: Maintain high humidity during the first 72 hours of germination to prevent the seed coat from hardening. The biological why involves imbibition, where the seed absorbs water to activate metabolic enzymes; if the seed dries out during this phase, the embryo suffers irreversible cellular collapse.
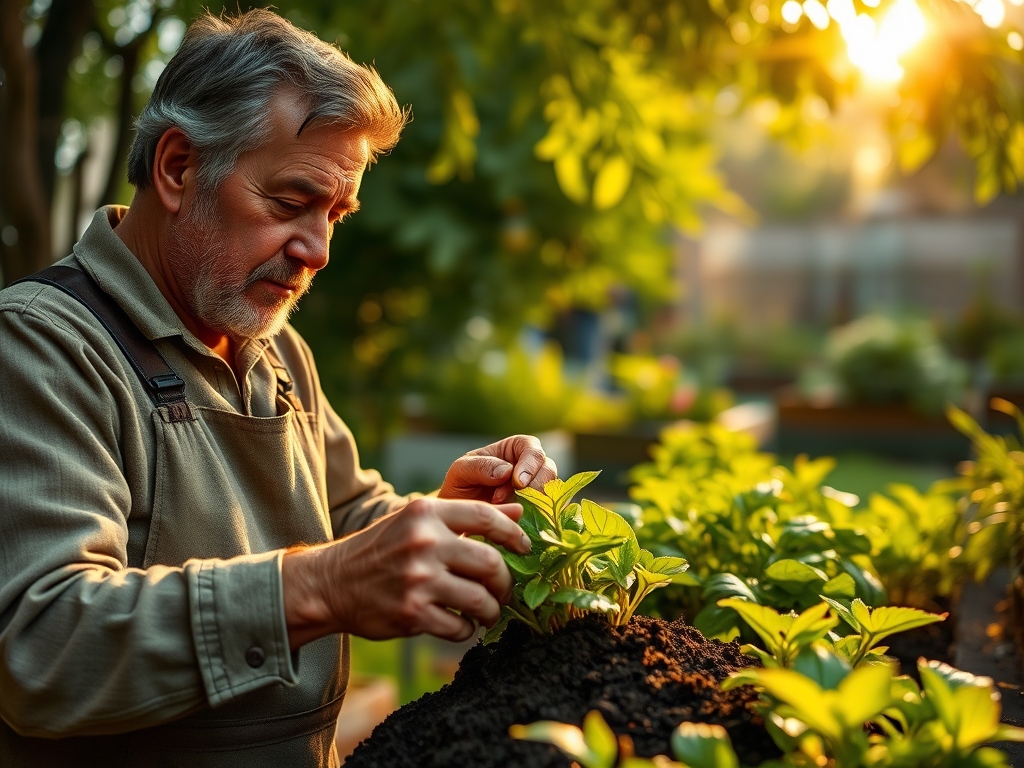
Transplanting and Root Management
When seedlings develop their first set of true leaves, they require more space for lateral root expansion. Use the shed's shaded environment to minimize transplant shock. Ensure all containers have adequate drainage holes to prevent the accumulation of perched water tables.
Pro-Tip: When moving a plant to a larger vessel, avoid disturbing the root ball excessively to preserve mycorrhizal symbiosis. This fungal relationship increases the surface area of the root system, allowing for significantly higher uptake of phosphorus and micronutrients.
Establishing and Hardening
The final phase involves moving plants to the "staging area" of the shed, typically a porch or a wide windowsill. This area should provide filtered light to prevent solarization of the leaves.
Pro-Tip: Use a fan to provide gentle air movement over the seedlings. This mechanical stress triggers thigmomorphogenesis, a biological process where the plant produces thicker stems and shorter internodes in response to physical touch or wind, resulting in a sturdier specimen.
The Clinic:
Physiological disorders often mimic infectious diseases. Accurate diagnosis is required before intervention.
Symptom: Interveinal chlorosis on young leaves.
Solution: This indicates an Iron (Fe) deficiency, often caused by a pH above 7.0. Apply chelated iron and adjust the substrate pH using elemental sulfur to reach a target of 6.2.
Symptom: Purpling of the underside of foliage.
Solution: This is a classic sign of Phosphorus (P) deficiency. It often occurs in cold soils below 55 degrees Fahrenheit where P becomes chemically unavailable. Increase ambient temperature or apply a water-soluble high-phosphate starter.
Symptom: Leaf tip burn or marginal necrosis.
Solution: This suggests salt accumulation or "fertilizer burn." Flush the growing medium with three volumes of distilled water to one volume of soil to leach excess salts and restore osmotic balance.
Fix-It for Nitrogen Chlorosis: If older leaves turn a uniform pale yellow, the plant is scavenging nitrogen for new growth. Apply a quick-release liquid fertilizer with a 3-1-1 ratio to restore chlorophyll production immediately.
Maintenance:
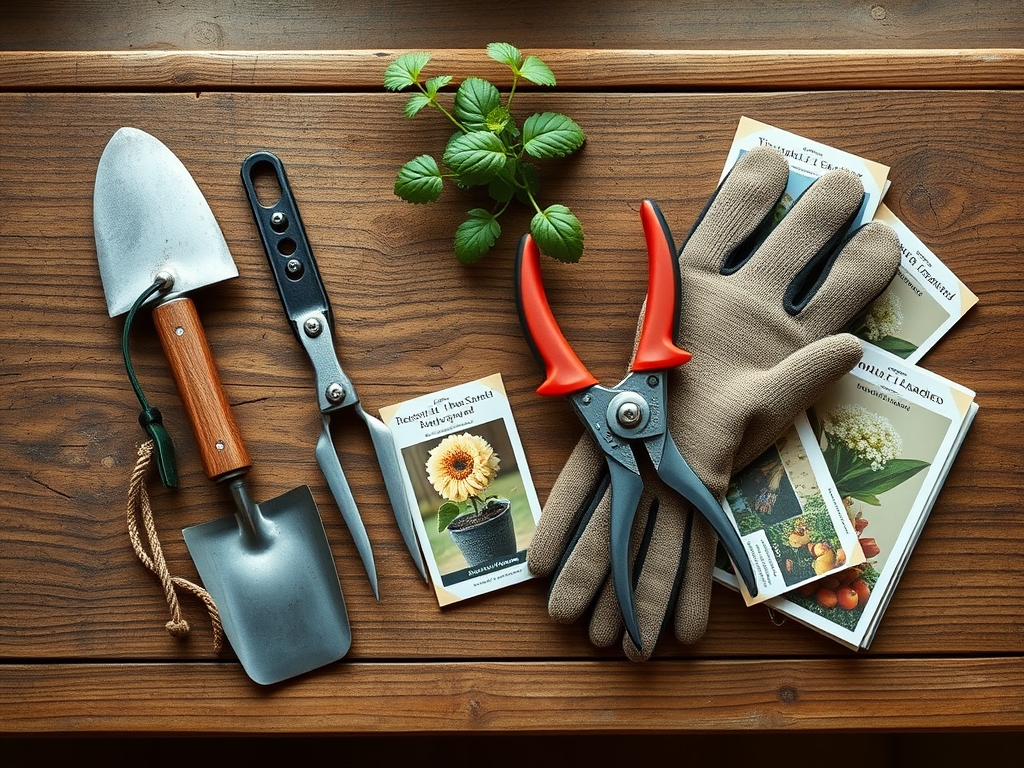
A potting shed requires rigorous sanitation to prevent the spread of pathogens. Clean your hori-hori knife and bypass pruners with a 10 percent bleach solution after every use. Sharpen blades weekly to ensure clean cuts; ragged tears in plant tissue provide entry points for fungal spores.
Monitor irrigation using a soil moisture meter. Most containerized plants require the substrate to dry to a depth of 1 inch before re-watering. Aim for a consistent delivery of 1.5 inches of water per week during the peak growing season. Position your shed near a rain barrel or plumbed water source to ensure you can provide deep, infrequent irrigation that encourages downward root geotropism.
The Yield:
When harvesting herbs or flowers within the shed environment, timing is critical for volatile oil retention. Harvest during the early morning hours after the dew has evaporated but before the sun reaches its zenith. This is when turgor pressure is at its maximum and cellular respiration is low.
Post-harvest, immediately submerge the stems of cut flowers in 40-degree Fahrenheit water to remove field heat. For edible crops, keep them in a cool, dark corner of the shed to slow down senescence. This biological cooling prevents the rapid breakdown of sugars and maintains "day-one" freshness and nutritional density.
FAQ:
What is the best flooring for a potting shed?
Select a material that is non-porous and easy to sanitize. Poured concrete or heavy-duty rubber mats are ideal. These surfaces resist moisture absorption and prevent the buildup of soil-borne pathogens like Pythium or Rhizoctonia.
How much light does a potting shed need?
Aim for at least 20 percent glazing on the roof or south-facing wall. This provides sufficient ambient light for tasks without causing excessive heat gain. Use supplemental LED grow lights for seedlings requiring a 14-hour photoperiod.
Why is ventilation important in a shed?
Ventilation prevents the buildup of stagnant, humid air which leads to fungal outbreaks. Cross-ventilation reduces the ambient temperature by 5 to 10 degrees, preventing heat stress and ensuring the stomata remain open for efficient carbon dioxide exchange.
What is the ideal bench height?
Standard ergonomic bench height is 36 inches. This allows for precision work with a hori-hori knife or seeding trays without causing lumbar strain. Ensure the surface is slightly sloped to allow for immediate water runoff during cleaning.
How do I prevent pests in the shed?
Maintain a "sterile zone" by removing all decaying organic matter daily. Store all bulk soils in airtight bins to prevent fungus gnats. Use yellow sticky traps to monitor for early signs of aphid or whitefly activity within the workspace.