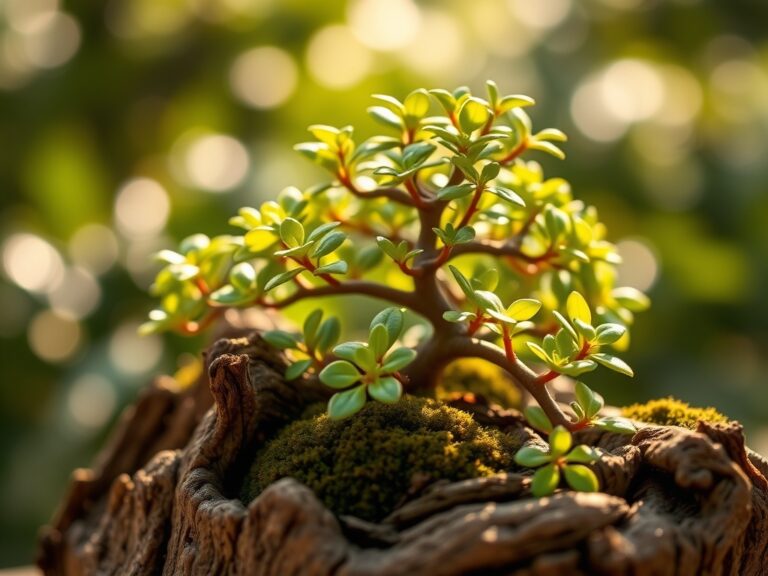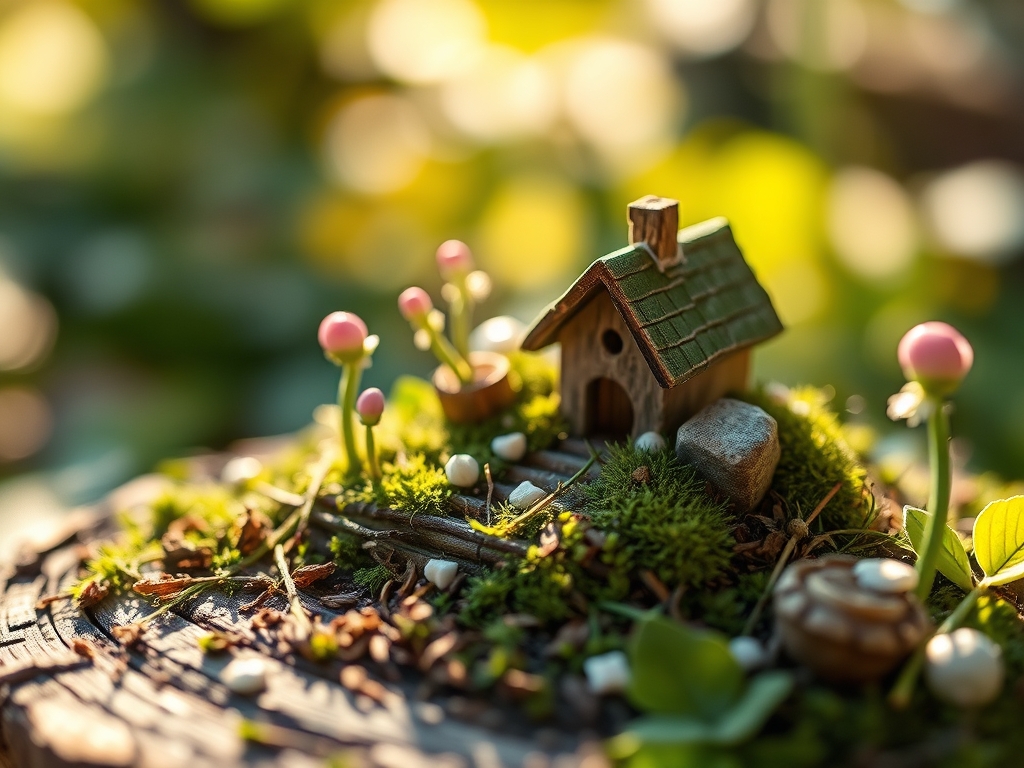
5 Easy Ways How to Build a Miniature Fairy Garden
Crushed pine bark and damp peat moss release a sharp, acidic scent when integrated into a high-quality potting medium. Success in horticulture depends on the turgor pressure within a plant cell; it is the difference between a resilient specimen and a wilted failure. Understanding how to build a miniature fairy garden requires a shift from macro-landscaping to micro-ecology. You are not merely arranging ornaments; you are managing a closed-system rhizosphere where every cubic inch of soil dictates the survival of your botanical selections. A miniature garden demands precise drainage and a substrate that prevents anaerobic conditions. Proper moisture management ensures that the xylem and phloem can transport nutrients effectively despite the restricted root space. By focusing on soil chemistry and plant physiology, you can create a sustainable, living landscape that thrives in a confined vessel. This process starts with selecting materials that support long-term cellular health and structural integrity within a specific microclimate.
Materials:
The foundation of a miniature garden is the substrate. For most temperate and tropical miniature plants, a **pH range of 5.5 to 6.5** is optimal to ensure nutrient bioavailability. The ideal substrate is a **friable loam** consisting of 40 percent peat moss, 40 percent perlite for aeration, and 20 percent sterilized compost.
Avoid standard garden soil which compacts and restricts oxygen to the roots. Use a controlled-release fertilizer with an NPK ratio of 10-10-10 at a reduced rate of one tablespoon per gallon of soil. This balanced ratio supports steady vegetative growth without causing the rapid elongation that ruins the miniature scale. High Cation Exchange Capacity (CEC) materials like vermiculite can be added to help the soil retain essential ions such as potassium and magnesium. Ensure the container has drainage holes to prevent the accumulation of salts and the onset of root rot.
Timing:
Miniature gardens are subject to the same environmental stressors as full-scale landscapes. When selecting plants, consult the USDA Hardiness Zones; if the garden is kept outdoors, the root mass is more vulnerable to freeze-thaw cycles because it lacks the insulation of the earth. In Zones 4 through 7, these gardens should be moved to a protected area when ambient temperatures drop below 40 degrees Fahrenheit.
The biological clock of your plants is governed by the photoperiod. Most miniature species require 12 to 14 hours of light to maintain active vegetative growth. If the light duration drops, the plant may enter senescence or a dormant state. For indoor gardens, supplement with full-spectrum LED lights to maintain a consistent photosynthetic rate. Timing your planting for early spring, approximately two weeks after the last frost date, allows the root system to establish before the high-evapotranspiration demands of summer.
Phases:

Sowing and Selection
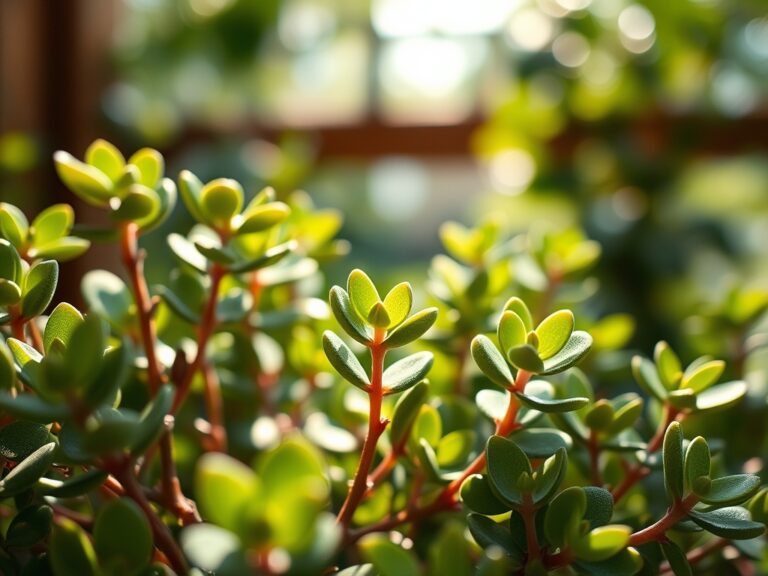
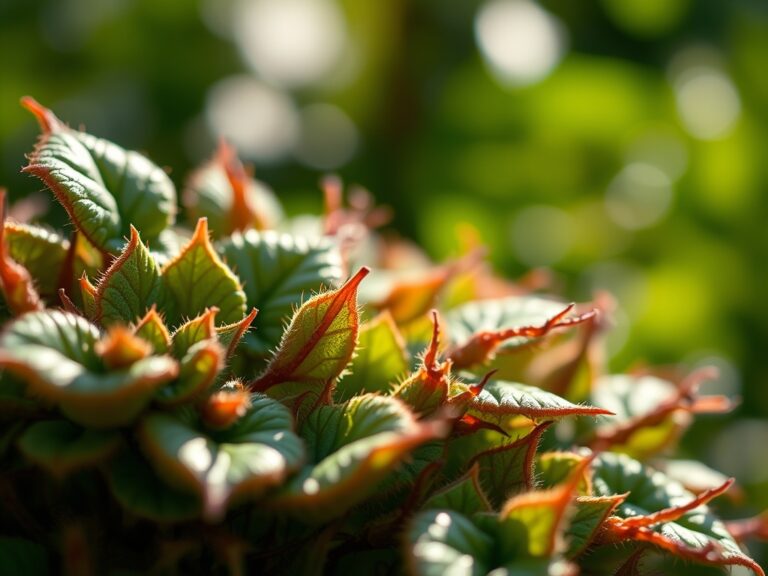
Select plants with naturally small leaf morphologies such as Sedum japonicum or Thymus praecox. When starting from seed, maintain a consistent soil temperature of 70 degrees Fahrenheit to trigger germination. If using established starts, inspect the root ball for girdling.
Pro-Tip: Utilize species that exhibit high apical dominance to maintain a tree-like appearance. This is driven by auxin suppression, where the primary lead bud inhibits the growth of lateral buds, keeping the plant narrow and manageable within the miniature scale.
Transplanting
Clear the planting site and create a hole twice the width of the root ball. Gently tease the roots to encourage outward growth into the new medium. Position the crown exactly at the soil line; burying the crown leads to stem rot, while exposing it causes desiccation.
Pro-Tip: Incorporate a granular mycorrhizal inoculant during transplanting. This establishes a mycorrhizal symbiosis where fungal hyphae extend the reach of the root system, increasing the surface area for phosphorus absorption and water uptake.
Establishing
After planting, saturate the soil until water exits the drainage holes to eliminate air pockets. Monitor the plants daily for three weeks. The goal is to maintain high turgor pressure while the roots adapt to the new Cation Exchange Capacity of the substrate.
Pro-Tip: Rotate the container 90 degrees every week. This prevents phototropism, a biological response where plants lean toward a light source due to the elongation of cells on the shaded side of the stem, which would otherwise distort your miniature landscape.
The Clinic:
Physiological disorders in miniature gardens often stem from improper environmental controls.
- Symptom: Interveinal Chlorosis. The leaves turn yellow while the veins remain green.
Solution: This indicates a Magnesium or Iron deficiency. Apply a chelated micronutrient spray to restore chlorophyll production.
- Symptom: Edema. Small bumps or blisters appear on the underside of leaves.
Solution: This is caused by high humidity and overwatering; the plant takes up more water than it can transpire. Reduce watering frequency and increase air circulation.
- Symptom: Nitrogen Chlorosis. General yellowing of older leaves and stunted growth.
Fix-It: Apply a water-soluble fertilizer with a higher Nitrogen (N) percentage to stimulate vegetative protein synthesis.
- Symptom: Leaf Scorch. Brown, crispy edges on the foliage.
Solution: This is a sign of high transpiration rates exceeding water uptake. Move the garden out of direct afternoon sun or increase the humidity.
Maintenance:
Precision is mandatory for maintenance. Use a soil moisture meter to ensure the substrate remains at a "Moist" level (4-6 on a standard scale). Typically, a miniature garden requires 0.5 to 1.0 cups of water every three days, depending on the container volume and ambient evaporation rates.
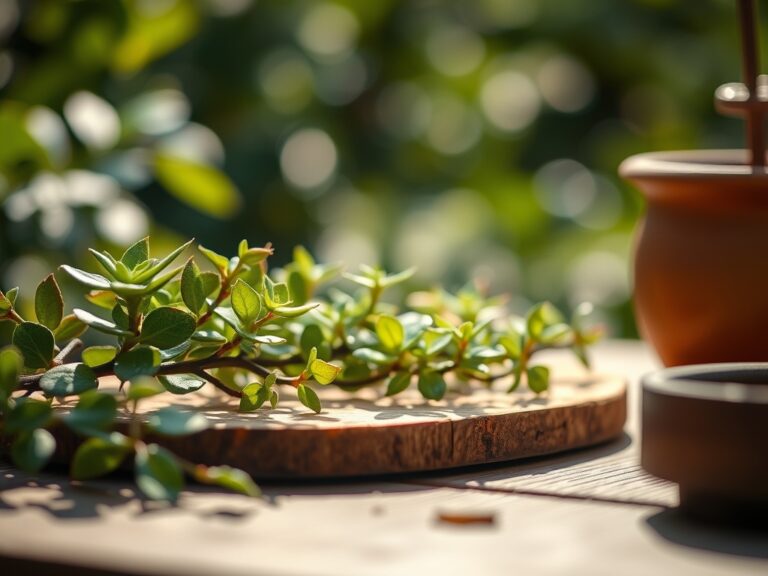
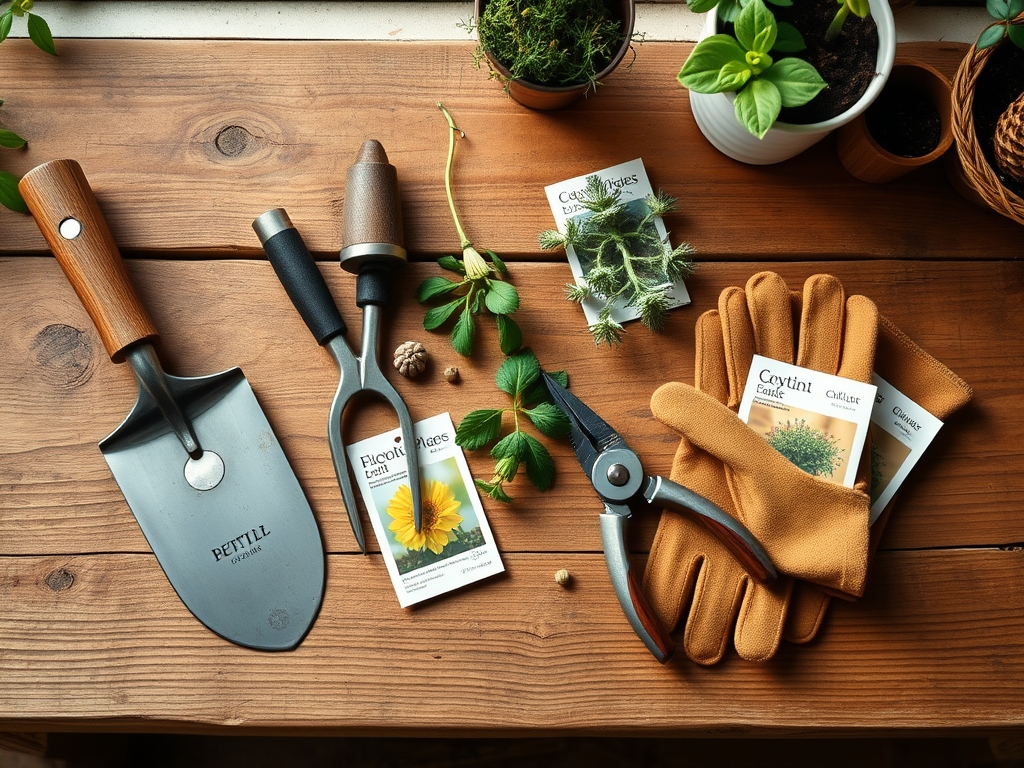
Use bypass pruners for clean cuts that heal quickly; ragged tears invite pathogens. For delicate work around miniature structures, a hori-hori knife is effective for weeding and shifting small amounts of soil without disturbing the primary root systems. Prune back any aggressive growth to maintain the scale. If you notice white crusting on the soil surface, it is a buildup of fertilizer salts; leach the soil by running distilled water through the pot for several minutes.
The Yield:
If your miniature garden includes herbs like micro-basil or dwarf rosemary, harvest by removing the top one-third of the stem. Always cut just above a node to encourage branching. To maintain "day-one" freshness for harvested sprigs, place the stems in a shallow glass of water at 40 degrees Fahrenheit. This slows the metabolic rate and prevents the breakdown of essential oils. For flowering miniatures, deadhead spent blooms immediately to redirect the plant's energy from seed production back into vegetative vigor and root development.
FAQ:
How often should I water my miniature garden?
Water when the top 0.5 inches of soil feels dry. Use a soil moisture meter to confirm the root zone is not saturated. Most containers require hydration every 2 to 4 days depending on humidity and light exposure.
What is the best light for an indoor fairy garden?
Provide 12 to 14 hours of bright, indirect light. If using artificial sources, place a full-spectrum LED approximately 6 to 12 inches above the foliage to ensure adequate photosynthetic photon flux density for consistent growth.
Why are my miniature plants growing too fast?
Excessive growth is often caused by high Nitrogen levels or low light. Reduce fertilizer frequency and ensure the plant receives sufficient light to prevent "stretching," a biological process known as etiolation that occurs when plants seek light.
Can I use moss from my backyard?
Backyard moss often harbors pathogens or pests. It also requires specific pH levels and high humidity that may not match your other plants. Use nursery-grown sheet moss or preserved moss to ensure a sterile and compatible environment.