8 Best Glass for Garden Sheds
Crushing a handful of friable loam reveals the health of the rhizosphere through its earthy, geosmin-rich scent. This tactile feedback, combined with the high turgor pressure of a well-hydrated seedling, defines the success of a controlled growing environment. Selecting the best glass for garden sheds is not merely an aesthetic choice; it is a critical calculation of light transmission and thermal insulation. A shed serves as the primary transition point for delicate specimens moving from the propagation tray to the outdoor plot. The glazing material dictates the interior microclimate, affecting the rate of photosynthesis and the risk of fungal pathogens. Standard float glass offers high clarity but lacks the safety of tempered options. Polycarbonate provides superior insulation but can yellow over time, reducing the available Photosynthetically Active Radiation (PAR) reaching the leaf surface. In high-performance gardening, the glass must balance durability with the specific spectral requirements of the plants housed within. Every photon counts when hardening off starts in the early spring.
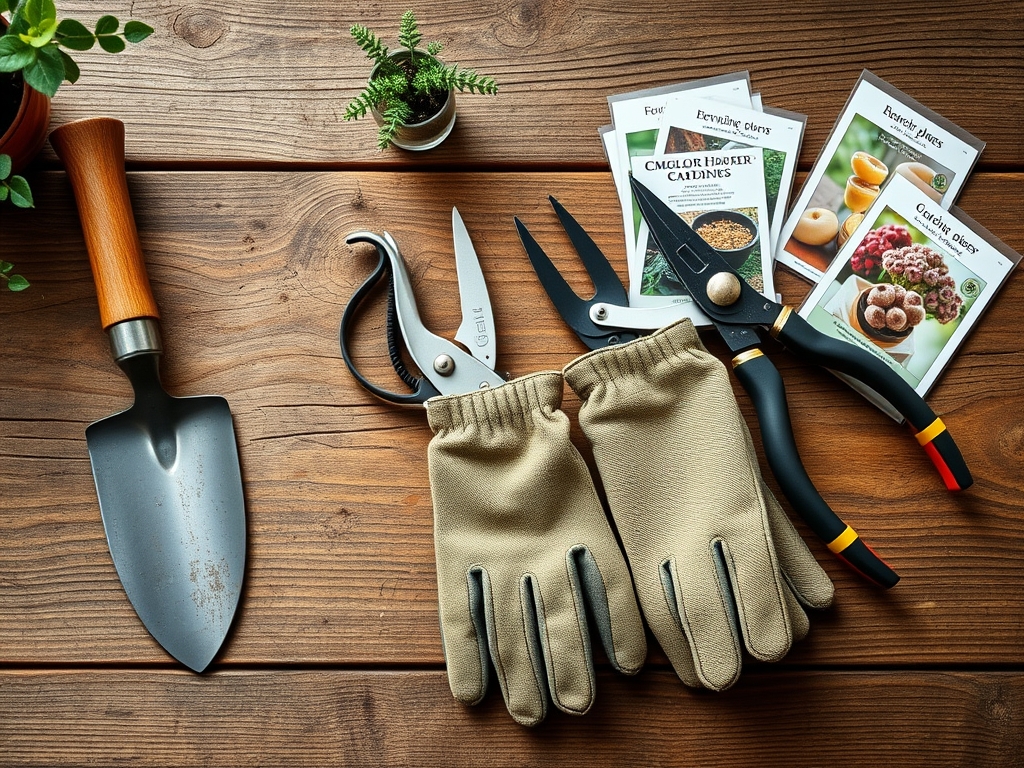
Materials:
The success of a shed-based propagation system depends on the substrate used in conjunction with the light provided by the glazing. An ideal substrate is a **friable loam** with a pH range between **6.0 and 6.8**. This range ensures optimal nutrient availability through high Cation Exchange Capacity (CEC). For vegetative growth, use a medium with an NPK ratio of **10-5-5**. This nitrogen-heavy concentration supports the development of chlorophyll and robust stems. When transitioning to reproductive stages, shift to a **5-10-10** ratio to promote root development and floral initiation. The physical texture must allow for adequate pore space; a mix of **60% compost, 20% peat or coco coir, and 20% perlite** provides the necessary drainage to prevent root hypoxia while maintaining sufficient moisture for the root hairs.
Timing:
Hardiness Zones 3 through 9 require distinct strategies for shed utilization. In northern zones, the "Biological Clock" of the plant is governed by the photoperiod. Most seedlings require a minimum of 12 to 14 hours of light to remain in the vegetative state. Early spring starts should occur 6 to 8 weeks before the local last frost date. As the soil temperature reaches a consistent 55 degrees Fahrenheit, the transition from vegetative to reproductive stages begins for many cool-season crops. Monitoring the soil moisture meter is essential during this window, as the increased solar gain through the glass can accelerate evapotranspiration rates, leading to a loss of turgor and potential permanent wilting point if not managed daily.
Phases:
Sowing
Seeds must be placed at a depth of two to three times their diameter. Maintaining a consistent temperature of 70 degrees Fahrenheit within the shed is vital for enzymatic activation during germination. Use a heat mat if the glass insulation is insufficient during night cycles.
Pro-Tip: Maintaining high humidity during germination prevents the seed coat from hardening. This is critical for epigeal germination, where the hypocotyl must lift the cotyledons above the soil surface without mechanical resistance.
Transplanting
Move seedlings when they have developed at least two sets of true leaves. Use a hori-hori knife to lift the root ball, ensuring minimal disturbance to the delicate mycorrhizal fungi colonizing the root zone. Ensure the new container is pre-moistened to prevent moisture wicking away from the roots.
Pro-Tip: Transplanting during overcast days or late afternoon reduces transplant shock. This minimizes the immediate demand for water from the roots while they are re-establishing hydraulic conductance with the new soil medium.
Establishing
Once transplanted, the focus shifts to root expansion. Reduce nitrogen inputs and increase phosphorus to encourage a deep, resilient root system. Monitor the glass for condensation; excessive moisture on the panes indicates poor airflow, which can lead to Botrytis cinerea or damping-off.
Pro-Tip: Strategic use of auxin suppression through apical pruning (pinching) encourages lateral branching. This results in a bushier, more productive plant architecture by redirecting energy from the terminal bud to the axillary buds.
The Clinic:
Physiological disorders often stem from environmental stressors related to the shed's glazing and ventilation.
Symptom: Interveinal chlorosis (yellowing between green veins) on young leaves.
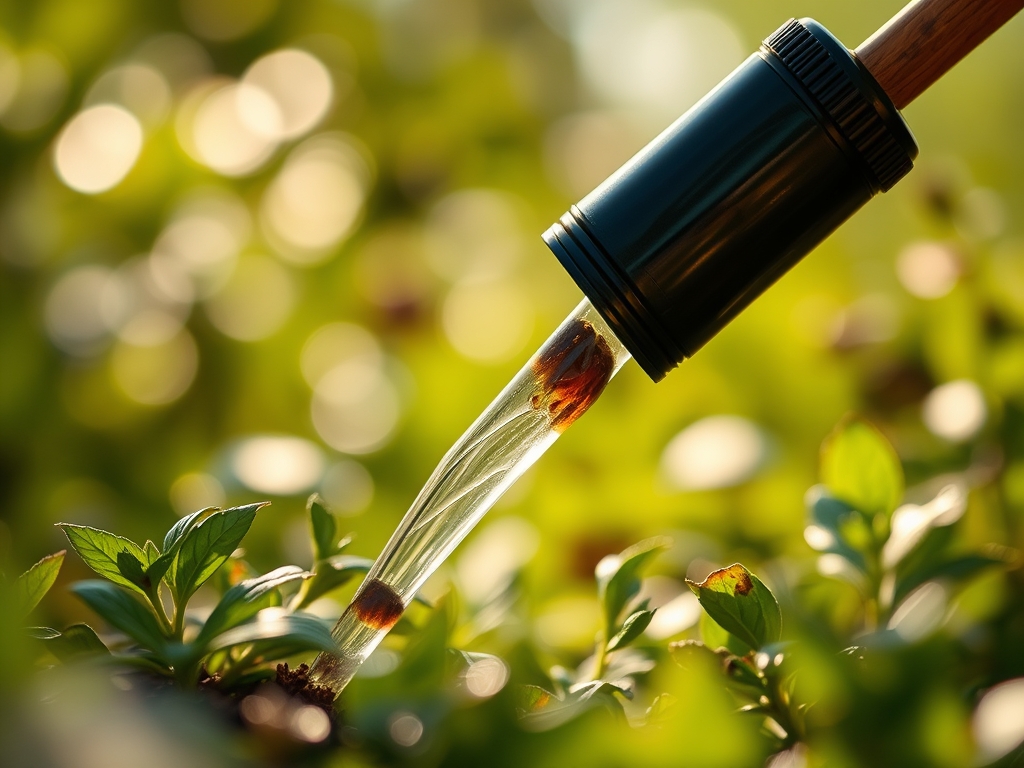
Solution: This indicates an Iron (Fe) deficiency, often caused by a soil pH above 7.0. Apply a chelated iron drench to lower the pH and restore nutrient uptake.
Symptom: Edema (small bumps or blisters on the underside of leaves).
Solution: This is a result of high humidity and saturated soil. The plant takes up more water than it can transpire. Increase ventilation by opening shed windows and reduce watering frequency.
Symptom: Purpling of the undersides of leaves.
Solution: Phosphorus deficiency, often triggered by cold soil temperatures below 50 degrees Fahrenheit. Improve the insulation of the glass or use supplemental heating to ensure the rhizosphere remains warm enough for phosphorus mobility.
Fix-It for Nitrogen Chlorosis: If older leaves turn a uniform pale yellow, the plant is scavenging nitrogen for new growth. Apply a quick-release liquid fertilizer with a higher N value (such as fish emulsion) to provide an immediate boost to the nitrogen pool.
Maintenance:
Precision is the hallmark of a master horticulturist. Deliver 1.5 inches of water per week directly at the drip line of the container or bed. Use a soil moisture meter to verify that the moisture has penetrated the top 4 to 6 inches of the substrate. Keep bypass pruners sterilized with a 70% isopropyl alcohol solution between every cut to prevent the transmission of viral pathogens. Clean the glass panes every spring using a mild vinegar solution to remove dust and algae buildup; even a thin layer of grime can reduce light transmission by 15% or more, directly impacting the rate of photosynthesis.
The Yield:
Harvesting should occur during the "cool of the day," typically just after dew has dried but before peak solar radiation. This ensures maximum turgor and sugar concentration within the plant tissues. Use a sharp hori-hori knife for root crops or bypass pruners for stems to create a clean wound that the plant can quickly callus over. For post-harvest handling, immediately move the produce to a shaded, cool area. Hydro-cooling (dipping in cold water) can remove "field heat" and slow the rate of senescence, extending the shelf life and preserving the nutritional density of the harvest.
FAQ:
What is the most durable glass for a garden shed?
Tempered glass is the industry standard for durability. It is four to five times stronger than standard float glass and breaks into small, blunt granules rather than sharp shards, ensuring safety in high-traffic garden areas.
How does glass thickness affect plant growth?
Standard 4mm glass provides excellent light transmission. Thicker double-glazed units offer better thermal insulation for Zone 3-5 winters but may slightly reduce PAR (Photosynthetically Active Radiation) levels. Balance insulation needs with the light requirements of your specific cultivars.
Can I use acrylic instead of glass for my shed?
Acrylic is lightweight and impact-resistant but prone to scratching and UV degradation. Over several seasons, acrylic may cloud, which significantly reduces the light available for the rhizosphere and canopy, potentially leading to etiolation in seedlings.
Why is diffused glass used in some professional sheds?
Diffused glass scatters incoming light, preventing "hot spots" and ensuring photons reach the lower leaves of the canopy. This reduces the risk of leaf scorch and promotes more uniform growth across the entire bench or floor space.