10 Basic Steps to Formal Garden Design
The scent of boxwood clipped to geometric precision, gravel paths crunching underfoot in measured intervals, and hedges standing at exact 90-degree angles define the formal garden. These designed landscapes demand planning before a single spade breaks soil. Mastering the steps to formal garden design transforms chaotic plots into ordered outdoor rooms where symmetry governs every planting decision and hardscape placement.
Formal gardens originated in 16th-century Italian and French estates where wealthy patrons demonstrated control over nature through rigid geometry. Modern interpretations retain these principles while adapting plant selections to regional climates and soil capacities. The following ten steps to formal garden design provide a framework from initial site assessment through long-term maintenance protocols.
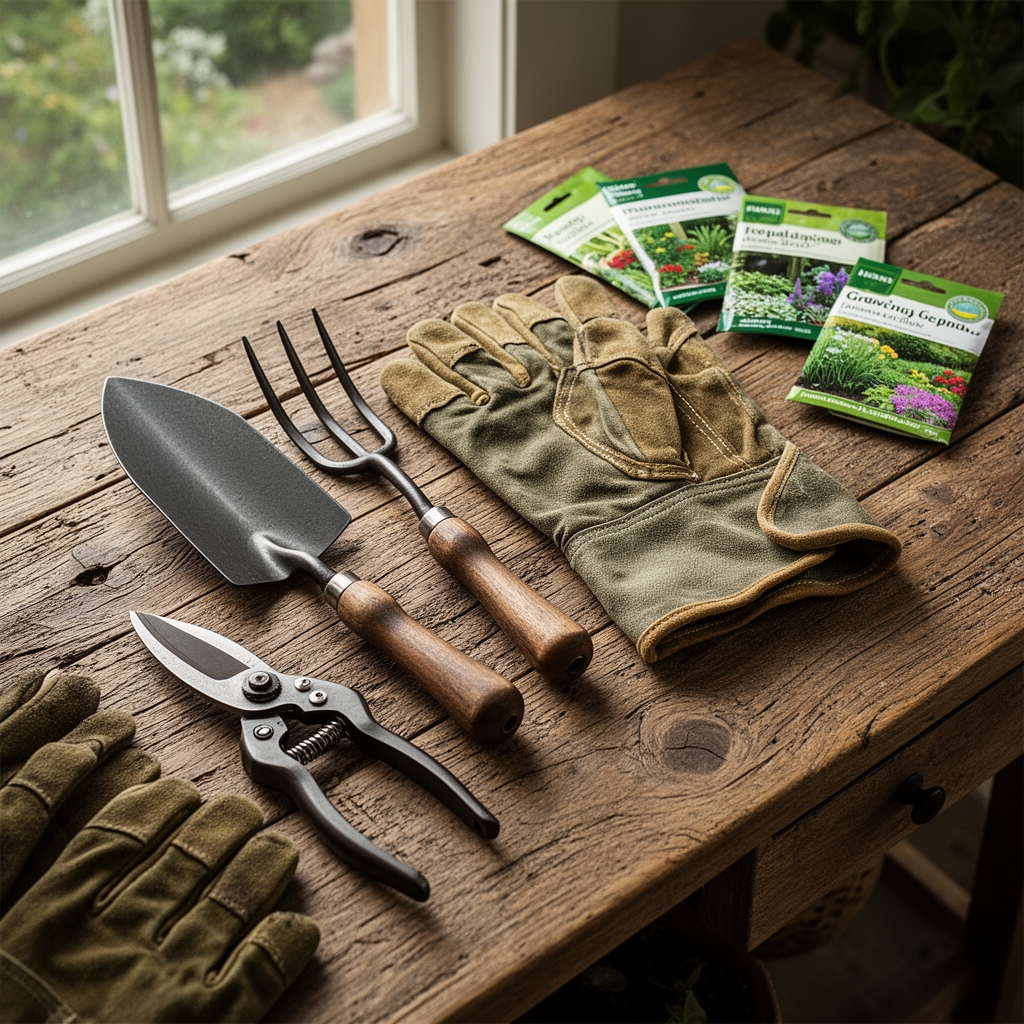
Materials
Formal garden construction requires specific amendments and inputs calibrated to soil chemistry. Test existing soil pH before ordering materials. Most formal hedging plants including boxwood (Buxus sempervirens) and yew (Taxus baccata) prefer pH 6.0 to 7.0. Acidic soils below 5.5 need dolomitic limestone at 50 pounds per 1,000 square feet to raise pH one full point.
Select a balanced organic fertilizer rated 4-4-4 or 5-5-5 for establishment phase feeding. These equal-ratio formulations support steady growth without excessive nitrogen that causes weak, leggy shoots requiring frequent shearing. Alfalfa meal (3-1-2) provides slow-release nitrogen plus triacontanol, a natural growth stimulant improving root establishment in transplanted hedging stock.
Hardscape materials anchor formal design. Decomposed granite, pea gravel, or crushed limestone in 3/8-inch grade creates stable pathways. Edging requires rot-resistant materials: steel at 1/4-inch thickness, aluminum, or pressure-treated lumber rated for ground contact. Avoid cedar or redwood in wet climates where decomposition accelerates.
Timing
Hardiness zones dictate planting windows for formal garden installation. Zones 5 through 7 permit fall planting from September 1 through October 15, allowing root establishment before ground freeze. Spring installation occurs after last frost date but before daytime temperatures exceed 75°F consistently.
Zones 8 through 10 benefit from November through February planting when rainfall patterns support establishment without supplemental irrigation stress. Container-grown hedging stock transplants year-round in mild climates, though summer installations require shade cloth for 30 days post-planting.
Hardscape installation precedes all planting. Complete pathway grading, edging installation, and irrigation line trenching during dry soil conditions when compaction risk drops. Wet soil compaction destroys structure and reduces cation exchange capacity by 40 percent in clay-loam profiles.
Phases
Sowing Phase: Formal gardens rarely use seed propagation for primary structural elements. However, groundcover areas between hardscapes benefit from Thymus serpyllum (creeping thyme) seed broadcast at 1/4 pound per 1,000 square feet. Rake seed into top 1/8 inch of prepared seedbed. Germination occurs in 14 to 21 days at soil temperatures above 65°F.
Pro-Tip: Inoculate planting holes with mycorrhizal fungi (Glomus intraradices) at 1 tablespoon per transplant. These symbiotic organisms colonize roots within 6 weeks, extending effective root zones by 10 to 100 times and improving phosphorus uptake in alkaline soils where this nutrient becomes locked.
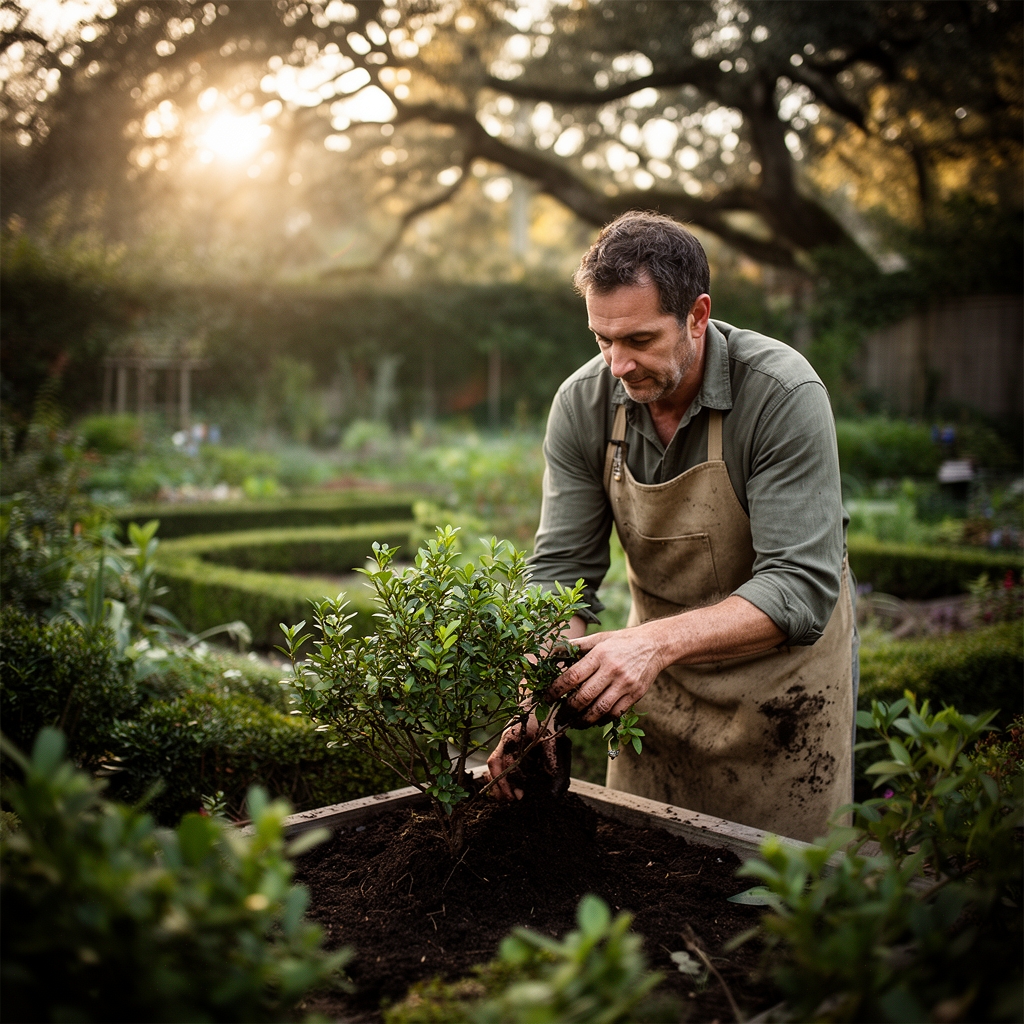
Transplanting Phase: Space boxwood hedging 12 inches on-center for 24-inch finished hedge height. Taller screens require proportional spacing: 18 inches for 36-inch hedges, 24 inches for 48-inch hedges. Dig planting holes twice root ball width but no deeper than existing root depth. Planting too deep disrupts auxin distribution, causing adventitious root formation failures.
Remove container-grown plants by inverting and tapping, never pulling by stems. Score root balls making four vertical cuts 1/2 inch deep if roots show circling patterns. Backfill with native soil only. Amendments create interface zones where roots refuse to penetrate into surrounding ground.
Pro-Tip: Install drip irrigation before backfilling. Place emitters 6 inches from each transplant stem, providing 1 gallon per hour flow rate. This placement encourages outward root exploration rather than circling behavior.
Establishing Phase: First-year hedges require weekly irrigation delivering 1 inch of water per application during active growth. Install rain gauges to track natural precipitation. Reduce frequency to every 10 days once new growth reaches 4 inches, indicating successful root establishment.
Begin shearing when new growth reaches 6 inches. Cut back to 3 inches, removing no more than 50 percent of current season growth. This 1:2 ratio maintains photosynthetic capacity while encouraging basal density. Shear at 80 to 85-degree angles, creating slight tapers with hedge bases 2 inches wider than tops. This geometry ensures light reaches lower branches, preventing bare patches.
Pro-Tip: Sharpen shearing blades to 30-degree bevels. Dull blades crush stems, creating brown wounded tissue that invites fungal pathogens including Volutella blight.
Troubleshooting
Symptom: Yellow leaves concentrated on interior branches despite adequate irrigation.
Solution: Light starvation from overly vertical hedge profiles. Re-shear to 85-degree taper. Interior yellowing also indicates nitrogen deficiency. Apply blood meal (12-0-0) at 2 pounds per 100 linear feet.
Symptom: Brown patches expanding from hedge centers outward after wet spring weather.
Solution: Volutella blight (Volutella buxi) or Phytophthora root rot. Remove affected branches, cutting 6 inches into healthy wood. Improve drainage by creating 4-inch-high berms. Apply copper fungicide (Bordeaux mixture) at 4 tablespoons per gallon every 14 days for 6 weeks.
Symptom: Notched leaf margins on boxwood and other broadleaf evergreens.
Solution: Adult black vine weevils (Otiorhynchus sulcatus) feed nocturnally. Apply beneficial nematodes (Heterorhabditis bacteriophora) in early September, targeting larval stage in soil. Adults require hand-picking after dark or pyrethrin spray at labeled rates.
Symptom: Stunted spring growth with reddish leaf tints.
Solution: Phosphorus deficiency common in pH above 7.5. Apply rock phosphate at 5 pounds per 100 square feet or bone meal (3-15-0) at 3 pounds per 100 square feet. Sulfur application at 2 pounds per 100 square feet gradually lowers pH over 4 to 6 months.
Maintenance
Established formal hedges require three shearings annually: late May after spring flush hardens, mid-July, and late August. Avoid shearing after September 1 in zones 6 and colder. Late cuts stimulate tender growth vulnerable to frost damage.
Feed established hedges in early April with 5-5-5 organic fertilizer at 3 pounds per 100 linear feet. Broadcast in 18-inch band along both hedge sides. Water immediately with 1 inch application to move nutrients into root zone.
Mulch maintains consistent soil moisture and moderates temperature. Apply 2 inches of aged bark mulch, maintaining 3-inch clearance from hedge stems. Deeper mulch encourages rodent nesting and stem rot. Refresh mulch every 24 months as decomposition occurs.
Irrigation needs decrease after establishment but never disappear. Provide 1 inch weekly during active growth if rainfall fails to meet this threshold. Reduce to 1 inch every 14 days during dormancy in zones where ground does not freeze.
FAQ
How long until new hedges achieve formal appearance?
Boxwood requires 3 growing seasons to form dense 24-inch hedges from 12-inch starter plants under proper shearing regimes. Privet (Ligustrum) reaches similar density in 2 seasons due to faster growth rates.
Can formal gardens exist in shade?
Partial shade (4 to 6 hours direct sun) supports boxwood and yew. Deep shade prevents basal density. Consider shade-tolerant alternatives like Japanese holly (Ilex crenata) in zones 6 through 8.
What spacing works for parterres and knot gardens?
Space dwarf boxwood (Buxus 'Suffruticosa') 6 inches on-center for intricate patterns. Germander (Teucrium chamaedrys) tolerates 8-inch spacing. Closer spacing accelerates pattern definition but increases plant costs.
Do formal gardens require professional installation?
Hardscape layout benefits from professional surveying to ensure geometric accuracy. Planting and maintenance suit determined home gardeners with basic horticultural knowledge and appropriate tools including quality hedge shears and levels.
How do I transition informal beds to formal design?
Remove existing plantings during dormancy. Amend soil uniformly across entire area to eliminate localized fertility variations that cause uneven hedge growth. Install permanent edging before planting to maintain crisp geometry long-term.