7 Easy Ways How to Grow Cottage Edibles
The scent of sun-warmed thyme and the snap of a crisp lettuce leaf inches from your kitchen door define the cottage edible garden. These productive spaces blend ornamental charm with yield, transforming windowsills, dooryard beds, and fence lines into living pantries. Learning how to grow cottage edibles begins with understanding that these plants thrive on proximity, irregular spacing, and polyculture rather than row-crop uniformity. Victorian cottagers perfected this method by necessity, layering quick salads beneath slow fruiting currants, tucking parsley along stone foundations where radiant heat extended harvests. Modern soil science and cultivar selection now make the practice even more reliable.
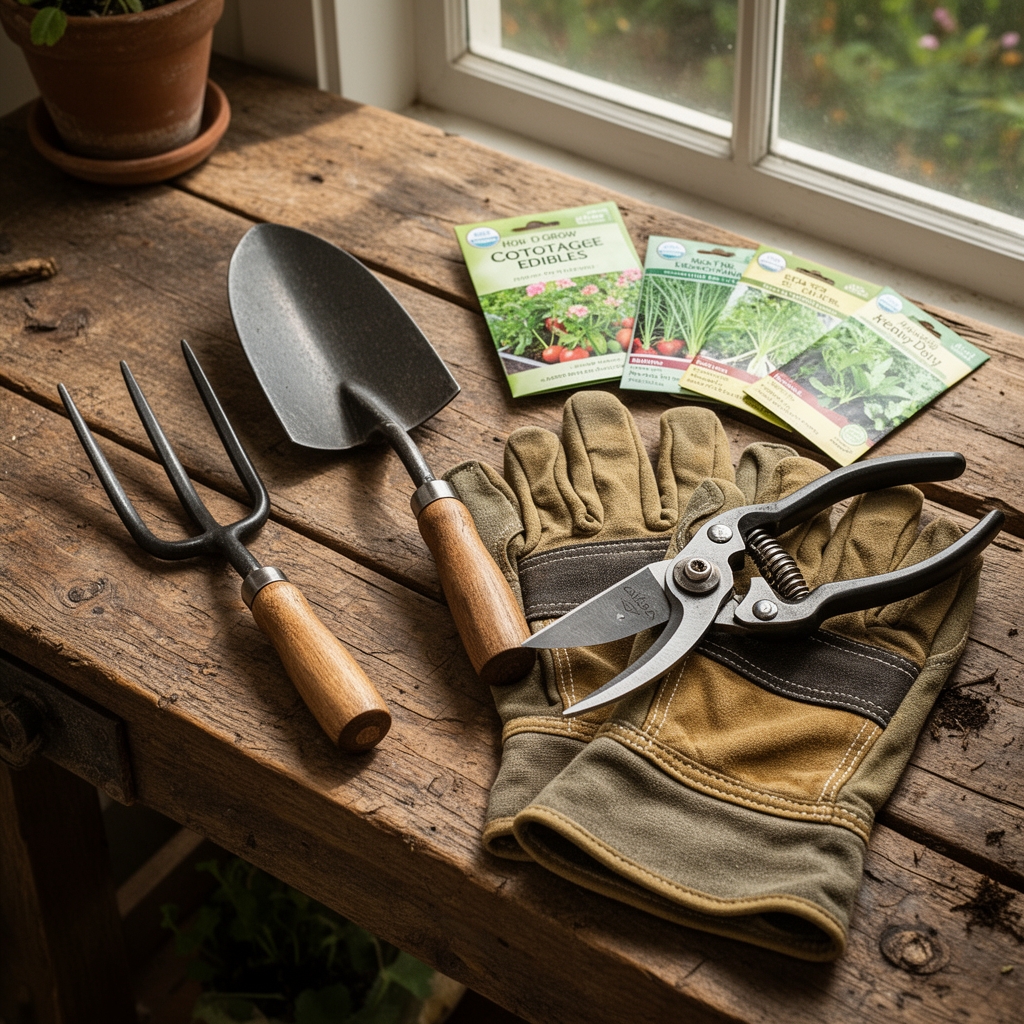
Materials
Soil pH between 6.2 and 6.8 suits most cottage edibles. Test with a calibrated meter rather than paper strips for accuracy within 0.1 units. Amend acidic soils with dolomitic lime at 5 pounds per 100 square feet to raise pH by one full point. For heavy clay, incorporate 2 inches of aged compost and 1 inch of coarse sand to improve cation exchange capacity and drainage.
Base fertility on a balanced organic amendment such as 4-4-4 feather meal blend applied at 2 pounds per 100 square feet before sowing. Leafy greens such as lettuce, spinach, and arugula benefit from side-dressing with blood meal (12-0-0) at 1 cup per 10 row-feet four weeks after germination to sustain nitrogen during rapid foliage expansion. Fruiting edibles including tomatoes, peppers, and compact squash require phosphorus for flower set. Apply bone meal (3-15-0) at transplant, working 1 tablespoon into the planting hole to support root colonization by mycorrhizal fungi.
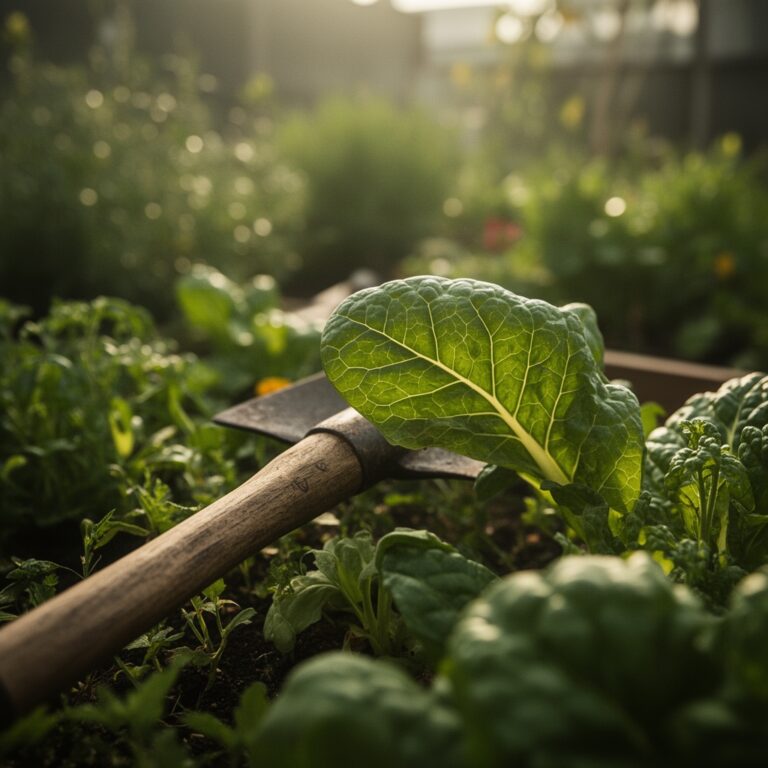
Seed selection should prioritize compact or dwarf cultivars. Choose 'Tom Thumb' lettuce, 'Spacemaster' cucumber, and 'Tiny Tim' tomato for containers. Perennial herbs such as thyme, sage, and chives anchor bed edges, returning each season without replanting.
Timing
Cottage edibles follow a staggered planting calendar tied to USDA Hardiness Zones and last-frost dates. In Zones 5 through 7, direct-sow cold-tolerant crops such as peas, radishes, and spinach three weeks before the last expected frost. Soil temperature at 2-inch depth should reach 40°F for germination. Warm-season edibles including basil, beans, and squash require soil above 60°F. Transplant these two weeks after the frost-free date to avoid chilling injury that disrupts auxin distribution and stunts terminal growth.
Succession planting every 14 days extends harvests. Sow lettuce and arugula weekly from early spring through late May, then resume in late August for autumn crops. In Zones 8 and warmer, winter gardening is feasible. Plant kale, chard, and cilantro in September for harvest through February.
Phases

Sowing
Direct-seed at depths equal to twice the seed diameter. Lettuce and carrot seeds need light for germination, so press them onto firmed soil and mist daily. Peas and beans tolerate deeper placement at 1 inch. Space seeds closer than packet recommendations suggest, then thin seedlings to final spacing once true leaves emerge. Thinned greens are edible microgreens.
Pro-Tip: Inoculate legume seeds with Rhizobium bacteria powder before sowing. Coat seeds by shaking them in a jar with the inoculant. This symbiosis fixes atmospheric nitrogen, reducing fertilizer needs by 40 percent over the season.
Transplanting
Harden off greenhouse or indoor seedlings by exposing them to outdoor conditions for one hour on day one, increasing by one hour daily over seven days. This acclimates stomata to lower humidity and prevents transplant shock. Dig holes twice the root-ball width. Set transplants at the same depth they grew in containers, except tomatoes. Bury tomato stems up to the first true leaves to encourage adventitious rooting along the buried stem segment.
Pro-Tip: Apply a root drench of diluted fish emulsion (1 tablespoon per gallon) immediately after transplanting. The amino acids stimulate root-hair development within 48 hours, accelerating establishment.
Establishing
Mulch around transplants with 2 inches of straw or shredded leaves to moderate soil temperature and suppress weeds. Leave a 2-inch bare-soil collar around each stem to prevent crown rot. Install supports for vining crops at planting. Peas climb twine or netting. Tomatoes require stakes or cages at least 5 feet tall for indeterminate varieties.
Pro-Tip: Prune tomato suckers at 45-degree angles when they reach 2 inches long. This directs carbohydrate allocation to fruit rather than excess foliage and improves air circulation, reducing fungal pressure.
Troubleshooting
Symptom: Blossom-end rot on tomatoes and peppers. Dark, sunken lesions appear on fruit bottoms.
Solution: Calcium deficiency caused by irregular watering. Apply gypsum (calcium sulfate) at 1 pound per plant and maintain consistent soil moisture at 1 inch per week.
Symptom: Flea beetles riddling leaves of arugula, radishes, and kale with small holes.
Solution: Cover seedlings with lightweight row cover immediately after sowing. Remove covers once plants reach 6 inches and foliage toughens.
Symptom: Powdery mildew coating squash and cucumber leaves with white fungal growth.
Solution: Spray foliage weekly with 1 tablespoon baking soda plus 1 teaspoon horticultural oil per gallon of water. Apply early morning so leaves dry by midday.
Symptom: Leggy seedlings with elongated stems and pale leaves.
Solution: Insufficient light intensity. Position grow lights 2 inches above seedlings and provide 14 hours of illumination daily.
Maintenance
Water deeply once per week, delivering 1 inch measured with a rain gauge. Clay soils retain moisture longer; sandy soils may require twice-weekly irrigation. Drip tape or soaker hoses reduce foliar wetness and fungal diseases compared to overhead sprinklers.
Weed by hand when soil is moist, removing roots entirely to prevent regrowth. Mulch suppresses 80 percent of annual weeds. Fertilize leafy greens every three weeks with compost tea diluted to the color of weak coffee. Fruiting crops benefit from liquid kelp (0-0-1 with trace elements) applied every two weeks during flowering and fruit set.
Harvest in early morning when plant sugars concentrate in foliage. Cut lettuce and chard leaves with scissors 1 inch above the crown for regrowth. Pinch herb tips frequently to delay flowering and promote branching.
FAQ
When should I start seeds indoors for cottage edibles?
Start tomatoes, peppers, and eggplant 6 to 8 weeks before your last frost date. Cucurbits such as squash and cucumbers need only 3 to 4 weeks indoors due to rapid growth rates.
Can I grow cottage edibles in containers?
Yes. Use containers at least 12 inches deep with drainage holes. Fill with potting mix containing perlite or vermiculite for aeration. Container plants require daily watering and weekly liquid fertilizer.
How do I protect edibles from late-spring frosts?
Cover plants with bed sheets, row cover, or inverted buckets before sunset. Remove covers after sunrise once temperatures rise above 40°F.
Which cottage edibles tolerate partial shade?
Leafy greens such as lettuce, spinach, arugula, and Asian greens produce well with 4 hours of direct sun. Herbs like parsley, cilantro, and mint also tolerate reduced light.
How often should I replant annual edibles?
Succession-plant quick crops like radishes and lettuce every 2 weeks. Replace warm-season annuals such as basil and beans once per season after soil warms above 60°F.