9 Professional Steps to Install a Brick Driveway
Damp earth releases a sharp, geosmin scent when the excavating blade first breaks the surface. This is the raw smell of a disturbed rhizosphere; it indicates the beginning of a structural transformation. To master the steps to install a brick driveway, you must treat the ground not as a static surface but as a living substrate with specific load-bearing requirements. A successful installation demands more than aesthetic alignment. It requires a deep understanding of soil compaction, drainage physics, and the biological integrity of the surrounding landscape. You are building a permeable system that must withstand thousands of pounds of pressure while allowing for gas exchange and moisture regulation in the underlying horizons. Failure to account for the Cation Exchange Capacity (CEC) of the subsoil or the hydraulic conductivity of the base layers will result in frost heaves and structural collapse. We begin by stripping the organic layer to reach the mineral-rich B horizon, ensuring the foundation is as stable as the vascular system of an ancient oak.
Materials:

The success of a driveway begins with the chemical and physical composition of the sub-base. You must analyze the soil pH; a neutral range of **6.0 to 7.0** is ideal to prevent the chemical weathering of concrete-based pavers or the leaching of minerals from clay bricks. The substrate must be a **friable loam** or a well-graded aggregate that mimics the drainage of a sandy loam.
For the surrounding vegetation, maintain a balanced nutrient profile. An NPK ratio of 10-10-10 is standard for general turf stabilization around the perimeter, but for woody ornamentals near the driveway edge, a 5-10-15 ratio encourages root lignification over succulent top growth. The physical texture of the bedding sand should be angular, not rounded, to ensure interlocking stability. This sand acts as a high-porosity medium, facilitating the movement of water away from the brick surface to prevent anaerobic conditions in the soil below.
Timing:
Installation must be synchronized with the local Hardiness Zone and frost-date windows. In Zones 4 through 7, the ideal window opens after the final spring thaw when soil moisture levels drop below the plastic limit. Attempting to compact saturated soil leads to "pumping," where water is forced to the surface, destroying the soil structure.
The biological clock of the surrounding flora is equally critical. Heavy construction should occur during the late dormant stage or early vegetative stage. This timing ensures that any root pruning required for excavation happens before the plant enters the high-demand reproductive stage. By avoiding the peak transpiration periods of mid-summer, you reduce the risk of hydraulic failure in nearby trees. Aim for a soil temperature of at least 50 degrees Fahrenheit to ensure proper settling and to allow any restorative seeding to germinate effectively.
Phases:

Sowing the Foundation
Excavate to a depth of 12 to 18 inches depending on the local frost line. The subgrade must be compacted to 95 percent Proctor density. This mechanical compaction mimics the natural settling of centuries but occurs in minutes.
Pro-Tip: Understanding thigmotropism is vital here. While plants respond to touch, soil responds to pressure by reducing pore space. You must leave "islands" of uncompacted soil near significant root zones to prevent root asphyxiation.
Transplanting the Base Layers
Lay a geotextile fabric to separate the subgrade from the aggregate base. Add 6 inches of crushed stone, followed by a 1-inch layer of bedding sand. This layered approach creates a capillary break, preventing moisture from wicking upward into the brick.
Pro-Tip: The Biological Why involves mycorrhizal symbiosis. Using a permeable base allows fungal hyphae to survive beneath the driveway, maintaining a bridge for nutrient transport between plant communities on either side of the hardscape.
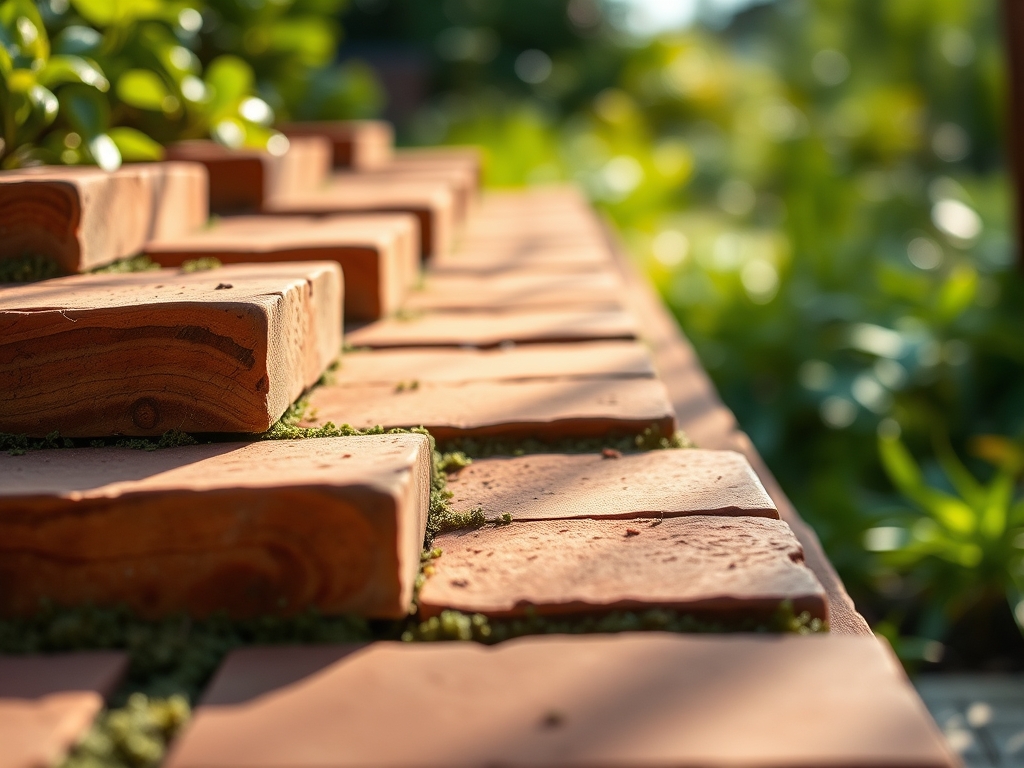
Establishing the Surface
Place the bricks in your chosen pattern, ensuring tight joints. Use a plate compactor to set the bricks into the sand. Sweep polymeric sand into the joints and mist with water to activate the binding agents.
Pro-Tip: This phase utilizes auxin suppression. By creating a solid, light-blocking surface, you suppress the germination of weed seeds through the lack of photosynthetic triggers, effectively managing the "seed bank" in the soil.
The Clinic:
Physiological disorders in the landscape often manifest following heavy construction. Monitor for these specific symptoms:
- Leaf Scorch: This occurs when root systems are severed during excavation, leading to a loss of turgor pressure.
Solution: Apply a 3-inch layer of organic mulch over the remaining root zone and provide supplemental irrigation. - Nitrogen Chlorosis: Yellowing of older leaves indicates that the carbon-heavy mulch or construction debris is "locking up" nitrogen as it decomposes.
Fix-It: Apply a quick-release high-nitrogen fertilizer (21-0-0) to restore leaf color and photosynthetic capacity. - Iron Deficiency: High pH levels in the runoff from new concrete or mortar can cause interveinal chlorosis.
Fix-It: Apply chelated iron as a foliar spray or soil drench to bypass the pH-induced lockout.
Maintenance:
A brick driveway requires the same precision as a prize-winning orchard. Use a soil moisture meter to monitor the edges; the hardscape creates a "heat island" effect that increases evaporation rates. Provide 1.5 inches of water per week at the drip line of any overhanging trees to compensate for the lost permeable surface area.
For weed management in the joints, use a hori-hori knife to extract taproots without disturbing the sand bed. If surrounding shrubs become overgrown, use bypass pruners to make clean heading cuts, ensuring you do not leave ragged edges that serve as entry points for pathogens. Annually inspect for "settling," which indicates a failure in the sub-base compaction or a shift in the local water table.
The Yield:
While a driveway does not produce a caloric yield, its "harvest" is measured in drainage efficiency and the longevity of the surrounding ecosystem. A properly installed permeable brick system allows for the infiltration of 80 to 90 percent of rainwater, recharging the local aquifer. To maintain "day-one" freshness of the stone and the health of the perimeter plants, clear organic debris immediately. Decomposing leaves release tannins that can stain the brick and alter the pH of the joint sand, potentially encouraging the growth of bryophytes (mosses) in shaded sections.
FAQ:
How deep should I dig for a brick driveway?
Excavate 12 to 18 inches. This allows for 6 to 12 inches of compacted aggregate, 1 inch of bedding sand, and the thickness of the brick. Depth depends on local soil type and frost line measurements.
What is the best sand for brick joints?
Use polymeric sand for the final step. It contains chemical binders that harden when wetted, preventing erosion and inhibiting weed growth while remaining flexible enough to accommodate thermal expansion and contraction cycles.
Can I install bricks directly on dirt?
No. Placing bricks on raw soil leads to rapid failure. Soil lacks the compressive strength and drainage capacity required. Without an aggregate base, moisture will cause the bricks to shift, sink, and crack during freeze-thaw cycles.
How do I prevent weeds between bricks?
Maintain the integrity of the polymeric sand joints. If cracks appear, clean the area with a hori-hori knife and refill with new sand. Proper compaction during installation also minimizes the light and oxygen required for seed germination.