6 Simple Steps to Design Succulent Garden Bowls
Succulent cultivation requires a mastery of turgor pressure and substrate porosity. When you press a thumb against a healthy Crassula leaf, the resistance you feel is the result of cellular water storage within the vacuoles. Achieving this level of physiological health begins with the foundational steps to design succulent garden bowls. Success is not a matter of aesthetic placement; it is an exercise in managing the rhizosphere within a confined vessel to prevent root senescence and anaerobic rot.
The smell of a proper succulent arrangement is not that of rich, decaying forest floor humus. It is the scent of dry mineral dust and parched silica. To build a sustainable micro-ecosystem, you must balance the Cation Exchange Capacity (CEC) of your media against the specific transpiration rates of the species selected. Every design choice, from the depth of the bowl to the grit size of the top dressing, dictates the longevity of the plant's metabolic processes.
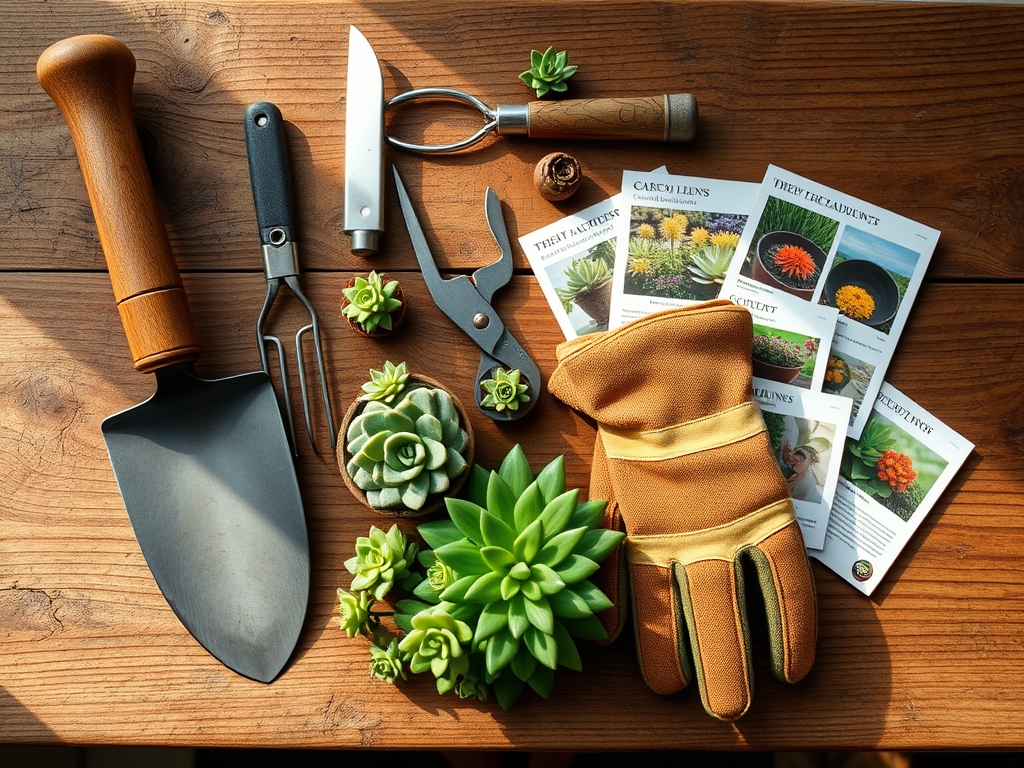
Materials:
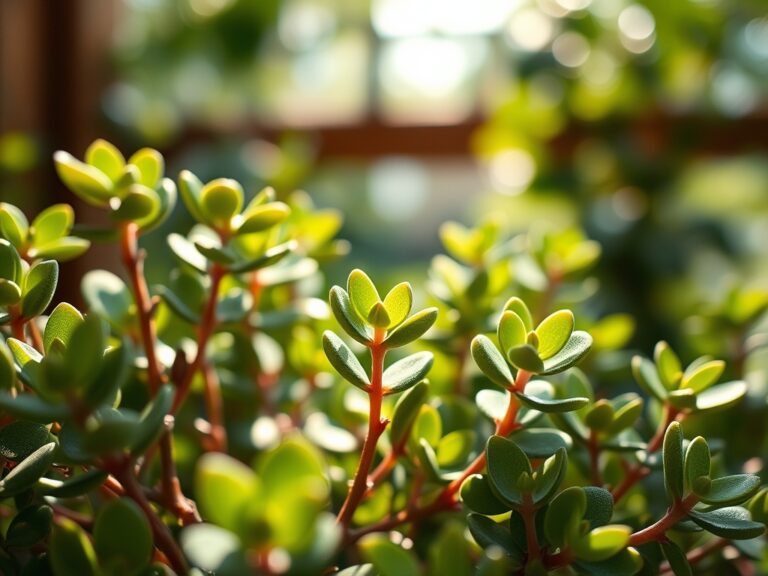
The substrate is the most critical component. Succulents require a pH range between 5.5 and 6.5 to ensure nutrient bioavailability. Avoid standard potting soils which hold excessive moisture. Instead, construct a friable mix consisting of 50 percent inorganic grit such as expanded shale, pumice, or calcined clay.
For the organic fraction, use a low-peat compost. The target NPK ratio for initial establishment is 2-7-7. High nitrogen levels (the first number) will lead to weak, etiolated growth and cellular wall collapse. Phosphorus and potassium are prioritized to encourage robust root architecture and cold hardiness. A low CEC is actually preferred here; you want a medium that allows nutrients to pass through quickly rather than binding them, which prevents salt accumulation.
Timing:
Most succulents are adapted to USDA Hardiness Zones 9 through 11, though certain Sedum and Sempervivum species can withstand Zone 4 winters. The biological clock of these plants is dictated by the photoperiod. Most Echeveria enter a semi-dormant state when daylight drops below 10 hours per day.
The ideal window for assembly is early spring, just as the plant exits dormancy and enters its primary vegetative stage. During this transition, the production of auxins at the apical meristem increases, which facilitates faster root regeneration after transplanting. Avoid major design overhauls during the peak of summer heat (above 90 degrees Fahrenheit) as the plants may enter a state of estivation to conserve moisture, slowing their ability to heal from root trauma.
Phases:
Sowing and Selection
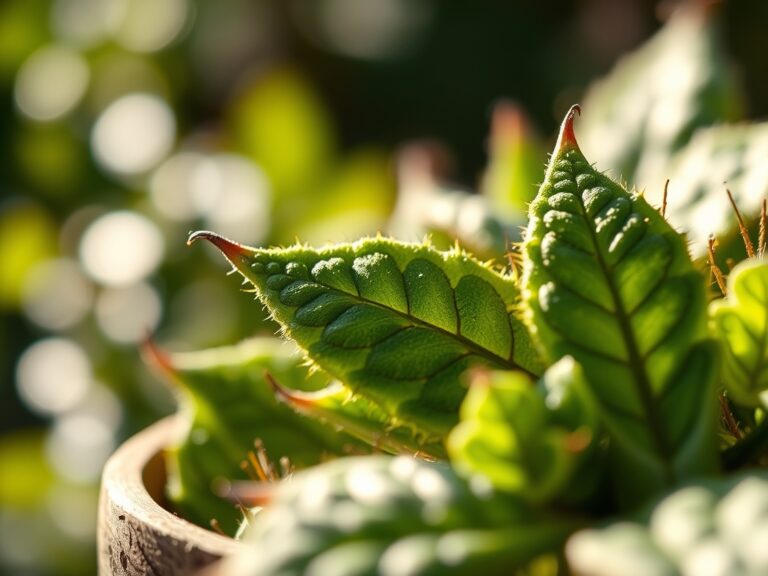
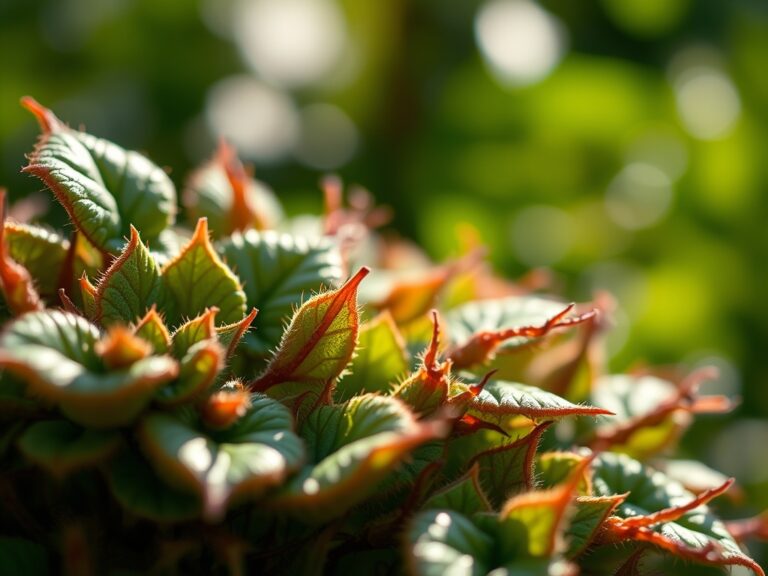
Select specimens with similar light requirements. Do not mix a low-light Haworthia with a high-intensity Graptopetalum. Ensure all specimens exhibit high turgor pressure and lack any signs of necrotic spotting on the lower leaves.
Pro-Tip: Group plants by their Crassulacean Acid Metabolism (CAM) patterns. This biological pathway allows plants to open their stomata at night to reduce evapotranspiration; mixing CAM plants with C3 plants can lead to uneven hydration needs.
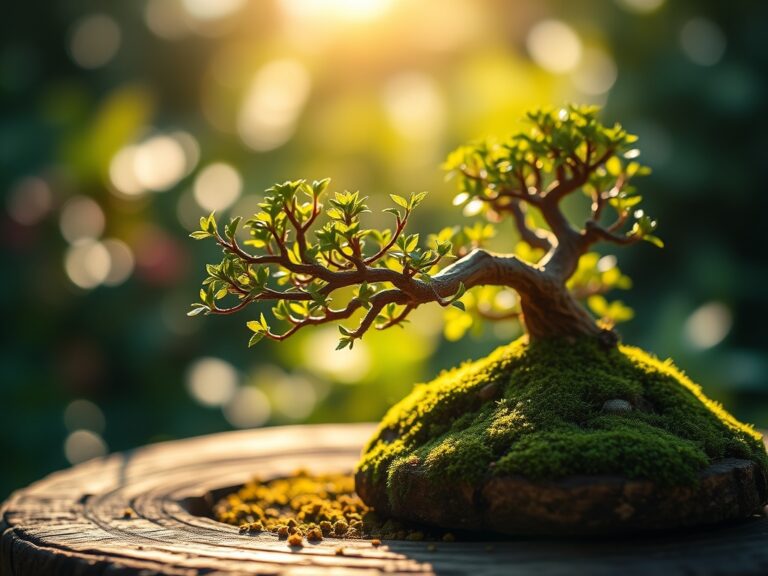
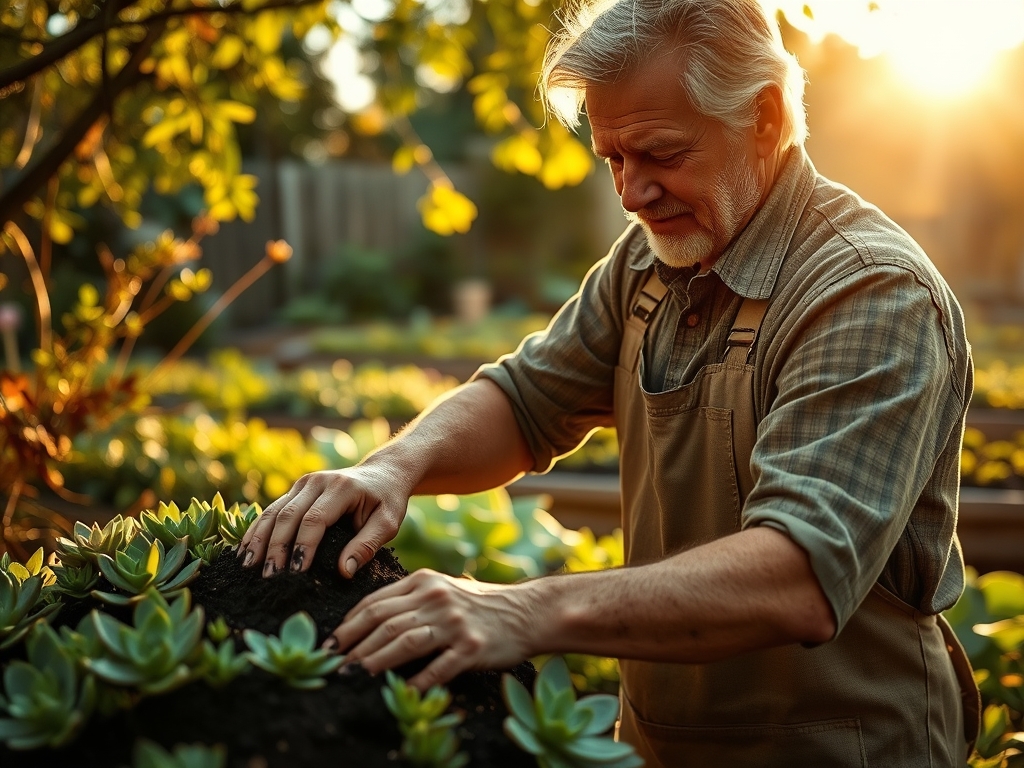
Transplanting
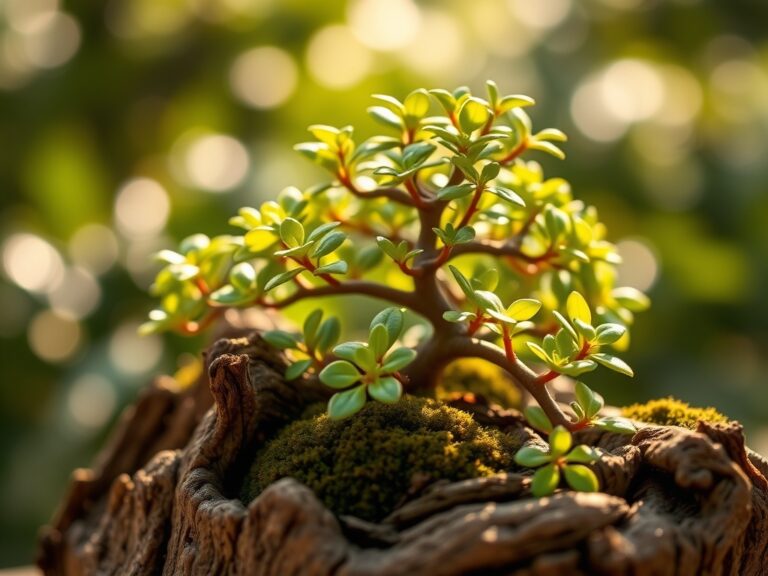
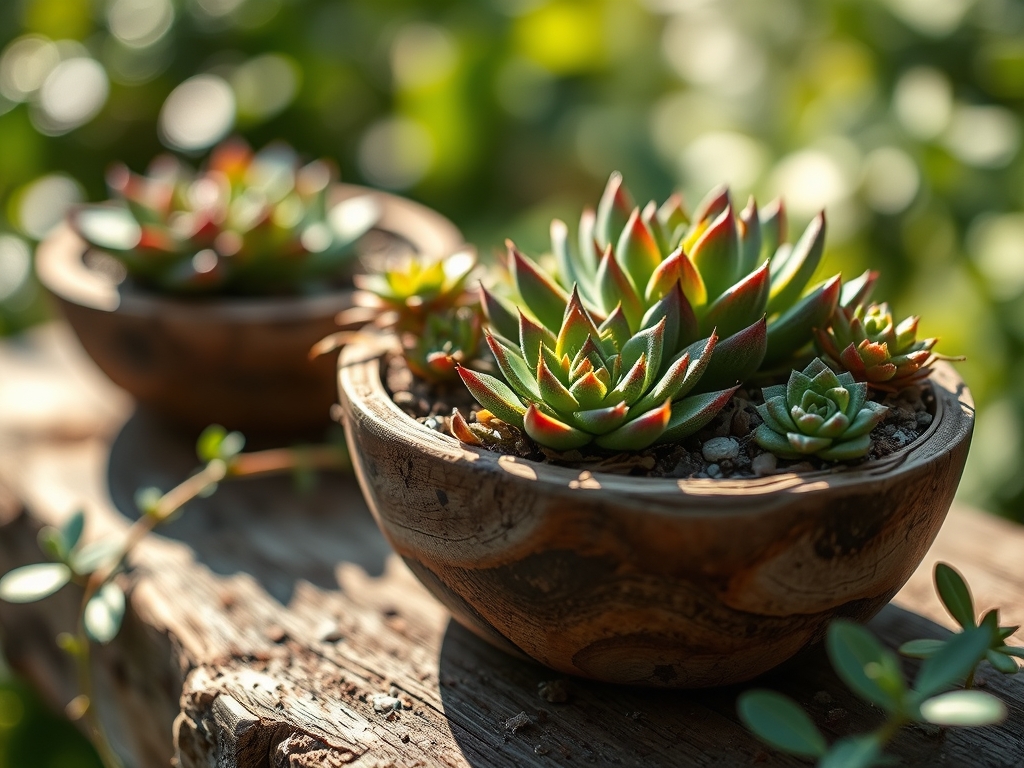
Remove the plant from its nursery container and manually tease the root ball to break the "pot-bound" memory. Trim any desiccated or blackened roots using sterilized bypass pruners. Place the largest "thriller" plant slightly off-center to allow for future lateral expansion.
Pro-Tip: Utilize the principle of thigmotropism. Firmly tamping the soil around the base of the plant provides the mechanical stimulus needed for the roots to "sense" the new substrate, triggering the release of root-growth hormones.
Establishing
Once the bowl is populated, apply a 1/4 inch layer of granite grit as a top dressing. This serves as a functional mulch that keeps the crown of the plant dry, preventing fungal pathogens from colonizing the stem-soil interface.
Pro-Tip: Delay watering for 3 to 5 days post-transplant. This allows any microscopic tears in the root tissue to callous over, preventing pythium and other water-borne pathogens from entering the vascular system via opportunistic infection.
The Clinic:
Physiological disorders in succulent bowls are usually the result of environmental stressors rather than biotic pests.
Symptom: Etiolation (Leggy growth).
Solution: Increase light intensity to at least 5,000 foot-candles. This is caused by a lack of photons, forcing the plant to rapidly elongate its internodes to seek a light source.
Symptom: Edema (Raised bumps or corky blisters).
Solution: Reduce watering frequency and improve airflow. This occurs when the roots absorb water faster than the leaves can transpire it, causing the cellular walls to rupture under pressure.
Symptom: Nitrogen Chlorosis (Yellowing of older leaves).
Fix-It: Apply a diluted 5-10-10 liquid fertilizer at half strength. While succulents are low-feeders, a complete lack of nitrogen prevents the synthesis of chlorophyll, leading to a loss of photosynthetic efficiency.
Symptom: Anthracnose (Sunken black spots).
Fix-It: Remove affected tissue and increase ventilation. This fungal issue thrives in stagnant, humid air around the base of the bowl.
Maintenance:
Precision is the difference between a bowl that survives and one that thrives. Use a soil moisture meter to verify that the substrate is dry to a depth of 2 inches before adding water. When hydrating, apply water directly to the soil surface using a narrow-spout watering can; avoid getting water in the center of rosettes, which can cause crown rot.
During the active growing season, provide 1 inch of water every 10 to 14 days. In winter, reduce this to once a month. Use a hori-hori knife to occasionally aerate the soil by poking small holes in the surface, which prevents the inorganic grit from compacting and allows oxygen to reach the rhizosphere. Prune dead lower leaves (senescence) immediately to prevent them from becoming a vector for botrytis.
The Yield:
While succulent bowls are primarily ornamental, many species produce offsets or "pups." To harvest these for propagation, wait until the offset is at least one-third the size of the parent plant. Use a sharp, sterile blade to sever the stolon connecting the two.
Allow the offset to callous in a dry, shaded area for 48 to 72 hours before placing it on top of fresh substrate. This post-harvest handling ensures the vascular bundles are sealed, preserving "day-one" freshness and preventing the loss of internal moisture during the rooting phase.
FAQ:
How much sun do succulent bowls need?
Most species require 6 hours of bright, indirect sunlight daily. Direct afternoon sun in desert climates can cause photo-oxidation, resulting in bleached or scarred leaf tissue. Monitor for "sunburn" patches and adjust placement accordingly.
Why are the bottom leaves of my succulent dying?
If the leaves are dry and crispy, it is likely natural senescence. The plant reclaims nutrients from older leaves to support new growth. If the leaves are yellow and mushy, it indicates over-saturation and potential root rot.
What is the best container for succulents?
Unglazed terra cotta or concrete is superior. These porous materials allow for lateral evaporation through the walls of the vessel, which helps regulate soil moisture and prevents the substrate from becoming anaerobic.
Do I need to fertilize my succulent bowl?
Apply a low-nitrogen, water-soluble fertilizer once in the spring and once in mid-summer. Use a 10-15-15 or 2-7-7 formula diluted to 25 percent strength to avoid salt burn on the sensitive root hairs.