5 Quick Steps to Potager Garden Design
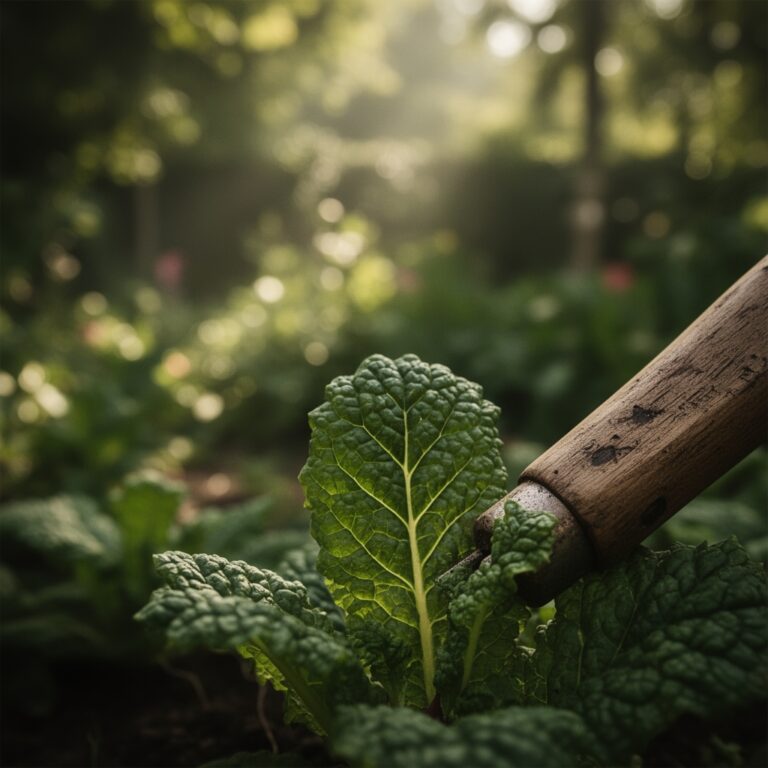
The scent of warm soil beneath box hedge corners anchors a French potager garden, where carrots grow between lavender borders and tomatoes climb obelisks among lettuces. This formal edible landscape combines agricultural productivity with geometric beauty through strict planning. The steps to potager garden design transform ordinary vegetable plots into structured, four-season displays that yield harvests and visual satisfaction. Each path, each bed edge, and each plant placement follows principles refined in monastery gardens and French chateaux over six centuries.
Materials
Begin with soil amendments calibrated to your baseline test results. Apply a balanced 4-4-4 organic meal derived from feather meal, bone meal, and kelp at 2 pounds per 100 square feet for soils testing between pH 6.2 and 6.8. Clay-heavy plots require 3 cubic yards of pine bark fines per 500 square feet to improve cation exchange capacity and root penetration. Sandy profiles need 4 inches of aged compost to retain moisture and buffer nutrient leaching.
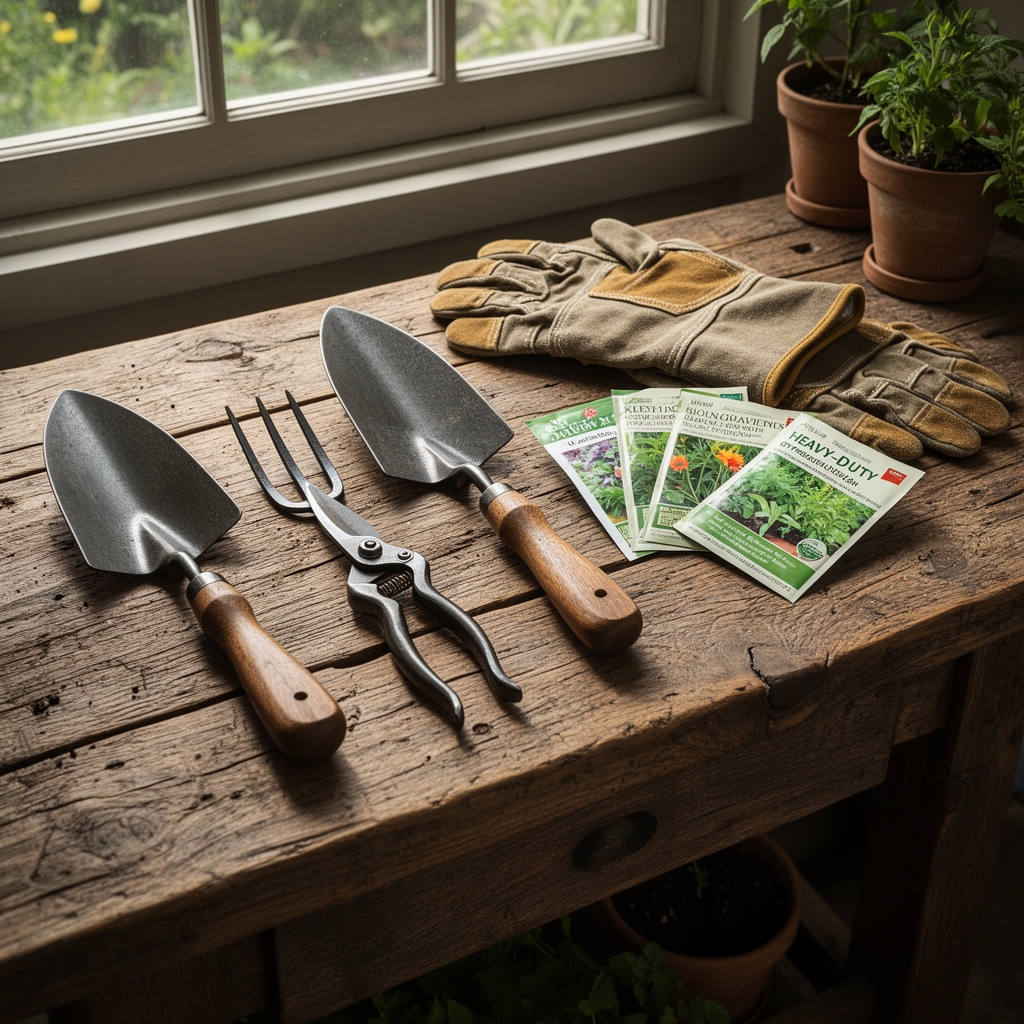
Structural elements define the potager skeleton. Purchase rot-resistant redwood or cedar boards milled to 2 inches by 10 inches for raised bed frames measuring 4 feet by 8 feet. Install galvanized wire mesh with 0.5-inch openings beneath beds in vole-prone regions. Source bare-root box hedge (Buxus sempervirens 'Suffruticosa') in quantities of 5 plants per linear foot for 8-inch tall edging. Acquire crushed oyster shell or fine pea gravel for paths at 2 cubic yards per 200 square feet of walkway, spread to 2-inch depth.
Hardware cloth with 0.25-inch mesh prevents rodent entry into root crop zones. Bamboo stakes measuring 6 feet support pole beans and indeterminate tomatoes. Drip irrigation tubing with 0.6 GPH emitters spaced 12 inches apart delivers precise moisture. A backpack sprayer calibrated for Bacillus thuringiensis applications targets lepidopteran larvae without broad-spectrum disruption.
Timing
Potager installation begins 8 weeks before the last spring frost date in Hardiness Zones 5 through 8. This window allows box hedge establishment before summer heat stress. For Zone 5 (last frost May 15), initiate construction by March 20. Zone 6 gardeners (last frost April 30) start March 5. Zone 7 and 8 regions begin February 15 and February 1 respectively.
Cool-season crops enter beds 4 weeks before last frost: lettuce, spinach, radishes, and peas tolerate soil temperatures of 40°F. Transplant brassicas (cabbage, broccoli, kale) 3 weeks before last frost when roots have developed secondary branching. Warm-season installation follows 2 weeks after last frost, when soil reaches 60°F at 4-inch depth. Tomatoes, peppers, eggplants, and basil require this thermal threshold for auxin distribution and root hair development.
Fall succession planting occurs 10 weeks before first frost. Calculate backwards from your zone's average date: Zone 5 (September 15) plants July 7, Zone 6 (October 1) plants July 22, Zone 7 (October 15) plants August 5.
Phases
Sowing: Direct-seed carrots, parsnips, and radishes into loose, stone-free soil after incorporating compost to 8-inch depth. Carrot germination requires consistent 70°F soil temperature and takes 14 to 21 days. Maintain surface moisture with burlap coverings removed at first cotyledon emergence. Parsley and cilantro seeds benefit from 24-hour cold water soaking to soften hard seed coats, improving germination rates from 55% to 85%.
Pro-Tip: Inoculate pea and bean seeds with Rhizobium bacteria powder (strain-specific to legume type) at seeding to increase nitrogen fixation by 300% and boost pod set.
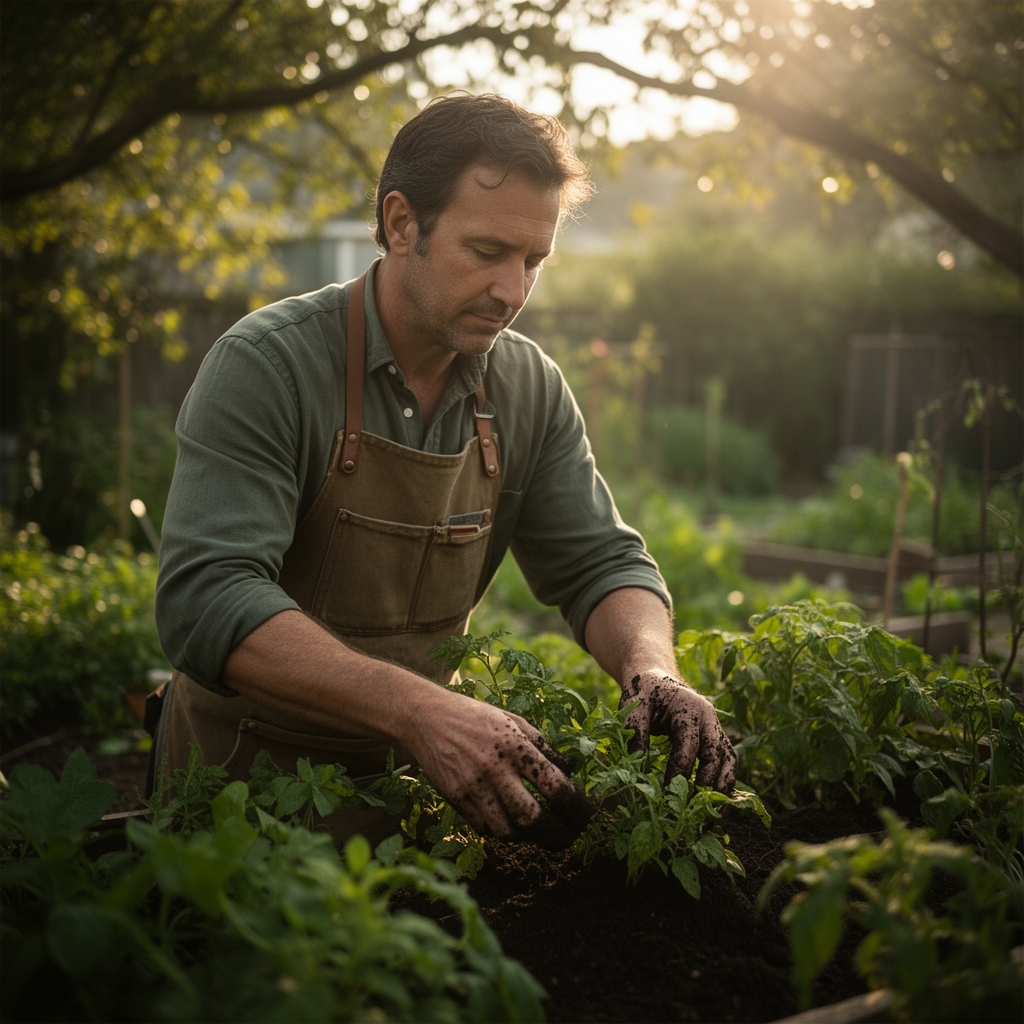
Transplanting: Set tomato transplants at 24-inch spacing, burying stems to first true leaves. Adventitious roots emerge from buried stem tissue, creating robust root systems that access deeper moisture. Pinch terminal buds on basil transplants at 6-inch height to trigger axillary branching, doubling harvest potential. Space lettuce transplants at 8-inch centers in zigzag patterns within bed borders for continuous harvest.
Pro-Tip: Prune tomato suckers at 45-degree angles 0.25 inches above branch collars during morning hours when plant turgor is highest, reducing disease entry points and promoting faster wound callusing.
Establishing: Apply 2 inches of aged leaf mold mulch around established transplants, maintaining a 3-inch gap at stem bases to prevent crown rot from Phytophthora species. Water transplants with kelp extract solution (1 tablespoon per gallon) to stimulate root hair proliferation through cytokinin compounds. Monitor for transplant shock symptoms: leaf curling, wilting between 10 a.m. and 2 p.m., and purple-tinged foliage indicating phosphorus uptake interference.
Pro-Tip: Dust mycorrhizal fungi inoculant (Glomus intraradices) directly into transplant holes at 1 teaspoon per plant, increasing phosphorus uptake efficiency by 40% in established plants.
Troubleshooting
Symptom: Blossom end rot on tomatoes and peppers appears as sunken, leathery black spots on fruit bottoms.
Solution: Apply calcium chloride foliar spray at 2 tablespoons per gallon weekly for 3 weeks. Maintain consistent soil moisture at 1.5 inches per week to prevent calcium transport disruption through xylem tissue.
Symptom: Cabbage white butterfly larvae (Pieris rapae) skeletonize brassica leaves, leaving only major veins.
Solution: Apply Bacillus thuringiensis subspecies kurstaki at 0.5 ounces per gallon every 7 days after first butterfly sighting. Install floating row covers with UV-stabilized fabric immediately after transplanting.
Symptom: Powdery mildew forms white fungal patches on squash and cucumber leaves during late summer.
Solution: Spray potassium bicarbonate solution (1 tablespoon per gallon plus 2 drops dish soap) on leaf surfaces at first symptom appearance. Apply at dawn or dusk to prevent phytotoxicity. Increase air circulation by thinning excessive foliage to reduce relative humidity around leaf surfaces.
Symptom: Carrot rust fly larvae (Psila rosae) tunnel through carrot roots, creating brown channels and bitter flavor.
Solution: Install 24-inch tall fine mesh barriers around carrot beds before seeding. Female flies remain below 18-inch height during egg-laying flights. Rotate carrot plantings to beds 50 feet from previous year's location.
Symptom: Nitrogen deficiency causes lower leaf yellowing and stunted growth across all crops.
Solution: Side-dress with blood meal (12-0-0) at 1 pound per 100 square feet, watering in immediately. Follow with compost tea application at 1 gallon per 4 square feet to restore microbial populations that mineralize organic nitrogen.
Maintenance
Deliver 1 inch of water weekly through drip irrigation, measured with rain gauges placed at bed centers. Clay soils require one 2-hour session; sandy soils need two 1-hour sessions for equivalent penetration to 8-inch depth. Increase to 1.5 inches during fruiting stages for tomatoes, peppers, and cucurbits when transpiration demand peaks.
Harvest lettuce, spinach, and kale by removing outer leaves at stem bases, leaving central growing points intact. This cut-and-come-again method yields 4 to 6 harvests per planting. Pick bush beans every 3 days once pods reach 4 inches to trigger continued flower production through auxin signaling.
Prune box hedge borders twice annually: first shearing in late May after spring flush hardens, second in mid-August before fall growth ceases. Maintain 8 to 12-inch height with slightly wider bases (10 inches) than tops (8 inches) to ensure lower branch light exposure.
Replenish path gravel annually at 0.5-inch depth to suppress weeds and maintain clean walking surfaces. Apply compost top-dressing at 0.5 inches across all beds each October after final harvest, allowing winter weathering to incorporate organic matter.
FAQ
How large should a potager garden be for a family of four?
Construct four beds measuring 4 feet by 8 feet (128 square feet total) with 3-foot wide paths between. This 256-square-foot footprint including paths produces 60 pounds of salad greens, 40 pounds of tomatoes, 25 pounds of beans, and continuous herb harvests from April through October in Zone 6.
What is the minimum box hedge height for effective bed definition?
Maintain 8-inch trimmed height. This dimension provides visual structure without shading low-growing crops like lettuce and creates sufficient mass to anchor geometric patterns while remaining accessible for harvest reaching across beds.
Can a potager function in partial shade conditions?
Yes, if receiving 5 to 6 hours of direct sun. Focus plantings on leafy crops (lettuce, spinach, arugula, kale) and shade-tolerant herbs (parsley, cilantro, chervil). Position beds to capture southern exposure. Avoid fruiting crops requiring 8-plus hours for sugar development.
How do you prevent box hedge roots from competing with vegetables?
Install 18-inch deep plastic landscape edging vertically between hedge and bed interiors, creating root barriers. This restricts box hedge feeder roots to outer zones while allowing vegetable root expansion. Alternatively, plant hedges in dedicated 8-inch wide trenches filled with lean soil to limit growth vigor.
What spacing prevents pest and disease buildup between plantings?
Rotate plant families to different beds on 3-year cycles minimum. Solanaceae (tomatoes, peppers) move clockwise; Brassicaceae (cabbage, broccoli) counterclockwise; Fabaceae (beans, peas) alternate beds annually. This disrupts soil-borne pathogen populations and breaks insect reproductive cycles tied to host plant chemistry.