5 Quick Steps to Plant Wildflower Meadows
The first warm breeze carrying the scent of native grasses and open-faced blooms signals more than seasonal change. It confirms that careful site preparation and seed selection have taken root. The steps to plant wildflower meadows begin months before visible growth, when soil analysis reveals the cation exchange capacity and existing seed bank composition that will determine long-term success. Each decision, from seed density to mowing height, compounds over seasons to create either a self-sustaining ecosystem or a site requiring constant intervention.
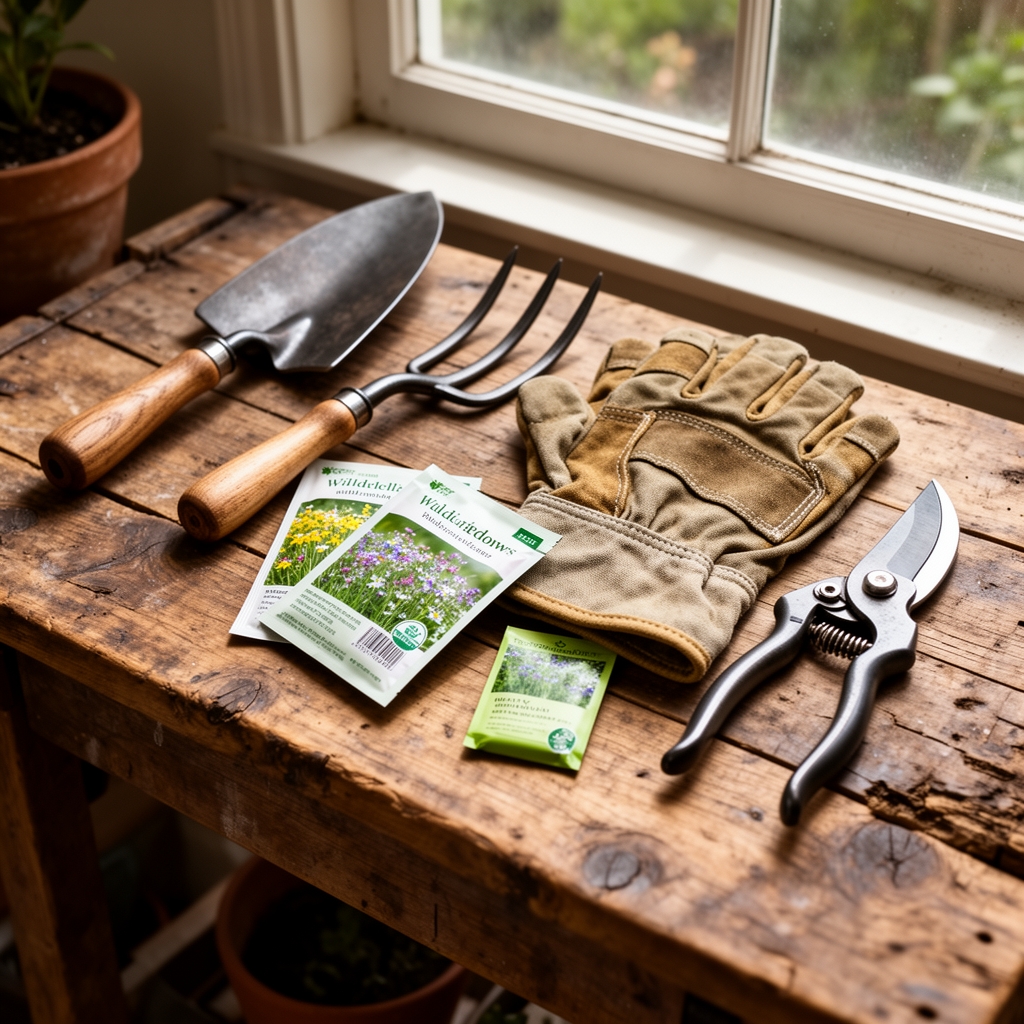
Materials
Soil testing kits must measure pH, nitrogen, phosphorus, and potassium levels. Target pH ranges between 6.0 and 7.2 for most native perennial wildflower species. Avoid high-nitrogen fertilizers. A 4-4-4 organic meal applied at 2 pounds per 100 square feet provides slow-release nutrients without promoting aggressive grass competition. High-phosphorus amendments (0-10-0) at planting encourage root establishment in deficient soils but must be used sparingly to prevent eutrophication.
Native seed mixes should contain 60-70% forbs and 30-40% native grasses by seed count, not weight. Specify species adapted to your USDA Hardiness Zone and existing moisture regime. Purchase seed from regional suppliers to maintain local ecotype genetics. A typical application rate is 12-16 ounces per 1,000 square feet for forb-dominant mixes, adjusted for pure live seed percentage.
Equipment includes a broadcast seeder or hand-cranked spreader, lawn roller (250-300 pounds), and mowing equipment capable of cutting at 6-8 inches. For sites larger than one acre, a no-till drill or culti-packer ensures superior seed-to-soil contact. Mycorrhizal fungi inoculant applied at 2 ounces per 100 square feet during seeding colonizes root systems and improves nutrient uptake by 30-40%.
Timing
The steps to plant wildflower meadows align with frost-free periods and precipitation patterns. Zone 3-5 gardeners should broadcast seed in late fall (October through November) to allow cold stratification. Seeds require 60-90 days of temperatures below 40°F to break dormancy. Spring seeding occurs after the last frost date, typically late April through mid-May, when soil temperatures reach 50°F at a depth of 2 inches.
Zone 6-8 sites offer flexibility. Fall planting from September through early November captures autumn rains and provides stratification. Spring establishment works from March through early May before summer heat stress begins. Avoid mid-summer seeding, as germination rates drop below 40% when soil surface temperatures exceed 85°F.
Zone 9-10 sites require different protocols. Plant during the winter rainy season, typically November through February. Summer heat and drought prevent successful germination. Winter annuals like California poppy and lupine thrive when seeded in November.
Phases
Sowing Phase
Remove existing vegetation through repeated mowing at 2-inch height or sheet mulching with cardboard for 8-12 weeks. Herbicide use should target perennial grasses only, applied 3-4 weeks before seeding. Rake the top 0.25 inches of soil to create a rough seedbed. Broadcast half the seed walking north to south, then broadcast the remaining seed walking east to west. This ensures even distribution.
Mix small seeds with damp sand at a 1:4 ratio for easier spreading. Press seed into soil using a lawn roller, making two perpendicular passes. Seed must remain in the top 0.25 inches; burial deeper than 0.5 inches prevents germination in species like black-eyed Susan and coreopsis.
Pro-Tip: Apply the mycorrhizal inoculant in the same pass as seed distribution. The fungi establish symbiosis within 14-21 days, before root systems extend beyond 3 inches.
Transplanting Phase
Transplant container-grown plugs if immediate impact is required or if the site has severe weed pressure. Space plugs 12-18 inches apart in drifts of 5-15 plants per species. Dig holes twice the root ball width and match the depth to avoid auxin distribution disruption that causes stunted growth. Water each plug with 0.5 gallons immediately after planting.
Fall transplanting (6-8 weeks before first frost) allows root establishment before dormancy. Spring transplanting should occur 2-3 weeks after the last frost date. Avoid transplanting during flowering, as plants redirect energy from root growth to reproduction.
Pro-Tip: Trim container-bound roots with clean shears at 45-degree angles to stimulate lateral root formation. Circling roots reduce water uptake by 50% and cause instability.
Establishing Phase
First-year meadows produce minimal blooms. Energy focuses on root development and vegetative growth. Mow to 6 inches three times during the first season when vegetation reaches 12 inches. This suppresses annual weeds without damaging wildflower seedlings. Remove clippings to reduce nutrient cycling that favors weedy species.
Monitor soil moisture weekly. The top 3 inches should remain moist but not saturated during the first 90 days. Reduce watering frequency once plants establish 6-8 inch root systems, typically 120 days after germination.
Pro-Tip: Mark seeded areas with flags. Many native perennials resemble weeds during early vegetative stages. False identification leads to accidental removal of desirable species.
Troubleshooting
Symptom: Sparse germination with bare patches after 30 days.
Solution: Seed may have washed away or been consumed by birds. Reseed bare areas at half the original rate. Cover with 0.25 inches of straw mulch. Ensure soil remains moist through daily light watering (0.1 inches) until germination completes.
Symptom: Dense grass overwhelming wildflowers by mid-summer.
Solution: Annual grass competition indicates excess nitrogen. Mow to 6 inches immediately and remove clippings. Do not fertilize. Spot-treat aggressive cool-season grasses with selective herbicide containing clethodim during active growth, avoiding contact with forbs.
Symptom: Yellow lower leaves with purple stems on established plants.
Solution: Phosphorus deficiency limits energy transfer. Apply bone meal (0-10-0) at 1 pound per 100 square feet in early spring. Improve mycorrhizal colonization by reducing tillage and maintaining organic matter above 4%.
Symptom: Powdery white coating on leaves in late summer.
Solution: Powdery mildew thrives in humid, crowded conditions. Increase air circulation by selective thinning. Remove heavily infected foliage. Avoid overhead watering after morning hours. Apply sulfur-based fungicide if infection exceeds 30% leaf coverage.
Symptom: Sudden wilting despite adequate moisture.
Solution: Root rot from Phytophthora or Pythium species indicates poor drainage. Improve soil structure by incorporating 2 inches of coarse sand and compost. Avoid planting susceptible species like bee balm in compacted soils with perched water tables.
Maintenance
Established meadows require annual mowing in late winter (February through March) before new growth emerges. Cut to 4-6 inches and remove biomass to prevent thatch accumulation exceeding 1 inch depth. Thatch blocks light penetration and harbors rodent populations.
Water only during extended drought exceeding 21 days without precipitation. Apply 1 inch of water per week, measured with rain gauges placed at ground level. Deep, infrequent watering encourages roots to penetrate 12-18 inches, improving drought tolerance.
Divide overcrowded perennials every 4-5 years in early spring or fall. Clumps exceeding 18 inches in diameter show reduced flowering and central die-out. Lift entire clumps, separate into sections containing 3-5 shoots, and replant at original depth.
Control woody plant invasion by cutting saplings below ground level in late spring when carbohydrate reserves are lowest. Treat cut surfaces with 20% glyphosate solution to prevent resprouting. Repeat monitoring and removal annually.
FAQ
How long until a wildflower meadow looks established?
Year one produces foliage and minimal blooms. Year two brings 40-60% flowering coverage. Full establishment with dense blooms occurs in year three as perennial root systems mature and self-seeding annuals naturalize.
Can I plant wildflower meadows in shade?
Partial shade (4-6 hours direct sun) supports woodland species like columbine, wild geranium, and foxglove. Dense shade below 3 hours prevents flowering in 90% of meadow species. Select shade-specific natives rather than sun-adapted prairie species.
Do wildflower meadows attract beneficial insects?
Native wildflower plantings increase pollinator abundance by 300-500% compared to turfgrass. Sequential blooming from April through October provides continuous nectar sources. Species diversity matters more than planting density for supporting varied insect life cycles.
How much does wildflower meadow installation cost?
Seed costs range from $80-$150 per acre for regional native mixes. Site preparation adds $200-$400 per acre for vegetation removal and soil amendments. Plug transplants increase costs to $2,000-$4,000 per acre but reduce establishment time by one growing season.
When should I fertilize an established meadow?
Never fertilize established meadows. Native perennials evolved in low-nutrient soils. Added nitrogen promotes aggressive grass and weed competition. If soil tests reveal phosphorus below 15 ppm, apply bone meal once every 3-5 years in early spring.