5 Quick Steps to Join Community Gardens
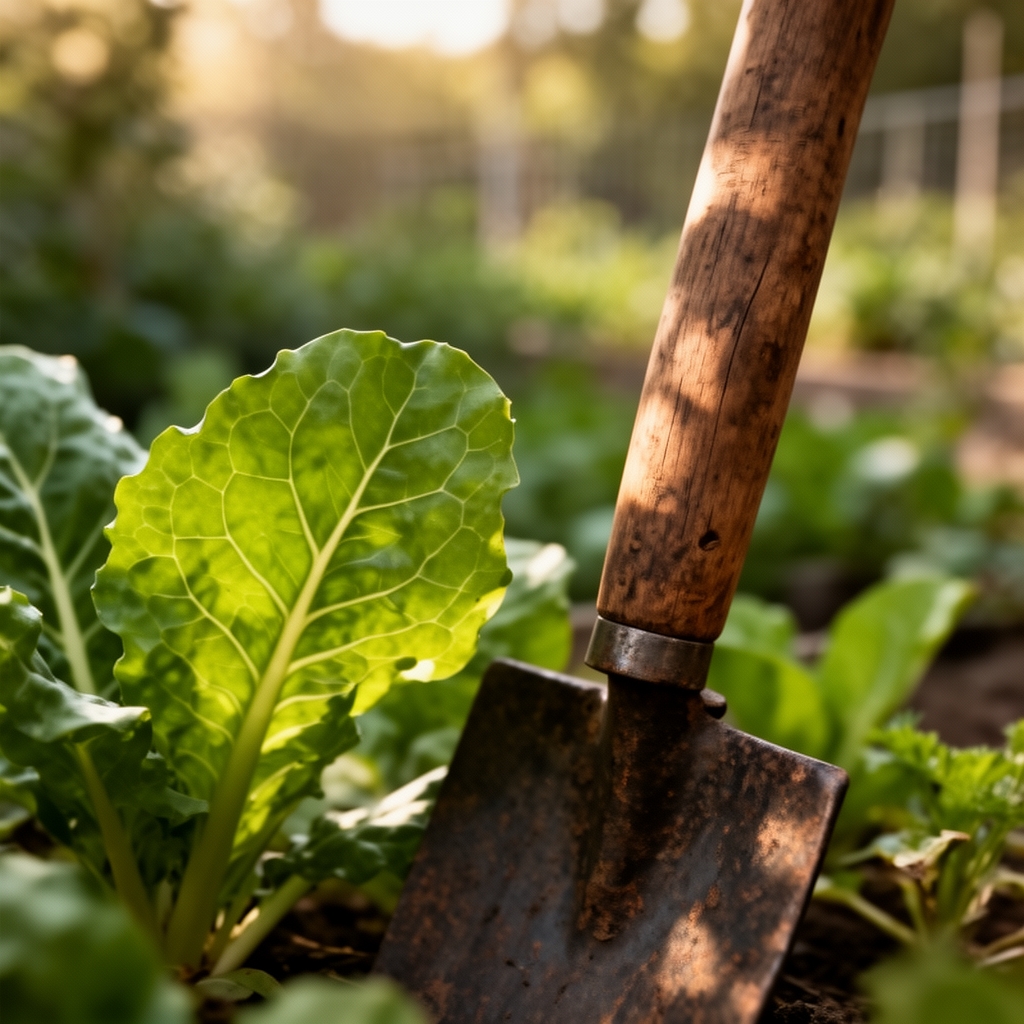
The morning you walk through a community garden gate, you step onto soil amended by dozens of hands. Every raised bed tells a story of shared labor, every compost bin cycles nutrients back into the collective ecosystem. Understanding the steps to join community gardens transforms you from spectator to steward. This guide maps the practical route from inquiry to first harvest, grounded in soil science and cooperative experience.
Materials
Before claiming your plot, gather reconnaissance tools and amendments. A soil test kit measures pH (targeting 6.0-7.0 for most vegetables) and reveals cation exchange capacity. Many community gardens operate on neutral to slightly alkaline soils worn down by years of intensive cultivation. Bring a balanced organic fertilizer rated 4-4-4 or 5-5-5 to establish baseline fertility without scorching tender transplants.
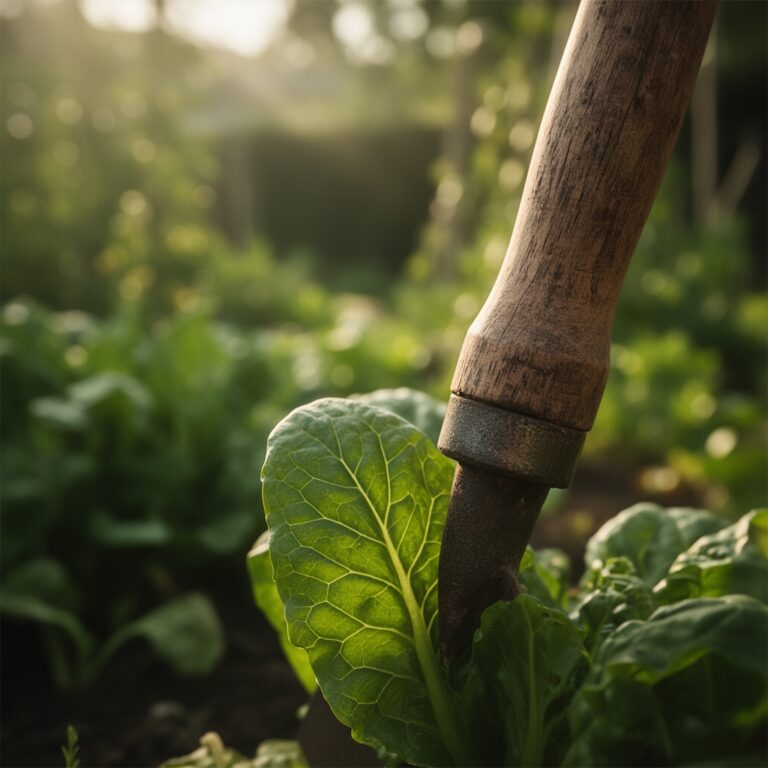
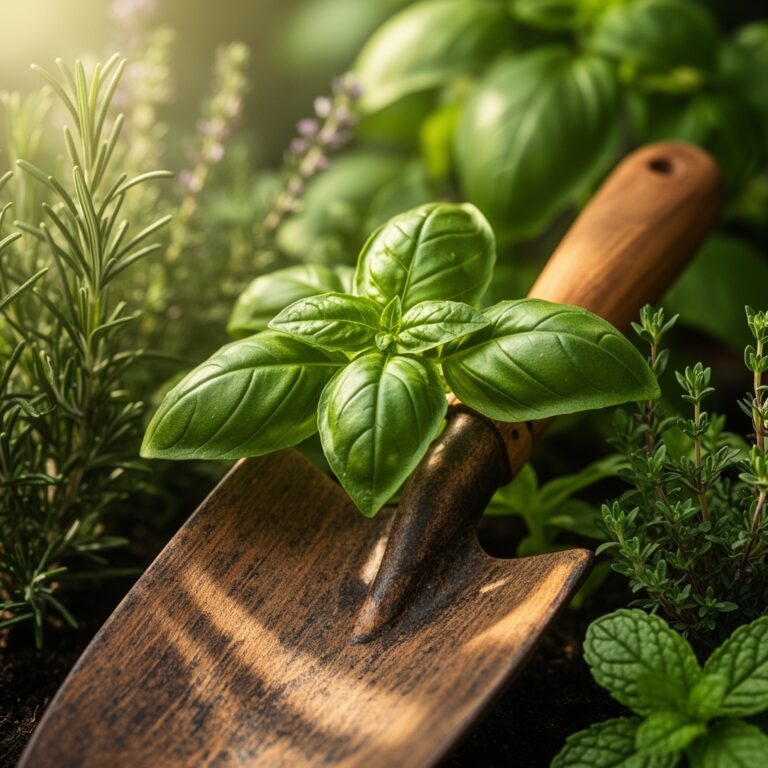
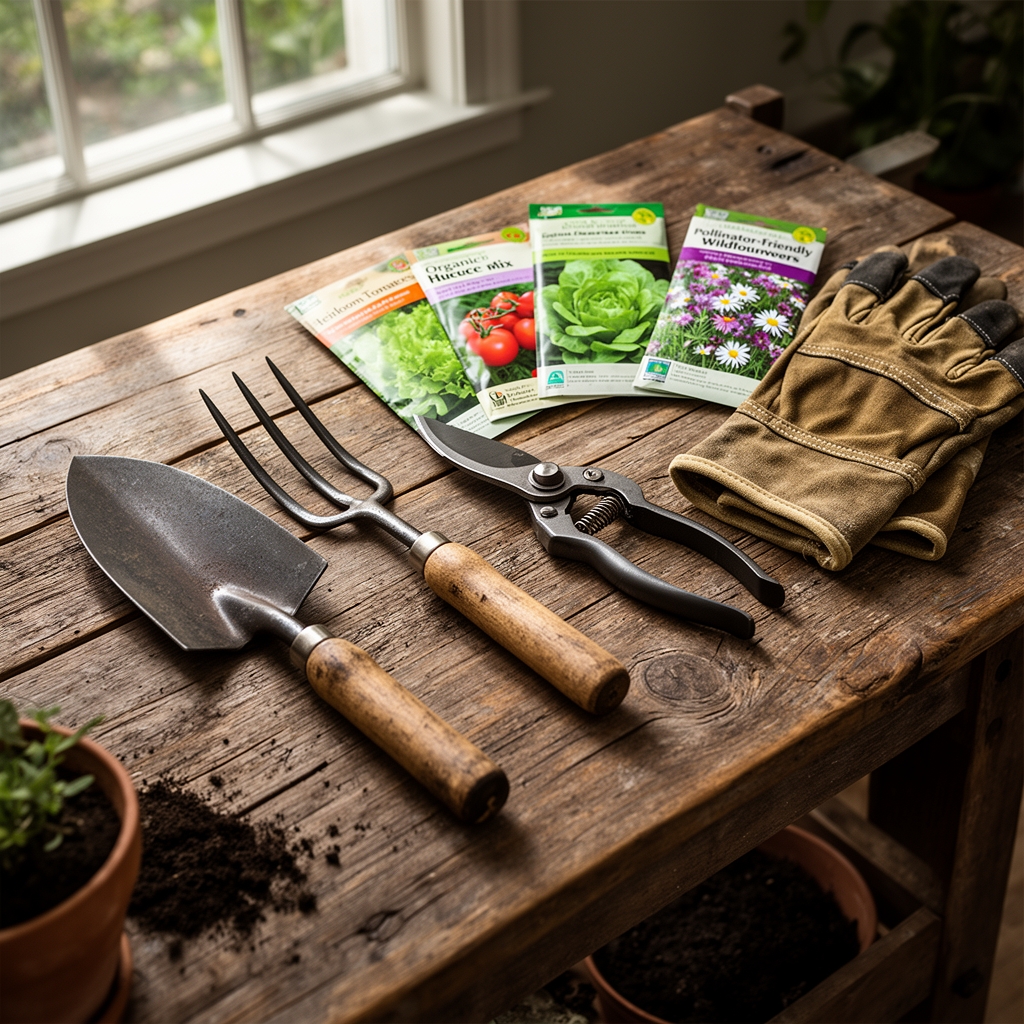
Expect to provide your own hand tools: a digging fork for turning beds without destroying soil structure, a hori-hori knife for transplanting, and bypass pruners rated for 3/4-inch stems. Most gardens supply communal wheelbarrows and hoses, but confirm infrastructure before your first workday. Pack a notebook with waterproof pages to log planting dates, variety names, and phenological markers.
Water access dictates container selection. If the garden relies on manual watering rather than drip irrigation, budget for five-gallon buckets and a watering wand with a flow-control valve. Calculate 0.6 gallons per square foot per week during active growth, adjusted for rainfall and mulch depth.
Timing
Execute the steps to join community gardens during winter planning cycles. Most plots assign in January through March, aligning with seed-catalog season. Contact garden coordinators between December and February to request applications. Waitlists for urban gardens average six to eighteen months, so file early.
Hardiness Zones govern transplant windows. Zone 5 gardeners transplant tomatoes after May 15, when soil temperatures stabilize above 60°F at four-inch depth. Zone 7 members gain a month, moving seedlings outdoors by mid-April. Coastal Zone 9 plots support year-round cultivation with seasonal rotations every ninety days.
Frost-date windows compress decision timelines. Spring onion sets enter the ground six weeks before the last frost. Brassicas tolerate light freezes, so transplant broccoli and kale two weeks before that date. Summer squash and beans require soil above 65°F, delaying their planting until two weeks after frost-free thresholds.
Attend mandatory orientation sessions. Gardens schedule these between late winter and early spring, covering bylaws, composting protocols, and integrated pest management policies. Miss the session and most gardens defer your membership to the following season.
Phases
Sowing
Direct-seed carrots, radishes, and lettuce into prepared beds raked to a fine tilth. Press seeds to a depth equal to twice their diameter. Carrot seeds require light for germination but dry out rapidly, so cover them with vermiculite instead of soil. This maintains moisture contact while admitting light wavelengths that trigger germination.
Pro-Tip: Coat large seeds (beans, peas, cucurbits) with mycorrhizal inoculant powder before sowing. The fungi colonize roots within fourteen days, extending phosphorus uptake range by a factor of ten and buffering transplant shock.
Transplanting
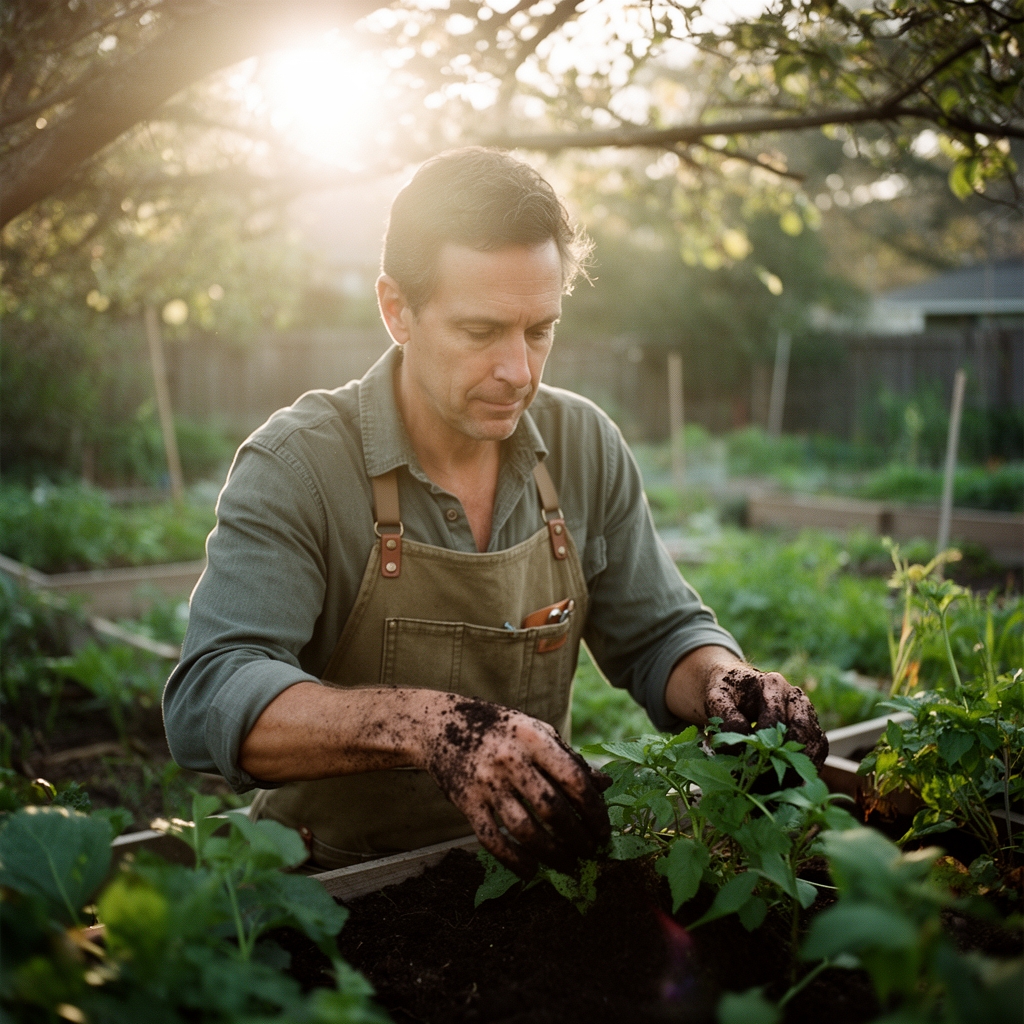
Harden off greenhouse seedlings over seven days, increasing outdoor exposure by two hours daily. Transplant during overcast afternoons to reduce transpiration stress. Dig holes 1.5 times the root ball diameter and amend backfill with compost at a 1:3 ratio.
Remove the lowest leaf nodes on tomato seedlings and bury stems horizontally or at a 45-degree angle. Adventitious roots emerge from buried stem tissue within ten days, creating a more robust anchor system. Space indeterminate varieties 24 inches apart to permit airflow that reduces fungal pressure.
Pro-Tip: Apply a dilute kelp solution (1 tablespoon per gallon) immediately after transplanting. Cytokinins in kelp extracts stimulate lateral root initiation and buffer ethylene stress responses.
Establishing
Mulch beds with two inches of straw or shredded leaves within forty-eight hours of transplanting. Mulch moderates soil temperature swings by 8-12°F and suppresses annual weeds during the critical four-week establishment window. Keep mulch two inches away from stems to prevent collar rot.
Install supports before plants reach twelve inches in height. Tomato cages sink easily into moist spring soil but become impossible to position once root systems spread. Tie main stems to stakes with figure-eight loops using soft twine, allowing 0.5 inches of slack for auxin distribution and stem thickening.
Pro-Tip: Prune indeterminate tomatoes to one or two leaders by snapping off suckers when they reach two inches. Execute removals in morning hours when turgor pressure is high, creating clean breaks that seal faster than ragged tears.
Troubleshooting
Symptom: Blossom end rot appears as sunken black lesions on tomato and pepper fruits.
Solution: Calcium deficiency caused by inconsistent watering. Apply gypsum (calcium sulfate) at two pounds per 100 square feet and maintain even soil moisture at 1-1.5 inches per week.
Symptom: Powdery white coating on squash and cucumber leaves, spreading from older to younger foliage.
Solution: Powdery mildew thrives in humid, stagnant air. Prune lower leaves to increase airflow. Spray weekly with 0.5% potassium bicarbonate solution (1 teaspoon per quart) until symptoms recede.
Symptom: Cabbage and kale leaves riddled with small holes, tiny green larvae present.
Solution: Imported cabbageworm (Pieris rapae) infestation. Hand-pick larvae at dawn when they cluster on leaf undersides. Apply Bacillus thuringiensis var. kurstaki every seven days, covering leaf undersides where larvae feed.
Symptom: Tomato leaves curl upward and turn brittle, no discoloration present.
Solution: Herbicide drift from lawn applications containing 2,4-D. No remedy exists. Remove affected plants to prevent resource waste and replant resistant crops like beans or squash.
Symptom: Yellowing between leaf veins while veins remain green, starting on older leaves.
Solution: Magnesium deficiency common in sandy soils. Dissolve one tablespoon Epsom salt per gallon and drench root zones. Reapply every fourteen days until new growth shows uniform green coloration.
Maintenance
Water deeply once per week rather than shallowly every day. Apply one inch of water per session, measured by placing tuna cans throughout the plot. Deep watering encourages roots to explore lower soil horizons where moisture remains stable.
Side-dress heavy feeders (tomatoes, corn, squash) every three weeks with compost or a 5-10-10 granular blend at one cup per plant. Scatter fertilizer six inches from stems to avoid root burn and water immediately to dissolve nutrients into the root zone.
Scout for pests twice weekly, inspecting leaf undersides and growing tips where aphids and mites colonize first. Early detection allows mechanical removal before populations explode and require chemical intervention.
Harvest vegetables at physiological maturity to redirect plant energy into continued production. Pick beans and cucumbers every other day. Leaving overripe fruits on the vine signals the plant to cease flower production and begin senescence.
Participate in communal workdays. Most gardens require four to eight hours per season on shared tasks: path maintenance, compost turning, or fence repair. These obligations distribute infrastructure labor and build social capital that smooths conflict resolution.
FAQ
How much does a community garden plot cost?
Annual fees range from $25 to $150 depending on plot size and urban land values. Expect $40-$60 for a 10×10 foot bed in mid-sized cities.
Can I use chemical pesticides in community gardens?
Most gardens prohibit synthetic pesticides to protect pollinators and adjacent organic plots. Review bylaws before purchasing any spray products.
What happens if I abandon my plot mid-season?
Gardens typically issue one warning, then reassign neglected plots after fourteen days. Abandonment often results in permanent membership revocation.
Do I need gardening experience to join?
No prerequisites exist. Gardens pair beginners with mentors during orientation and most host skill-building workshops monthly throughout the growing season.
Can I grow perennials like asparagus or rhubarb?
Perennial policies vary. Some gardens designate specific beds for long-term crops, while others restrict plots to annuals to maintain assignment flexibility. Confirm before planting anything with a lifespan exceeding one season.